
Yak-15
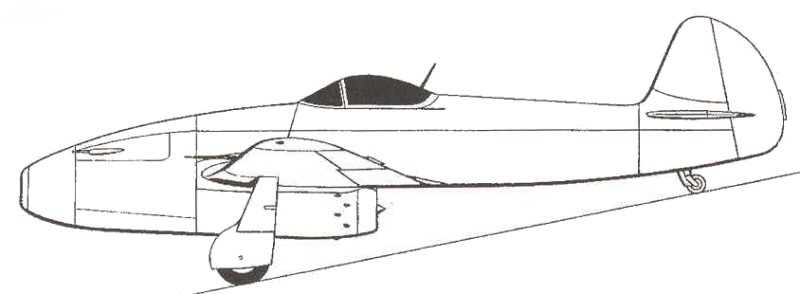
Design work on the Yak-15 began in late February of 1945 and continued through most of the year. The prototype Yak-15 was ready for its first flight during April of 1946. The Yak-15 was a straight forward adaptation of the Yak-3 fighter with the engine removed and mated to a Soviet built copy of the Junkers 004B engine used to power the Me 262. The Soviet designation for the engine was RD-10. Despite the dramatic change in engines, no real difficulties were encountered, and the loaded weight of the Yak-15 was actually found to be less than that of the Yak-3. To expedite development the all-metal rear fuselage, horizontal tail, and main undercarriage, as well as for most of the wing of the Yak-3 was used. The front of the welded-tube fuselage truss was considerably modified to carry the Jumo engine, which was hung underneath on rubber shock-absorbing mounts. The vertical tail was slightly enlarged and skinned in D1 metal, as was the heavily modified nose cowling surrounding the engine, which retained a Riedel two-stroke piston engine starter in the nose 'bullet'. The wing spars were strengthened, and the front spar was curved in an arch over the engine. A third fuel tank was also installed above the engine. Early in testing the Yak-15 had been found to be an excellent design, and was ordered into production even before NII-VVS testing was completed in May 1947. The fighter was equipped with two NS-23 23mm cannon with 60 rounds per gun. The Yak-15 was the lightest operational jet fighter ever built. Along with the Swedish Saab 21, it was the only piston-powered production aircraft to be successfully converted into a jet. A Yak-15 was also the first Soviet jet aircraft to be successfully refueled in flight. 280 are believed to have been built before production terminated during 1947 in favor of newer more powerful designs such as the Yak-17 which itself was an improved Yak-15.
The Kit
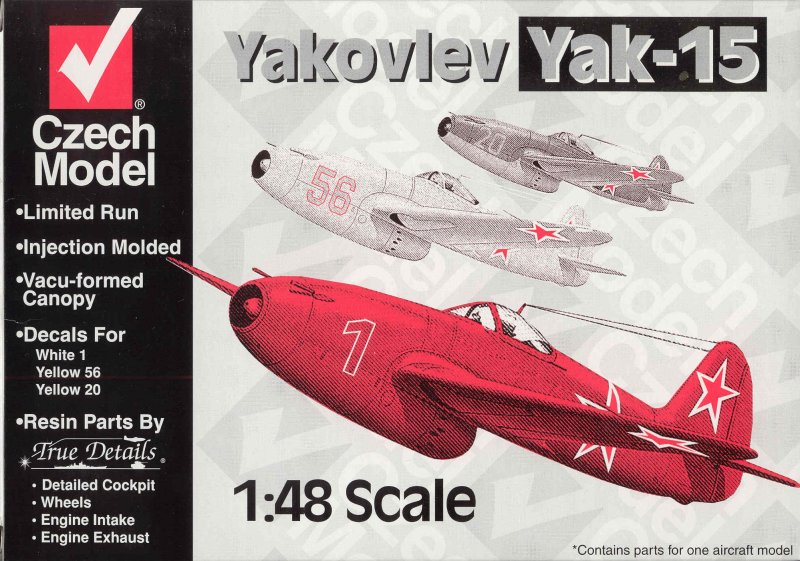
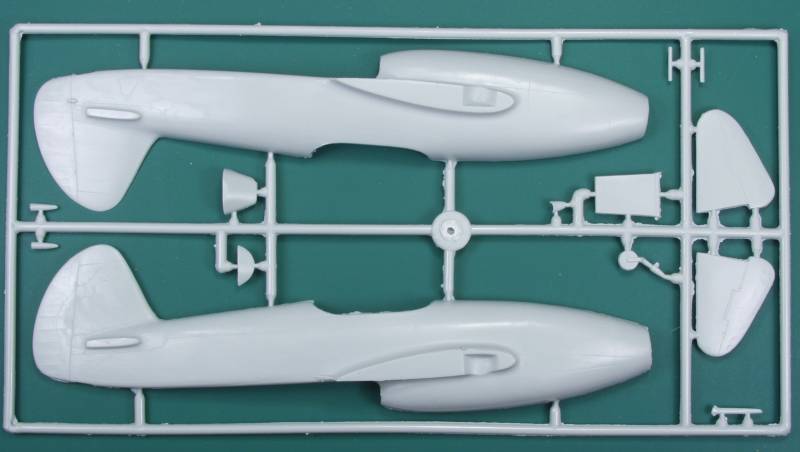
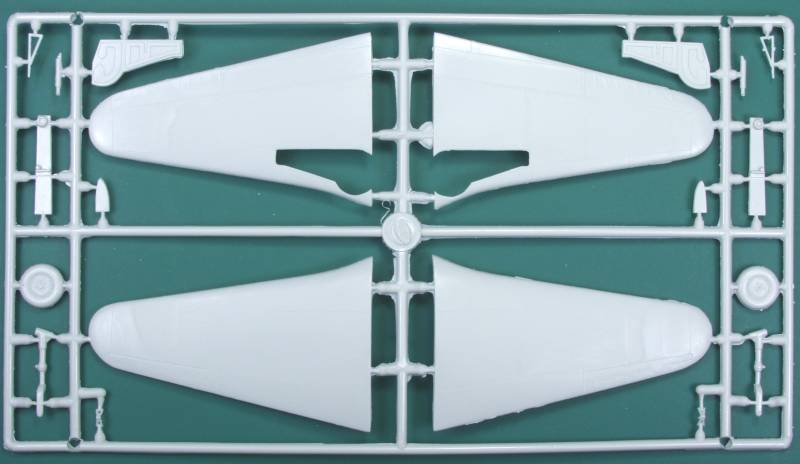
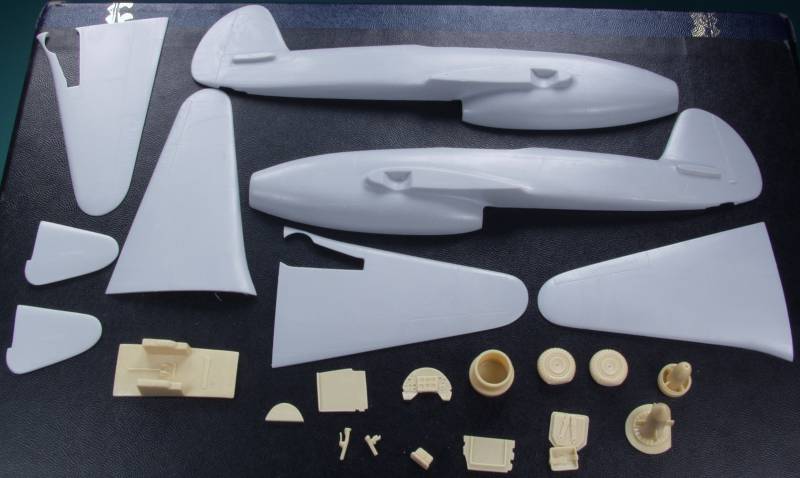
The Czech Model kit comes in one of those annoying end flap boxes with artwork that illustrates the three color and marking schemes that can be built. Inside the box there are two sprues of light gray plastic in a sealed plastic bag, a smaller bag containing resin parts. The clear parts and decals were loose in the box. The injection molded parts are feature recessed panel lines and rivet and fastener detail. The panel lines are very fine and for the most part uniform and may disappear under a heavy coat or multiple paint coats. The parts are fairly typical for limited run kits, there is some flash on most of the parts with some of the smaller parts being the worst. The sprue gates are heavy for the most part and there are no alignment pins. There are several mold defects and one will need to take care not to remove detail when correcting these. The wings and tail are just butt joints and could probably use to reinforcement. I found no ejector pin marks or towers that will show when the kit is assembled. The surface is mostly smooth but there were a lot of swirl marks in the plastic and a lot of parting lubricant of the surface of the parts. Wash thoroughly before using. The control surfaces are all fixed and I felt the demarcation lines for these was too light and could use some additional scribing. The wheel hub detail seemed a bit soft and the tires are not weighted. The fabric cover surfaces were very subtly done. All together there are 34 parts in gray. See below.
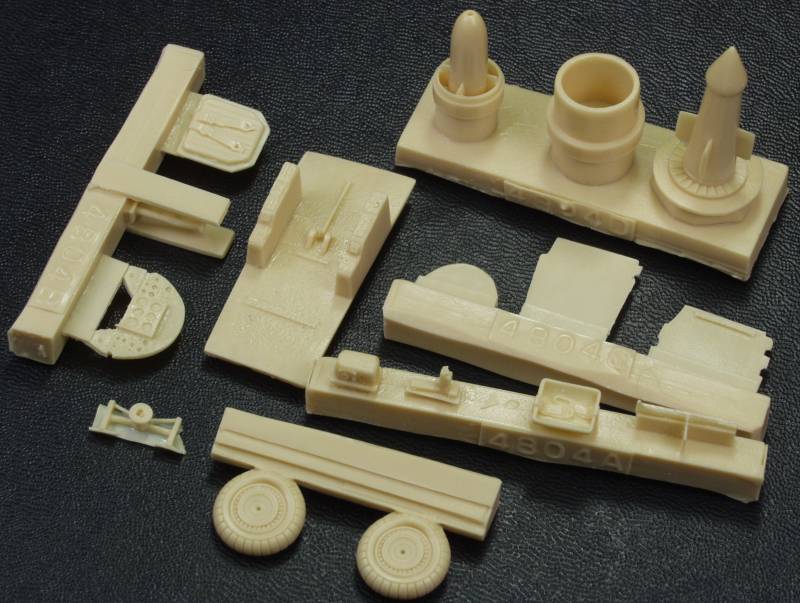
The resin parts are molded in a tan colored resin and consist of the cockpit parts, the engine intake and exhaust parts and a set of wheels that are much superior to the injection molded parts and are weighted. The seat features molded on belts and harness. The parts are all crisply molded with a minimal amount of flash. altogether there are 17 resin parts. See below.
The clear parts consist on two copies of the canopy. Both of mine were quite clear with reasonably well pronounced frame lines. See below.
![]()
The decals include markings for three aircraft, one in red which was used by an aerial demonstration team, one in natural metal and one in two tone camouflage. They look very thin and are in register. It's difficult to tell if they will opaque enough. See below.

The instructions are printed on a 11" x 17" page folded in half forming four pages. Page one has history, a photo of the prototype and a parts map, the second and third pages have the assembly diagrams and page four has painting and decal diagrams and instructions.
After Market Goodies
I know of none for this kit.
Conclusions
This is a pretty typical limited run kit but it has very few parts and might be a good kit for a first try at a limited run kit. It's and interesting model of one of the two first Soviet jet aircraft. Recommend to experienced modelers and less experienced modelers who want to try a limited run multimedia kit.
Links to kit build or reviews
None that I have found.
References
The Osprey Encyclopedia of Russian Aircraft by Bill Gunston
The Build
This first photo shows all the kit parts once they have been removed from their sprues and cleaned up.
Next up the completed cockpit assembly.
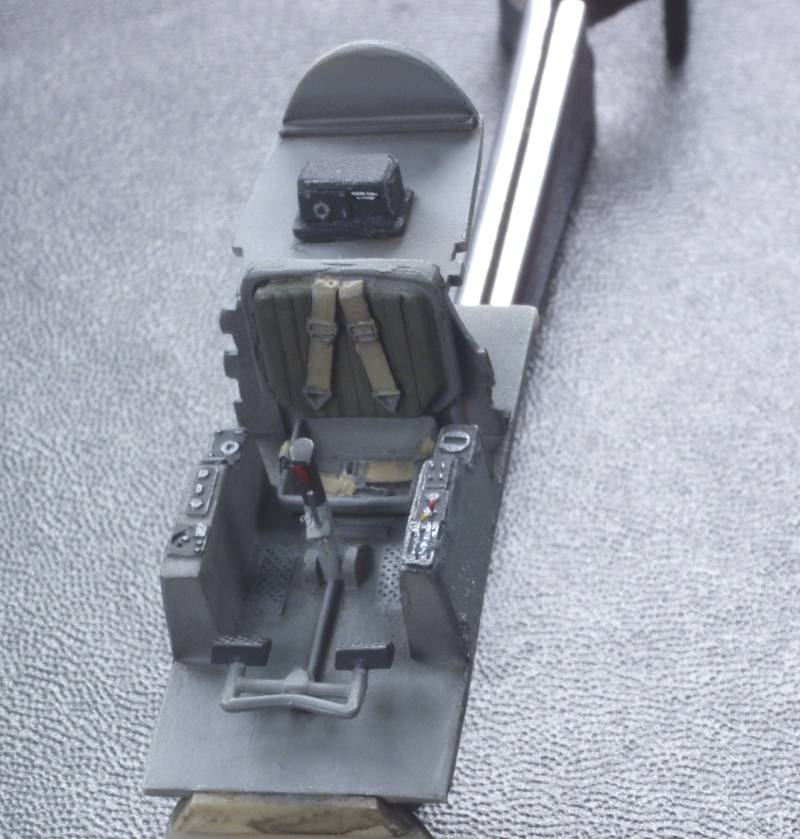
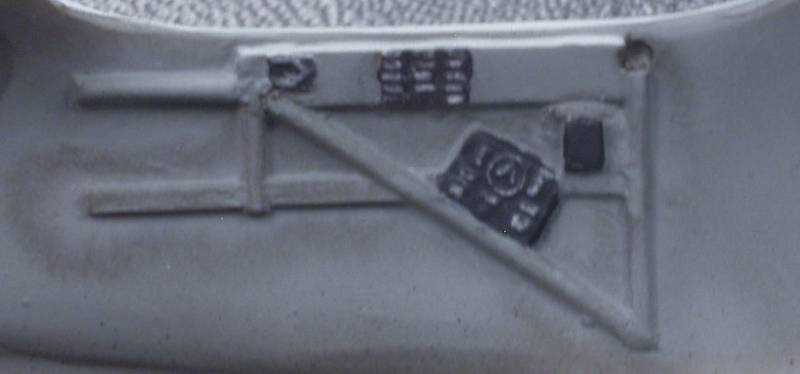
Not a very clear shot but I added a placard to the inside wall to add some interest.
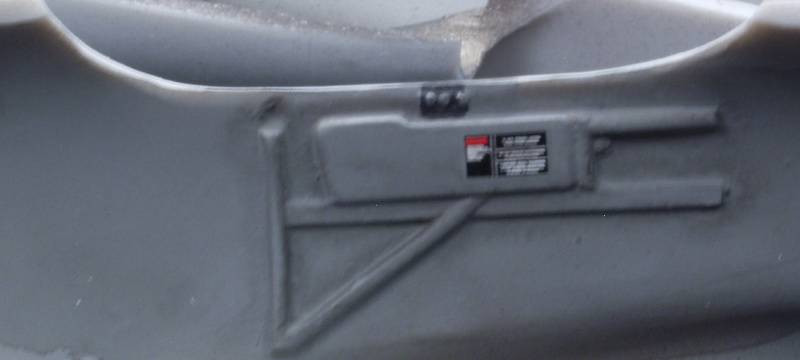
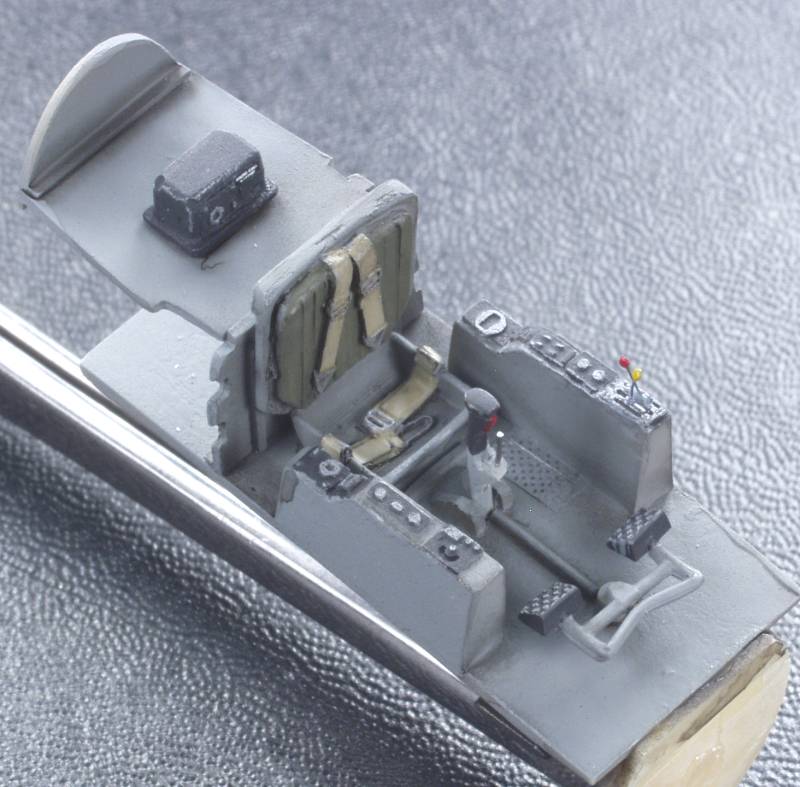
The opposite wall showing some painted details.
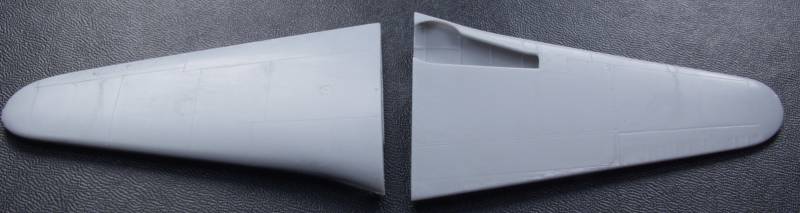
The wing assemblies.
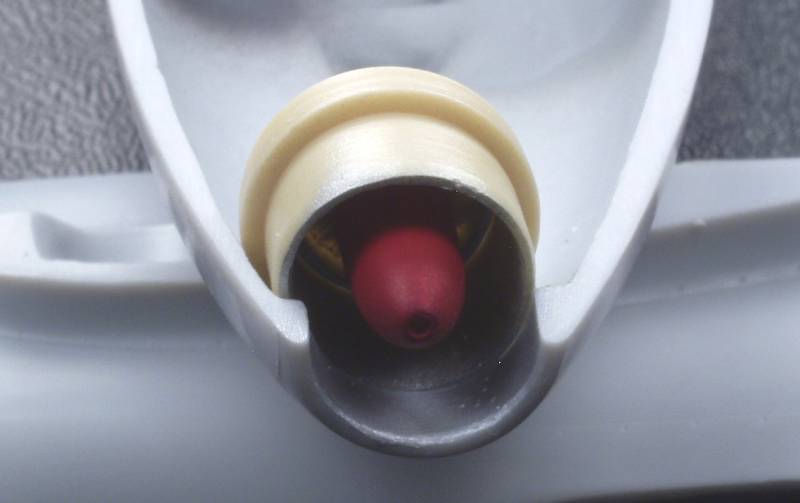
The intake and nose cone resin casting mounted in the nose.
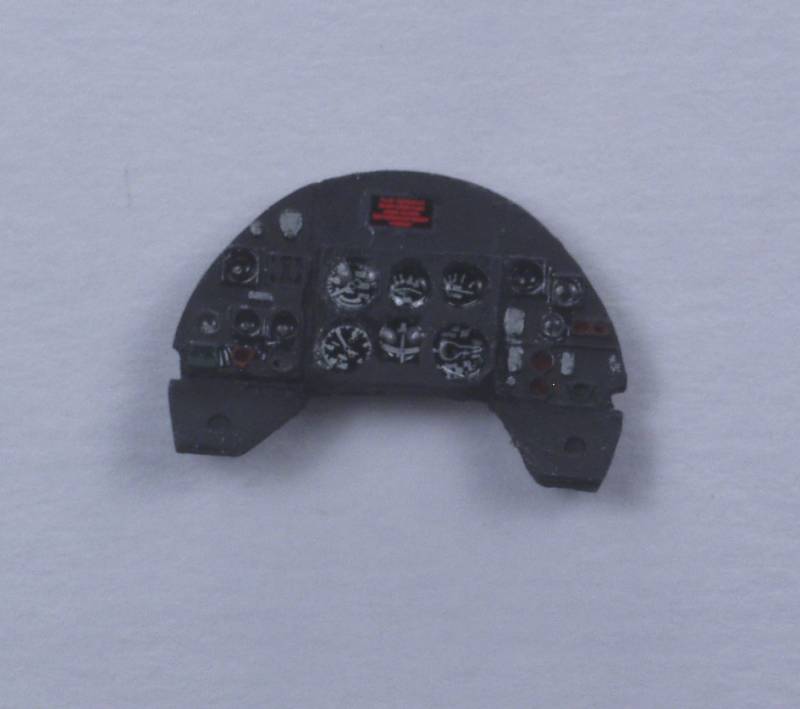
The instrument panel was dressed up with Airscale instrument decals including the placard and Future was used to simulate glass for the instrument faces.
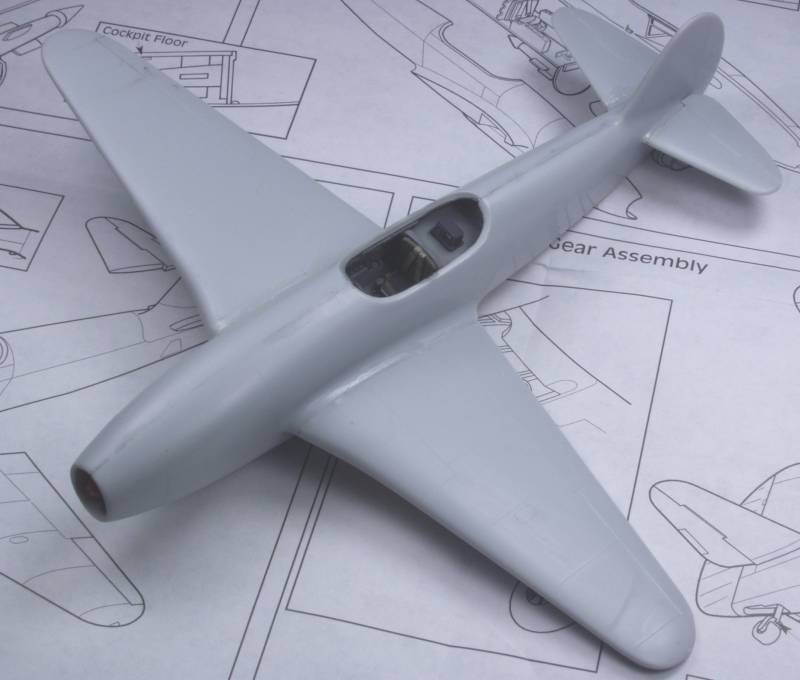
At this point the fuselage has been closed up and the wings and tail planes added. Fit of the internals was a bit fiddly but fit was not bad for a limited run kit.
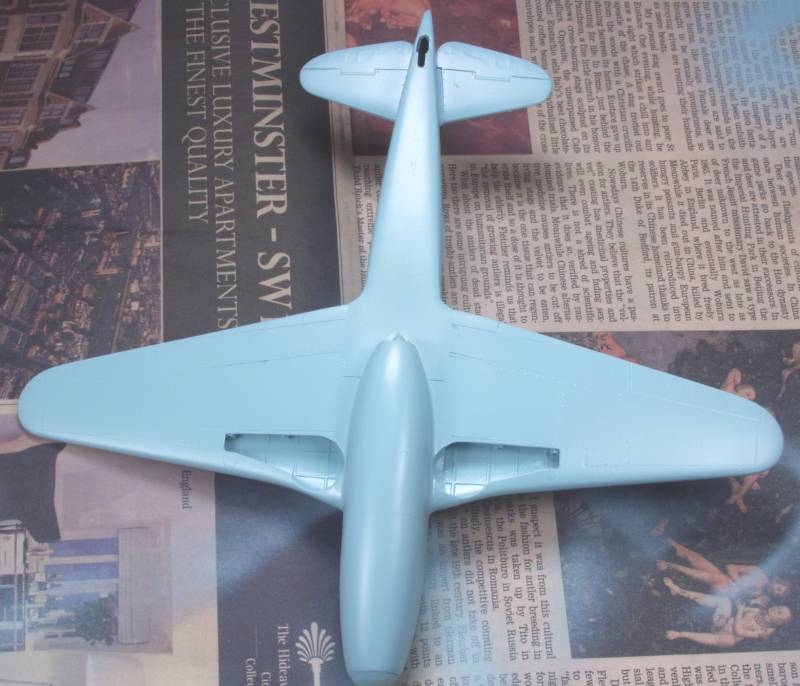
Seam work done and the bottom color on.
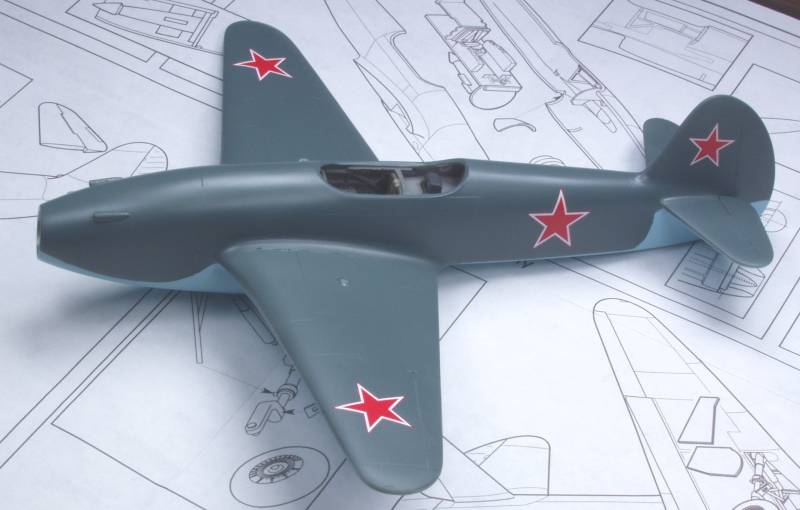
Top color and decals primary decals on. I'm always leery of the decals in short run kits but these behaved well for me.
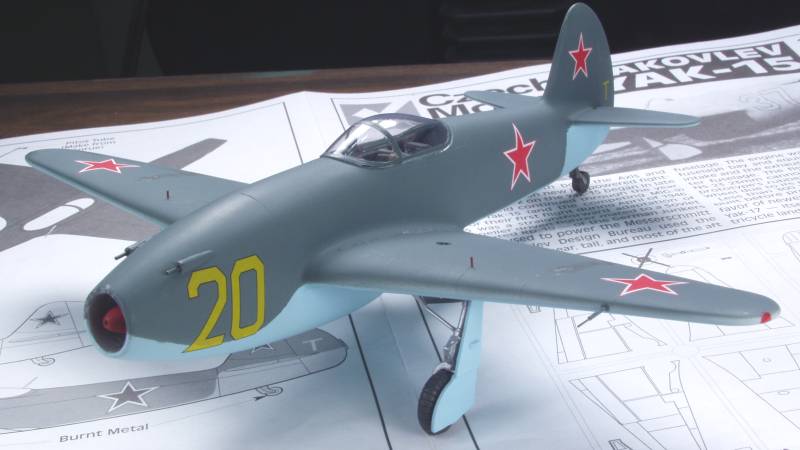
Balance of the decals on, flat coated, canopy on, I added gear indicators made from wire, the kit pitot tube was replaced with one made from telescoping hypo tubing and guns were also done with the proper size hypo tubing. Fuel gauges in the wings were drilled to recess them then Airscale decals were added and were over coated with Future.
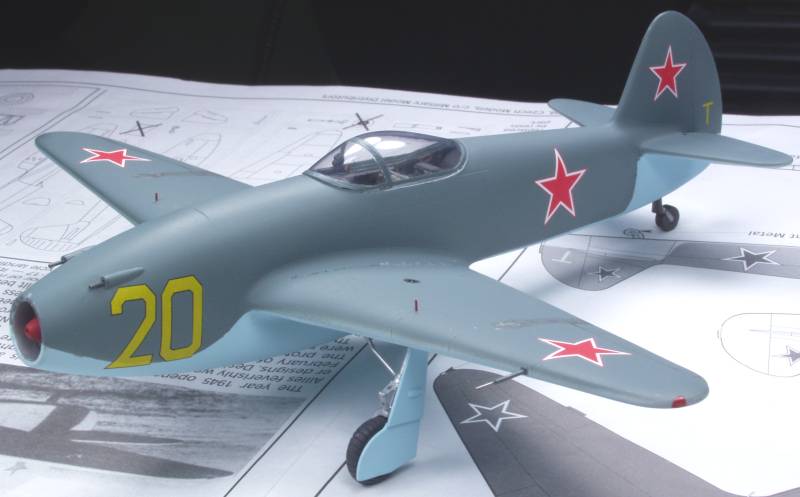
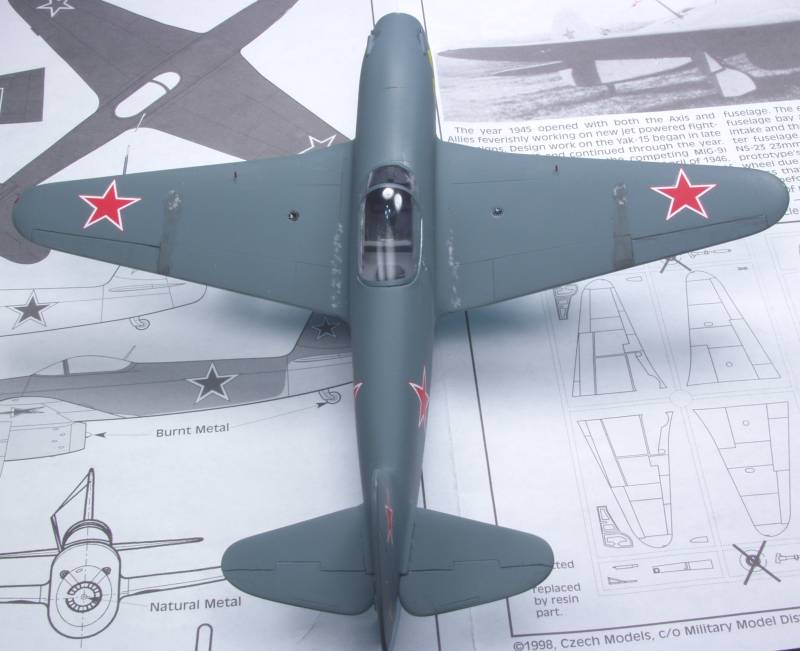
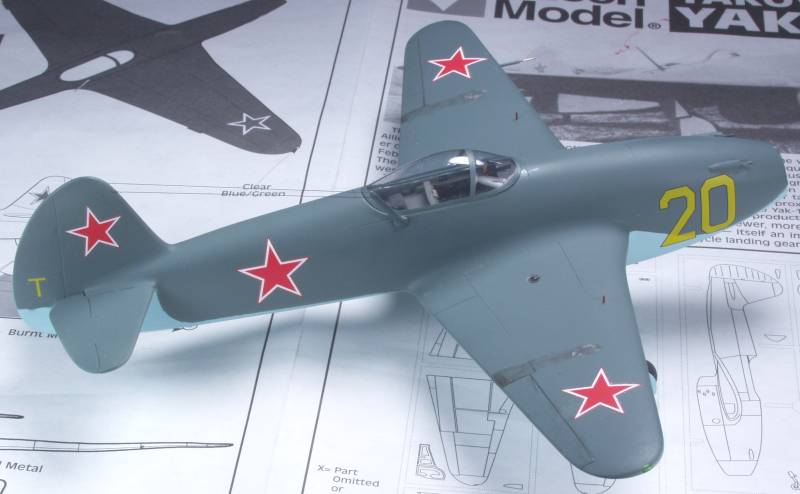
Top view, weathering was kept at a minimum as this was post war. Streaking is from the fuel filler caps, probably a little over done.
Bottom side.
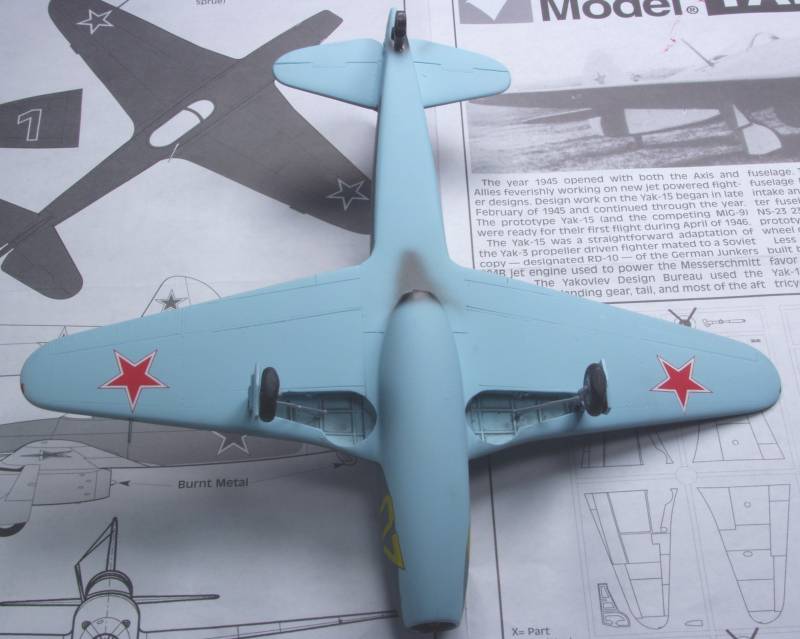
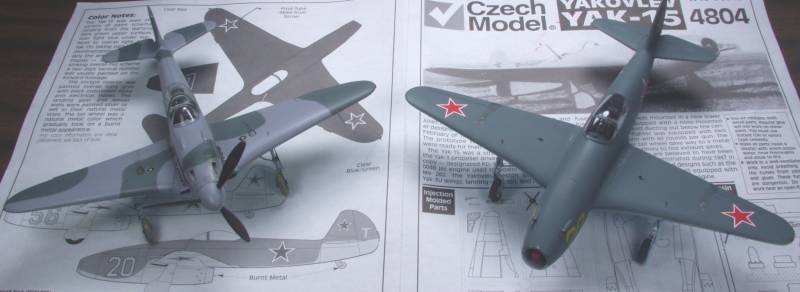
Some additional views.
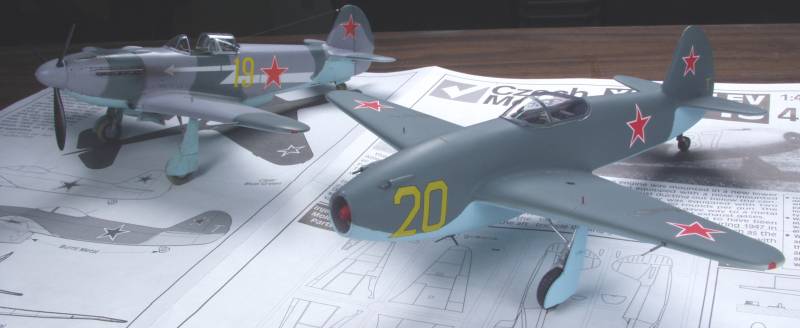
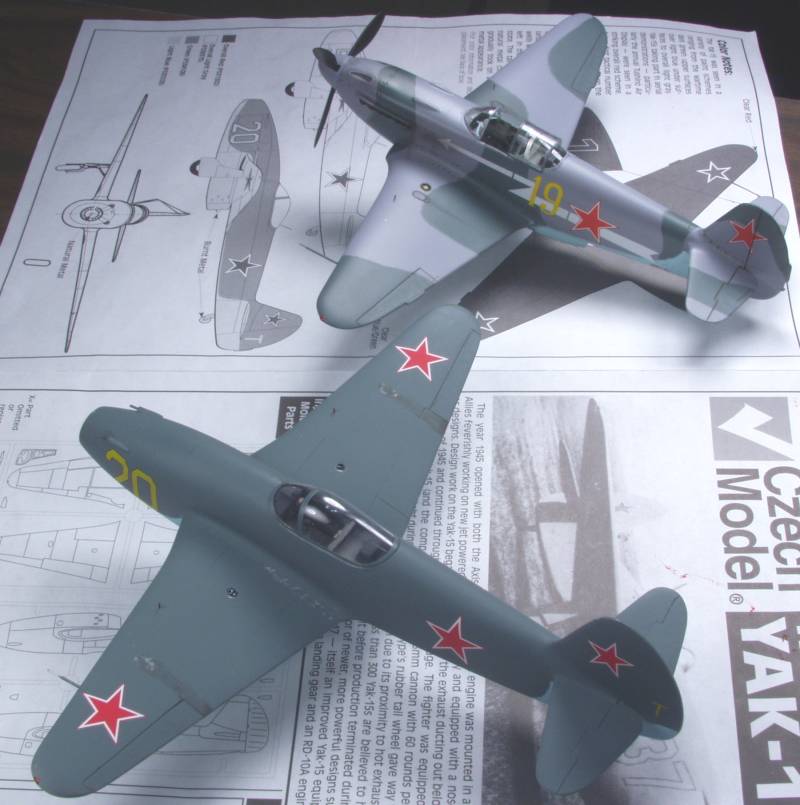
A comparison shots with the Yak-3.
Back to the Russians are Coming
page.