
Su-2
In 1936, Joseph Stalin released a requirement for a multipurpose combat aircraft. Code named Ivanov, the aircraft had to be capable of performing reconnaissance and then attacking the targets it located. P.O. Sukhoi was working in the Tupolev OKB at the time and designed the "Ivanov" aircraft under the tutelage of Andrei Tupolev. The resulting ANT-51 flew on 25 August 1937 with M.M. Gromov at the controls. Powered by an 820 hp Shvetsov M-62 air-cooled radial engine,the ANT-51 reached 250 mph at 15,420 ft. This was considered insufficient but since the basic design was sound, it was decided to re-test with a more powerful engine. Equipped with 1,000 hp Tumansky M-87 engine, the ANT-51 reached 290 mph at 18,370 ft and was accepted into production as BB-1 (Blizhniy Bombardirovschik; Russian: Ближний Бомбардировщик Short-range Bomber). In 1940, the aircraft was renamed Su-2 and the unreliable M-87 engine was replaced with a Tumansky M-88. This lightened version with a M-88B engine reached 320 mph in testing.
The Su-2 was of mixed construction. The fuselage was semi-monocoque with wood spars and plywood skin. The wings were of duralumin and steel construction with fabric-covered rod-actuated control surfaces. The pilot and the gunner were protected with 9 mm (0.35 in) of armor. The landing gear was retractable, including the tail wheel.
Although 910 Su-2s were built by the time production was discontinued in 1942, the aircraft was obsolete and under armed by the start of the Great Patriotic War. In combat the Su-2 ground attack aircraft squadrons suffered heavy losses against the Germans, with some 222 aircraft destroyed. From 1942, the Su-2 was withdrawn from the front line and replaced by Ilyushin Il-2, Petlyakov Pe-2 and Tupolev Tu-2 bombers. The Su-2 was relegated to a training and reconnaissance role. However, due to a critical shortage of aircraft in early World War II, some Su-2 were used as emergency fighters.
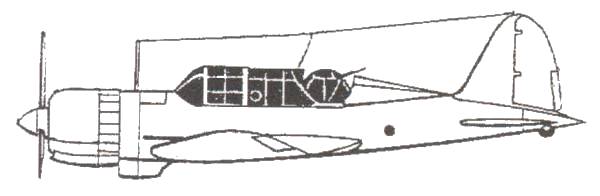
Although looking vaguely similar to the Grumman Avenger it flew nearly four years before the Avenger and was a smaller aircraft with an 8' shorter wingspan, 6' shorter in length and having an empty weight over 3,000 pounds lighter than the Avenger.
The Kit
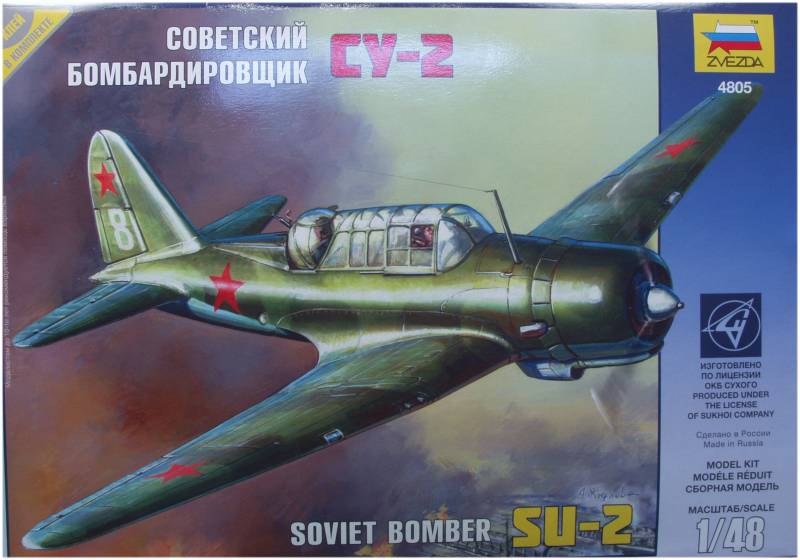
The Zvezda kit comes in what appears at first to be an end open box but inside the outer box is a slide out tray type box with a hinged lid. It fits so tight in the outer sleeve it is almost difficult to remove. Inside the tray box are three sprues molded in gray. These are not bagged. The clear parts and decals are contained in a small zip lock bag. The parts have a matte finish and are mostly smooth but in a few places the surface was rather grainy. Nothing that a little sanding here and there won't fix. There is a light amount of flash here and there but over all the parts are cleanly molded with mold parting lines being light. The surface detail consists of recessed panel lines and rivet detail. The panel lines are fine and uniform while the rivet detail seems a bit over done to me for the scale, although they will probably look OK under a coat of paint. The fuselage was mostly wood so it only has a minimum of panel lines and rivets. The ailerons and rudder are molded separately but the elevators are not but the hinge line for them is molded deeply enough that very little work would be required if you wanted to separate them. The fabric detail on the control surfaces is very restrained, as they should be and you need to look close to even notice it. There are alignment pins on the major parts and they actually help in the alignment.
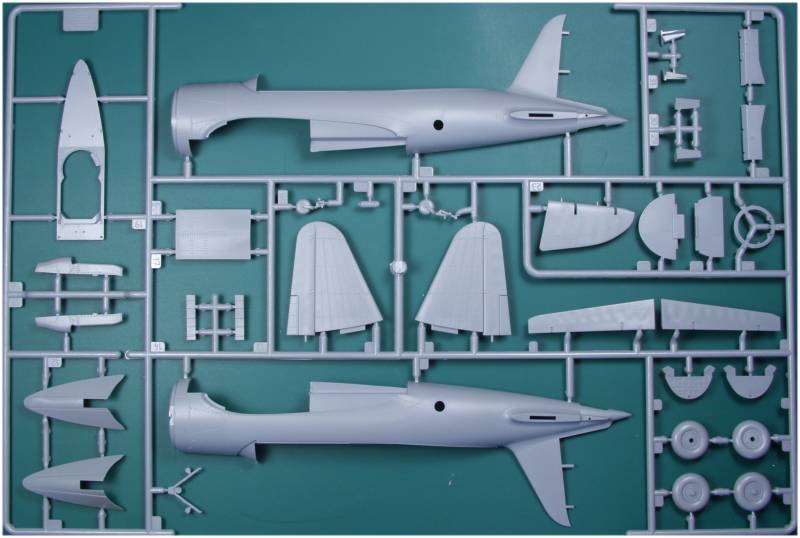
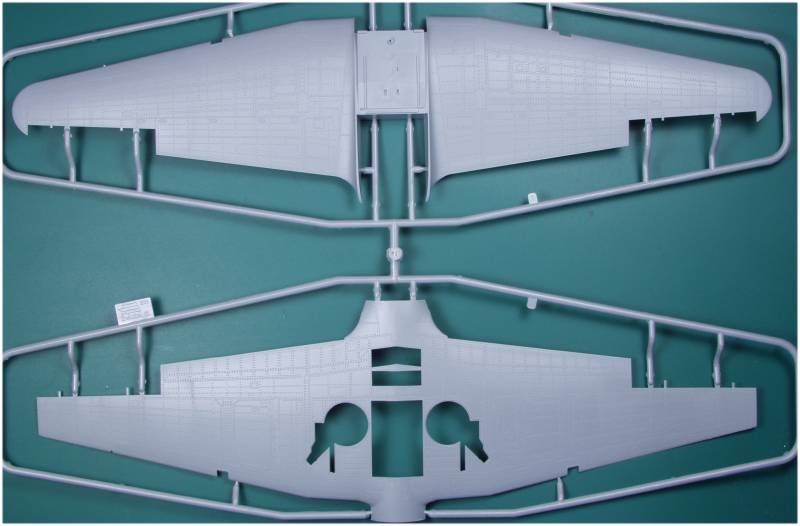
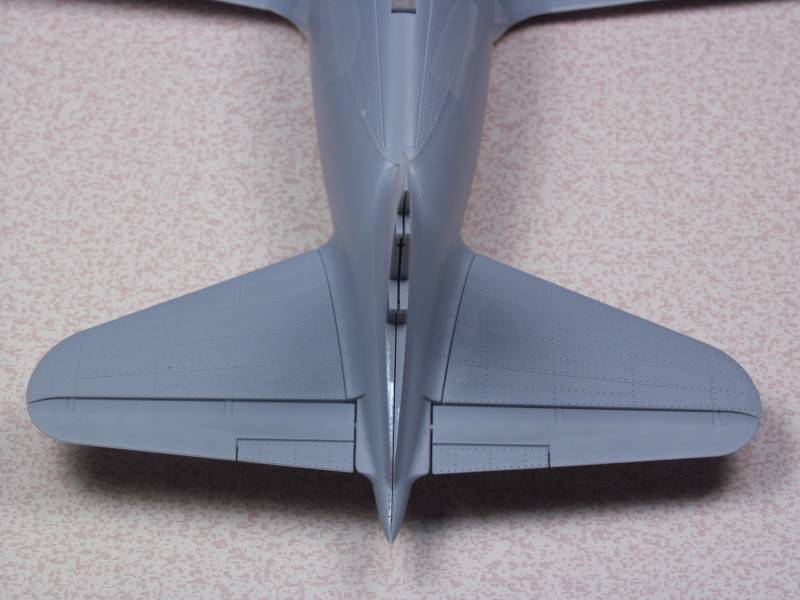
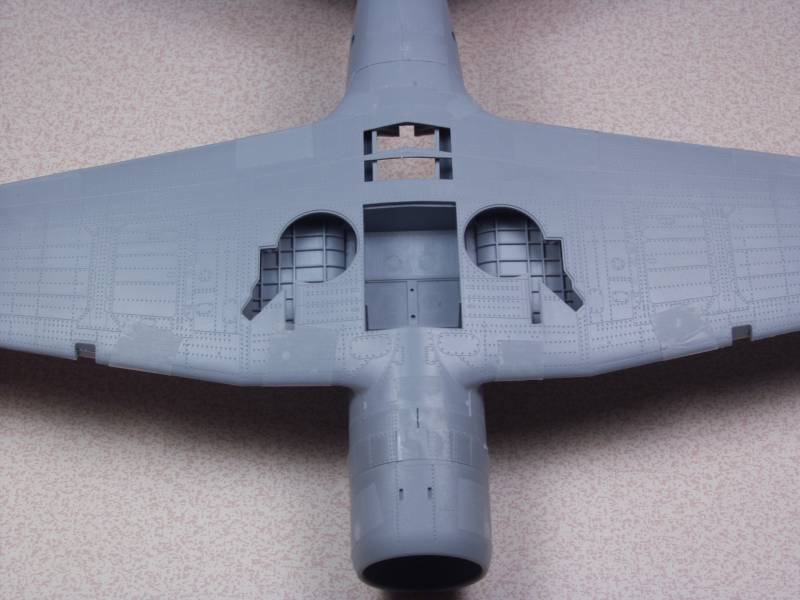
The wings wings are molded somewhat unusually from the norm in that both the top and bottom wings are one piece. The top wing center area has the bomb bay and wheel wells molded integral to it. The wing tips are molded to the top wing only the bottom wing ends before the tips with the joint being on a natural panel line allowing the wing tips to be nice and thin. The trailing edges are thin as a result of molding the edge only on the top wing with an over lap onto the bottom wing. While I have found this arrangement to be problematic on other kits the overlap is very small and fits so well I don't see it being a problem on this kit. Both the bomb bay and wheel wells have structural detail molded in. The molded on pitot tube is an accident waiting to happen. A bomb load along with bomb racks and some additional structural details are added to the bomb bay and wheel wells. The fuselage has structural detail molded on the inside along with some ejector pin marks. It appears that most of these will not be visible once assembled. There are some detail parts to be added to the walls in the rear station and the pilots area is built up on top of the bomb bay with side walls and other added detail. The instrument panel has both raised and recessed detail but no internal detail in the gages themselves. The instructions give you the option of using a blank panel with a decal or the painting up the one with the raised and recessed detail.
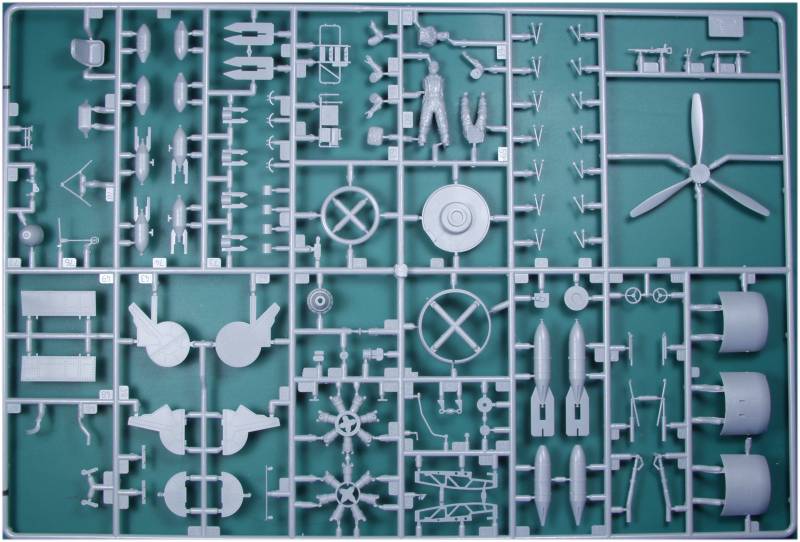
The engine is nicely
done with two separate banks of cylinders and separate push rods and
intake manifold. Needs only a bit of wiring to look fairly complete.
The cowling for it is molded in three pieces and will most likely be
fiddly to assemble. The propeller is a one piece molding so no
fiddling
with separate blades. The wheel / tires are molded in halves and are
not weighted. The landing gear looks a bit simple but that may be the
way they were. There is a solid mounting for them in the wing. The
landing gear doors are supplied both open and closed as are the bomb
bay doors. The closed bomb bay doors have a slot that can be opened up
for use with a stand which is not supplied. The open gear doors had
what I first thought was ejector pin marks but upon close examination
appear to be deliberate to represent lightening holes on the inside
panel. The kit comes with two figures, one seated and one standing.
The
seated figure has a separate upper and lower torso and separate arms,
the standing figure just has separate arms. Both are nicely molded
with
good facial and uniform detail. OK, lets look at the sprues.
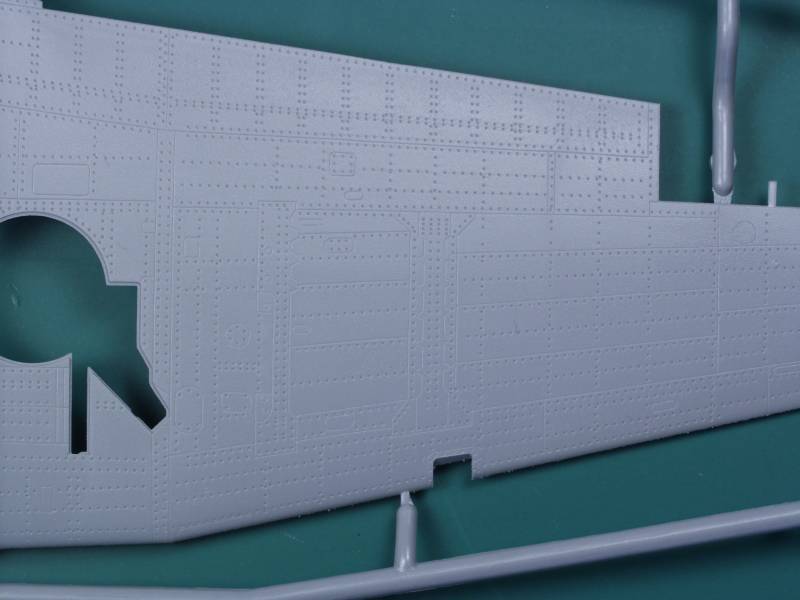
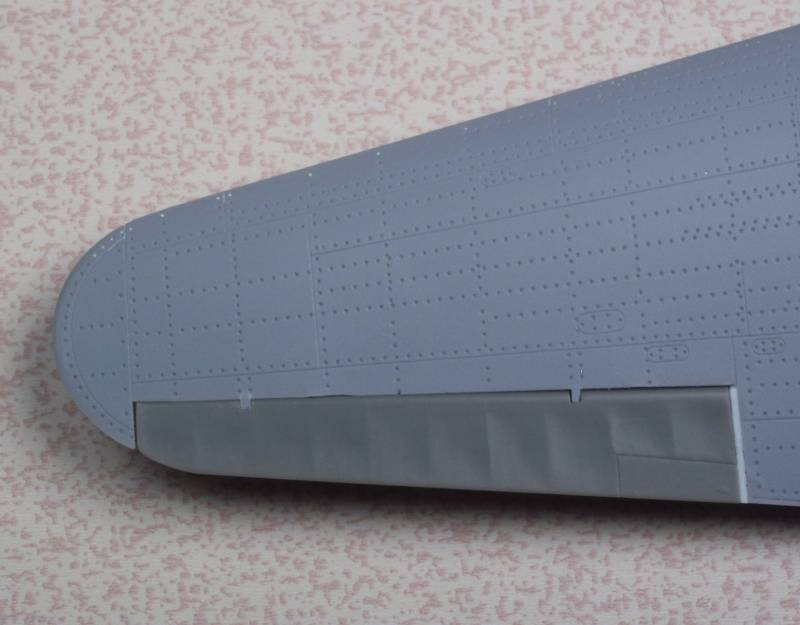
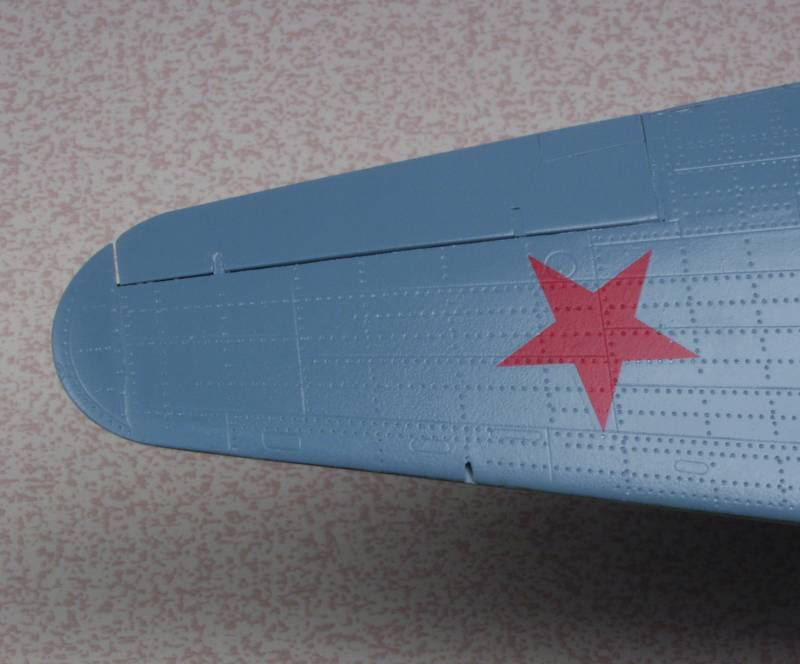
A close up of the surface detail on the wings.
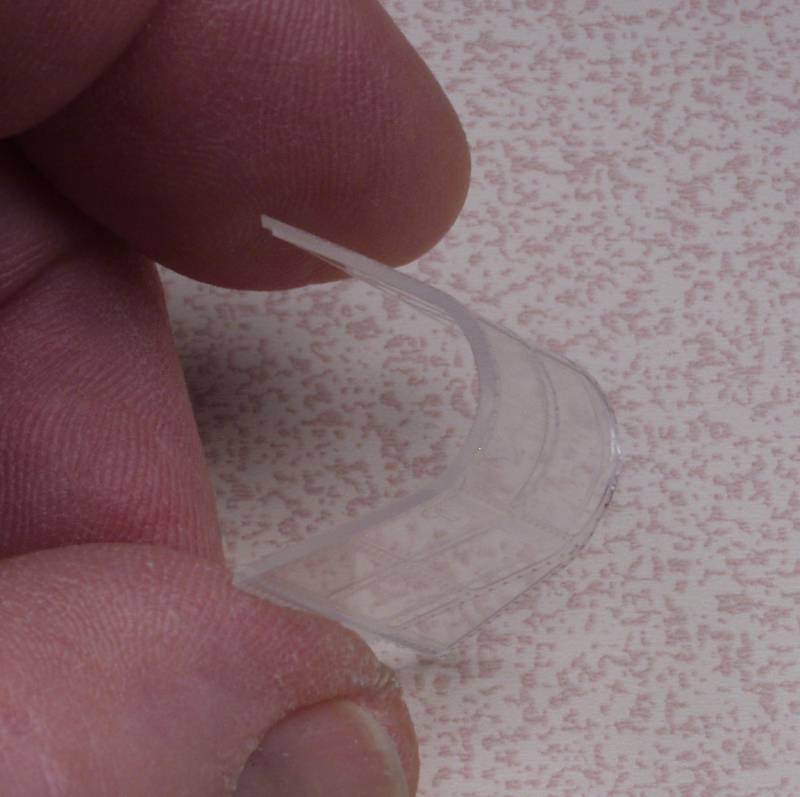
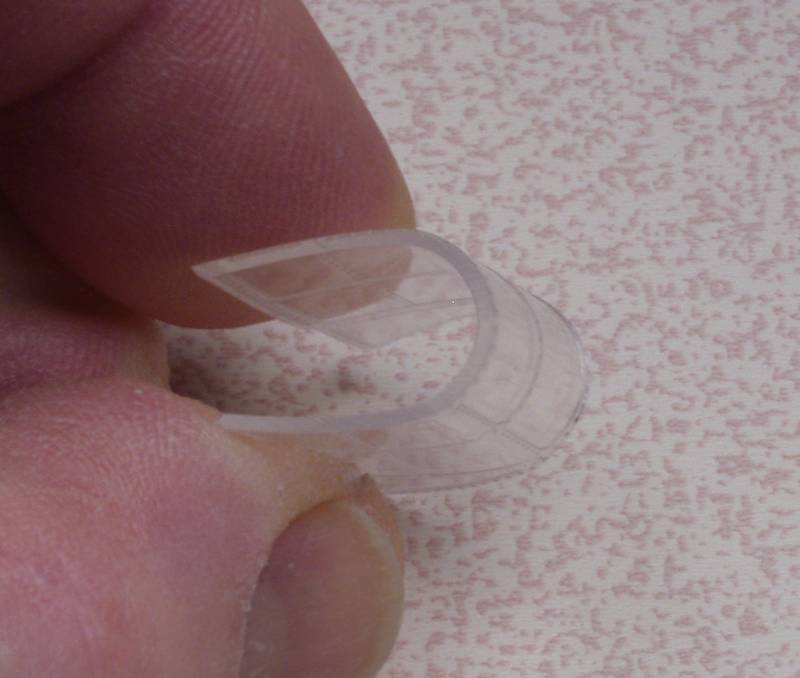
The clear parts are thin and clear but do display some optical distortion mostly in the curved sections and most notably in the turret glazing. The frames are raised which should make for easy masking. Parts are supplied to display the cockpit open or closed and in the open mode instead of stacking the parts a separate part molded to look like overlapping parts is supplied.
![]()
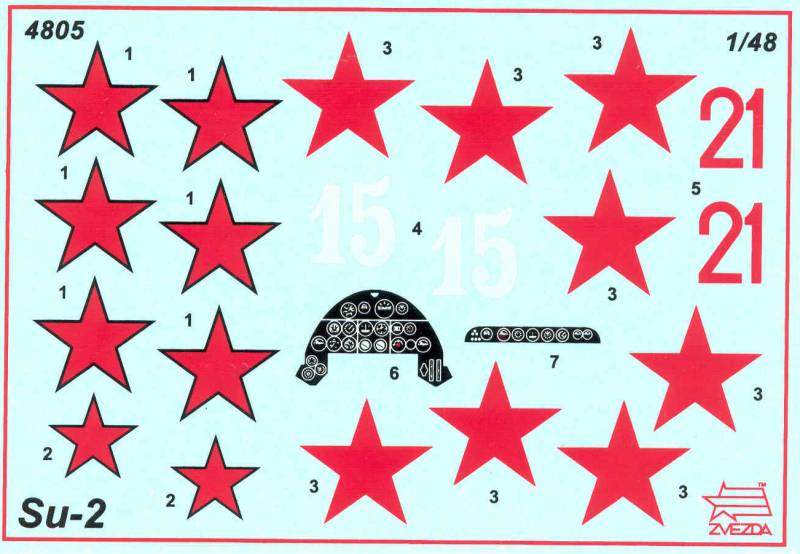
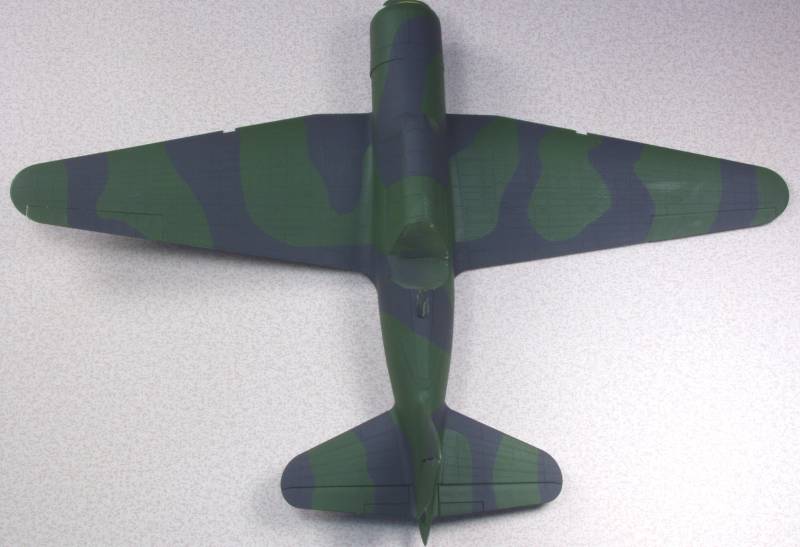
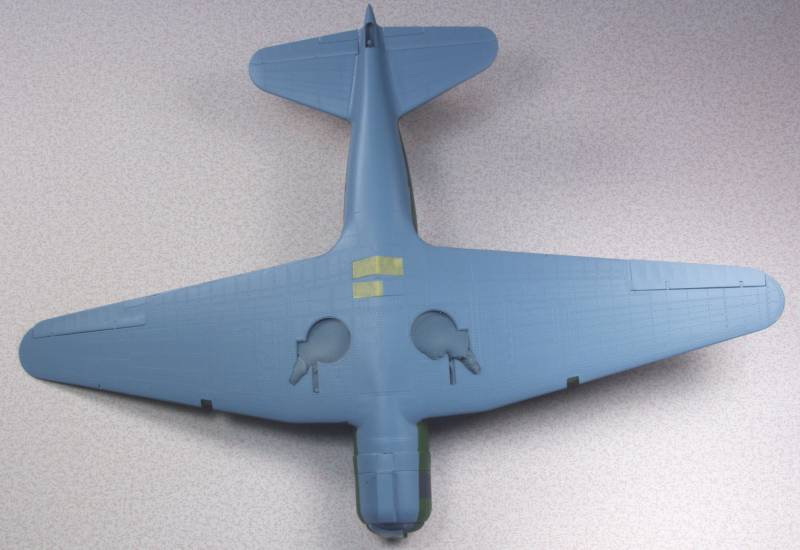
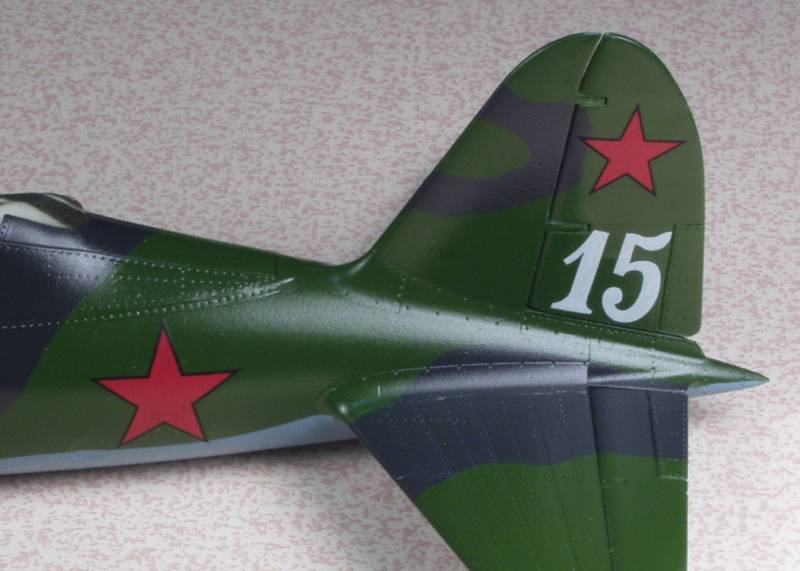
The decals appear thin on the sheet and the stars with outlines are in register. The white numbers do not appear to be very opaque. The clear film around the markings is minimal. Other that Zvezda there is no other indication as to who may have printed them. Decals are provided for the instrument panels. The kit provides markings for two aircraft, one in two tone upper colors from December of 1941 and one in winter white from the winter of 1941-1942.
The instructions are a printed on a large sheet folded to create six panels. The first panel has a brief history of the aircraft in English and Russian and multi lingual assembly advise. The second panel has a parts map and some additional "advise" on assembly. The next three and a half panels detail the assembly in 16 steps and the last 1/2 panel has painting and marking instructions. A paint chart with Russian colors and Humbrol numbers and generic paint names is included.
After Market Goodies
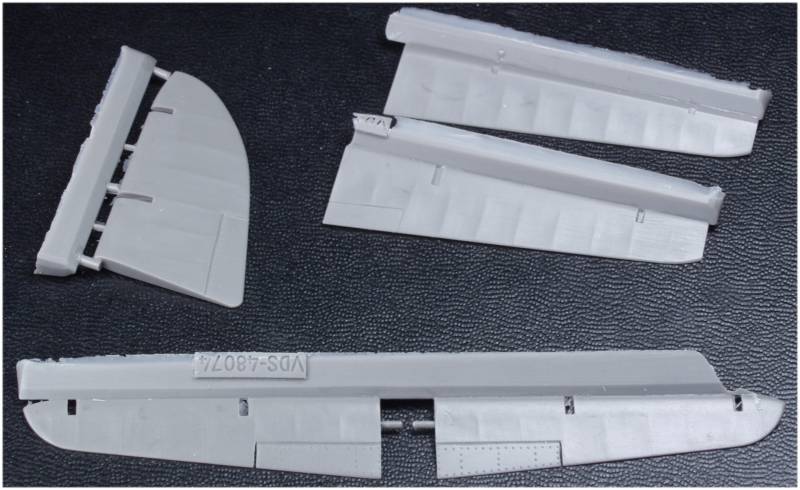
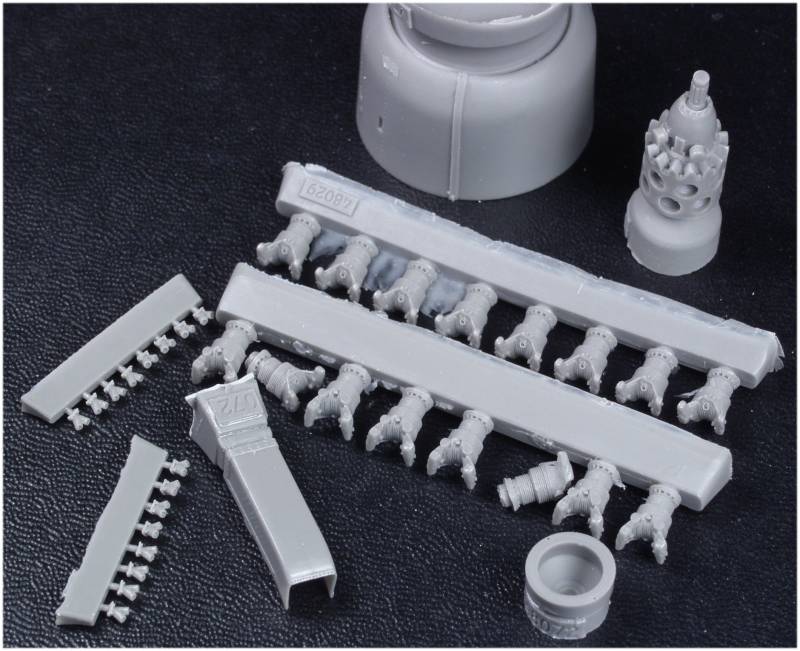
Quite honestly I'm not sure why I bought these as other than providing for separate elevators they don't really provide much other than slightly more exaggerated detail than the kit parts. These are Vector's VDS48-074. The are very well molded with no visible defects.
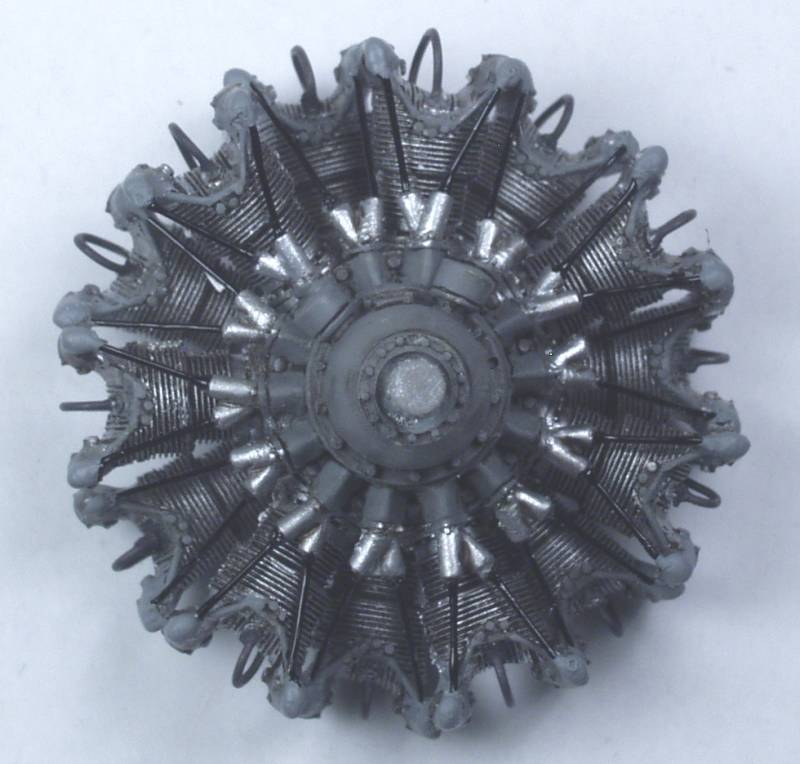
As I mentioned earlier the kit cowling is molded in three pieces which will no doubt be fiddly to assemble plus have three seams to deal with . This set also from Vector provides a nicely molded one piece cowl and also includes one of their suburb engines to go inside and a air intake scoop for the bottom. The engine is a kit in itself and does require you to supply some fine wire for the push rods. The ring shown with the parts is an adapter to attach the engine to the kit firewall. This is Vector number VDS48-072. While the kit engine is nice I'm not sure it will fit in the Vector cowling and I am assuming the Vector engine will.
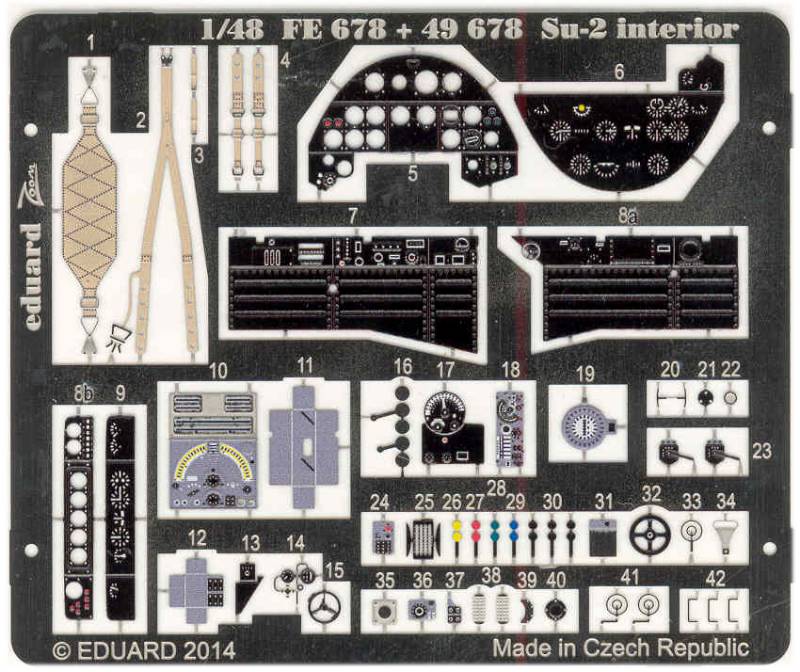
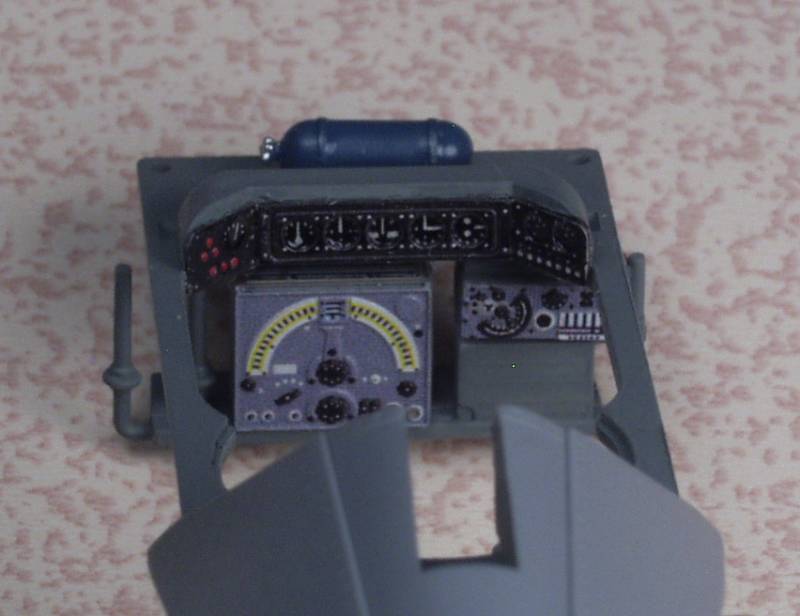
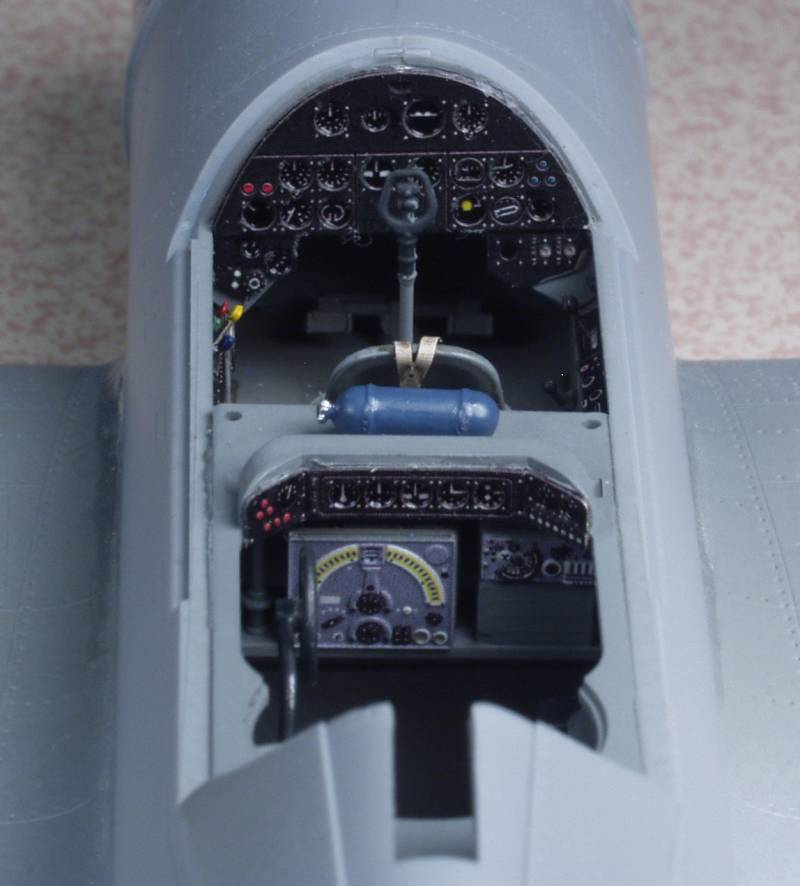
Eduard has done a mask set EX420 and a Zoom photo etch set FE678 shown below. It solves the instrument panel issue and provides some detailed side walls for the pit, a strap seat for the gunner and harness for the pilot as well as some fiddly bits to feed to the carpet monster !
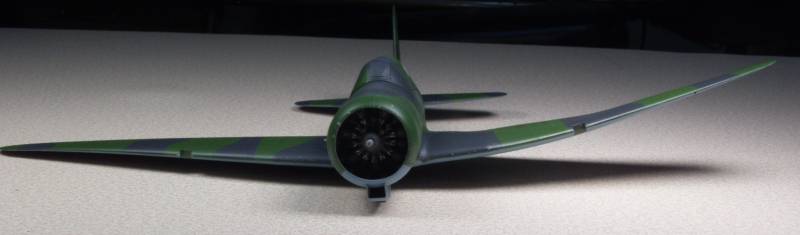
OK, so
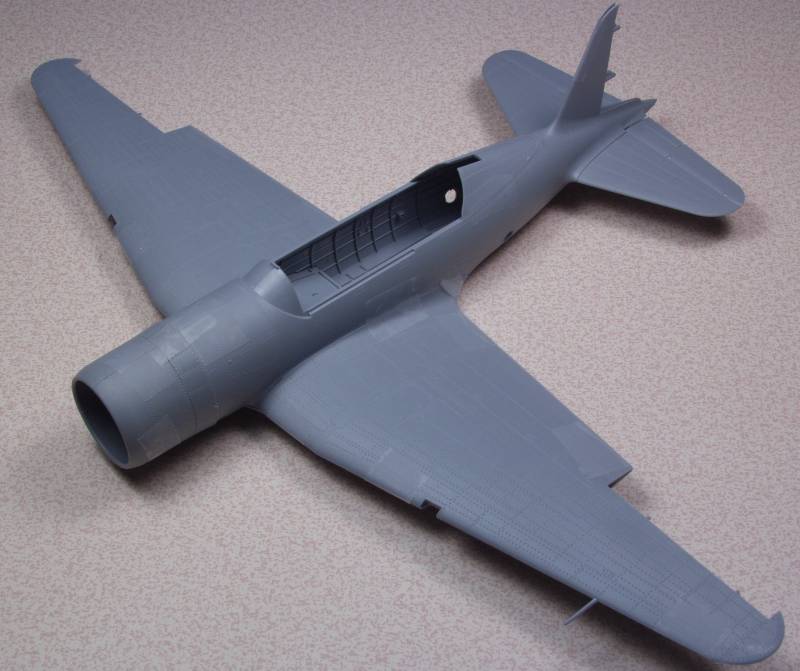
how does it fit. One is always curious as to
how the parts go together on kits from some of the smaller
manufacturers. Well in this case it appears that the fit is quite good.
I only did some minimal clean up of the sprue attachment points and as
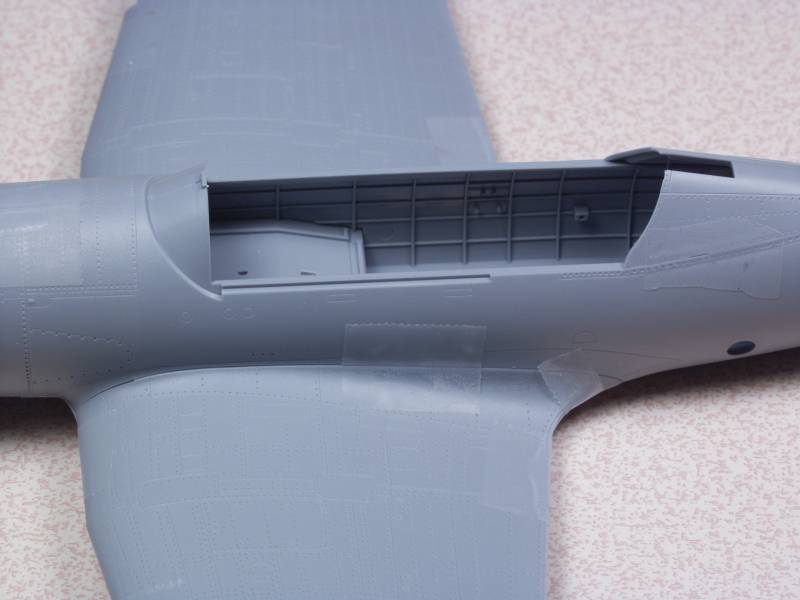
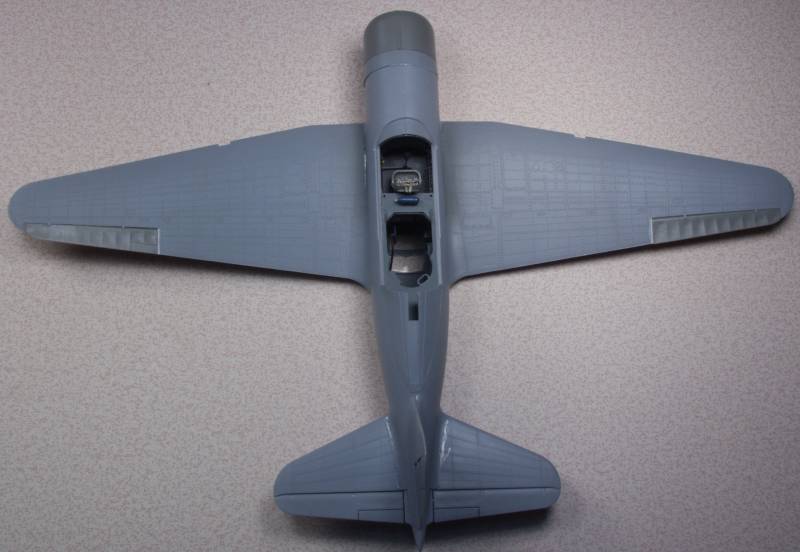
you can see in the photos below things fit together well. The fuselage
seams were tight and the tiny alignment pins seem to work well. The
wing halves fit equally well and would have fit better had I taken the
time to trim away a bit of flash here and there. The wing to fuselage
join fit so tightly that I had trouble getting it together but once
everything aligned it clicked right together. Again, a little time
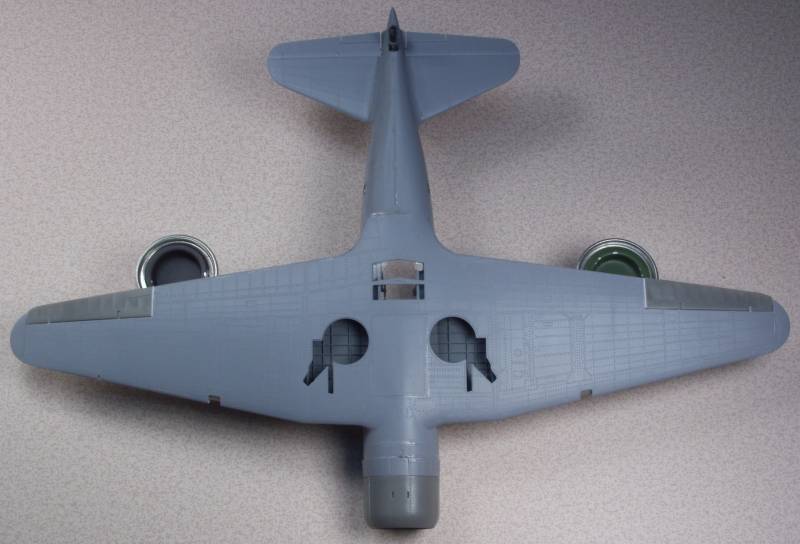
spent cleaning up flash would have made this easier I believe. There is
a seam fore and aft of the wing that will need some filler but that is
a fairly
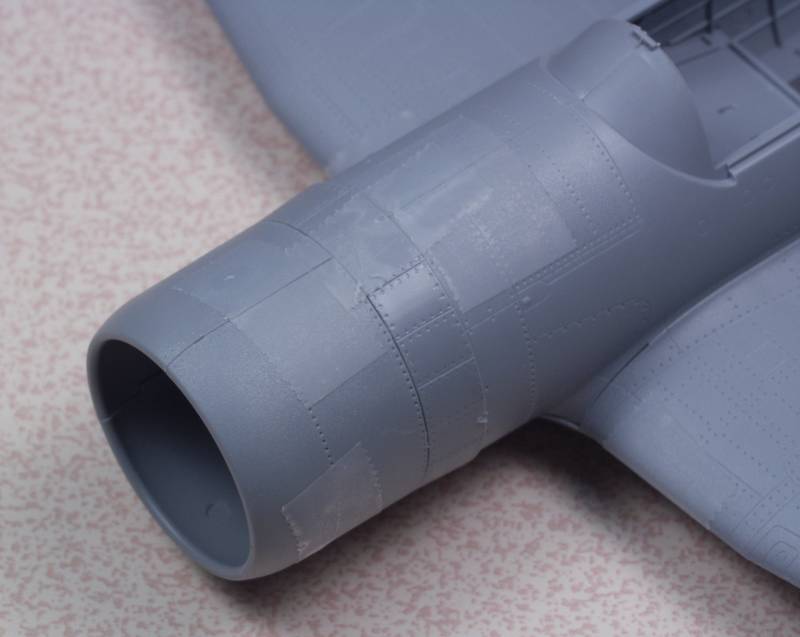
common issue with lots of kits. Even the three piece cowl fit well. It
doesn't have any alignment pins but there are ridges that help align
them. The fit to the cowl flaps section was tight and forced the seams
apart on the cowl when I pressed them together so the flap section may
need
to be filed a bit where it mates to the cowl. The cowl to the fuselage
joint was good as well. The tail planes are a single piece molding and
they are just press fit in place.

Conclusions
Over all this appears to be a nice kit of a mostly obscure aircraft and appears to exhibit good fit as well. Recommended !
Links to kit build or reviews
Another inbox review can be found here
References
The Osprey Encyclopedia of Russian Aircraft by Bill Gunston
Back to the Russians are Coming page.
The Build
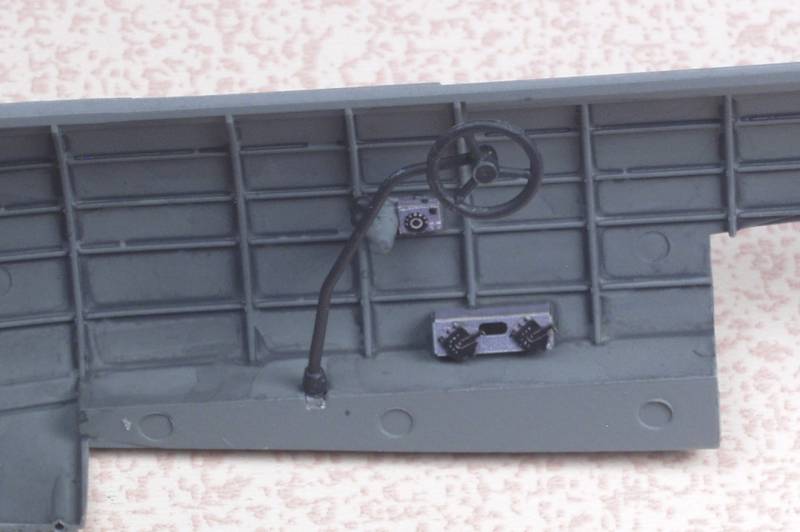
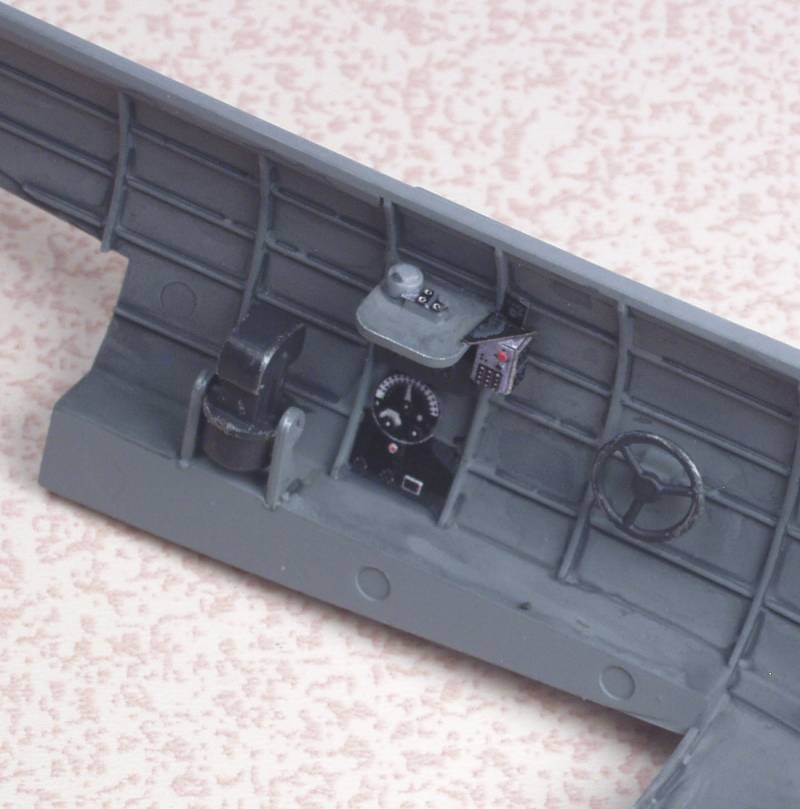
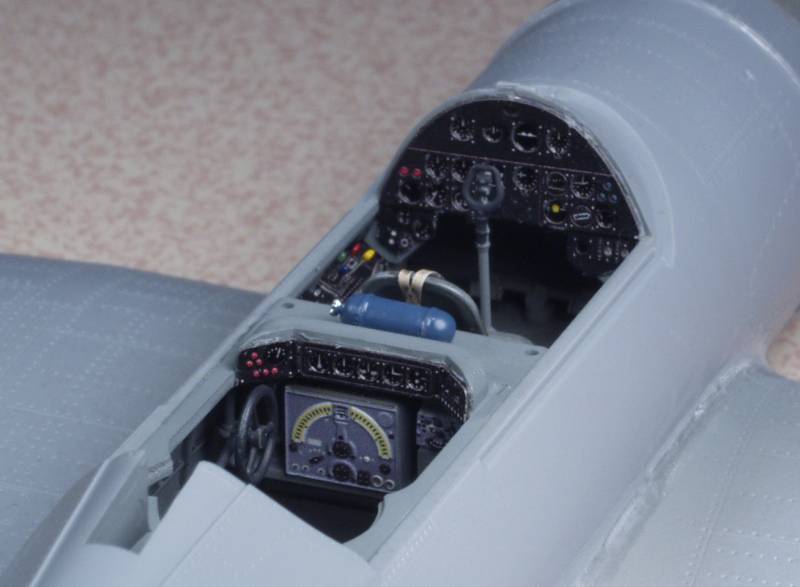
Like most this one begins in the cockpit. The Eduard Zoom kit provides just enough extra stuff to jazz things up.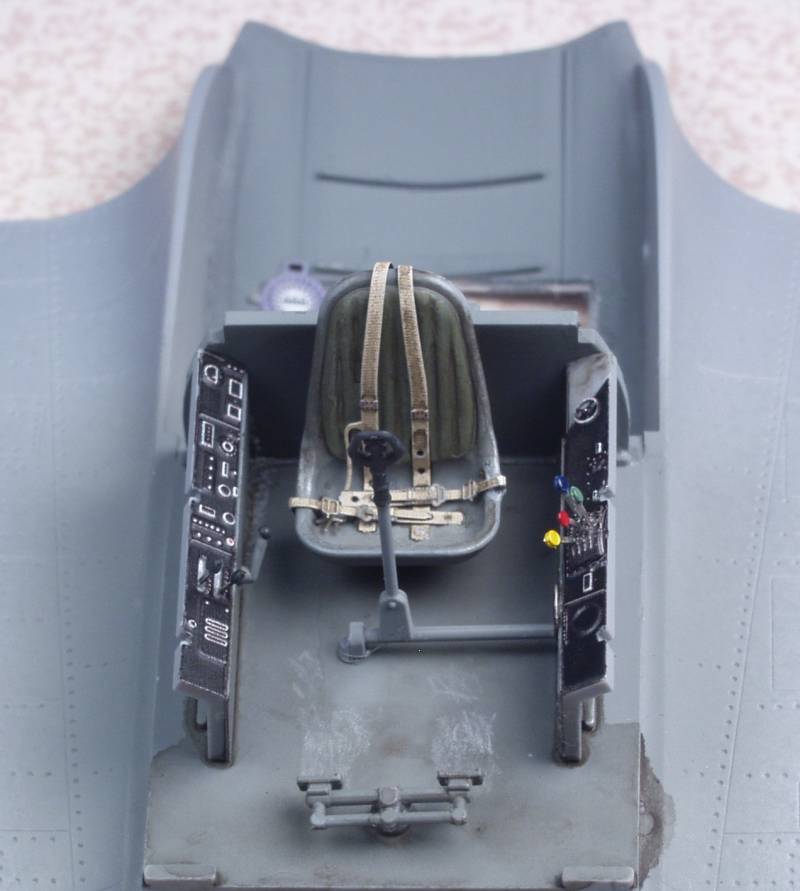
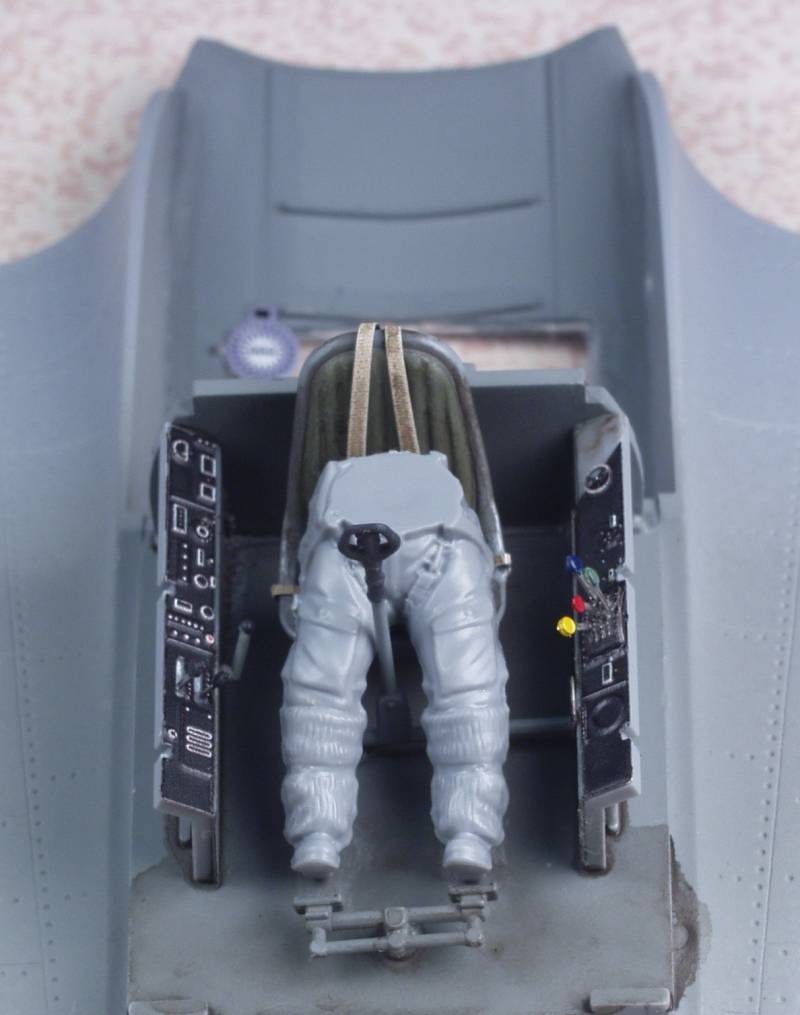


Side wall details.
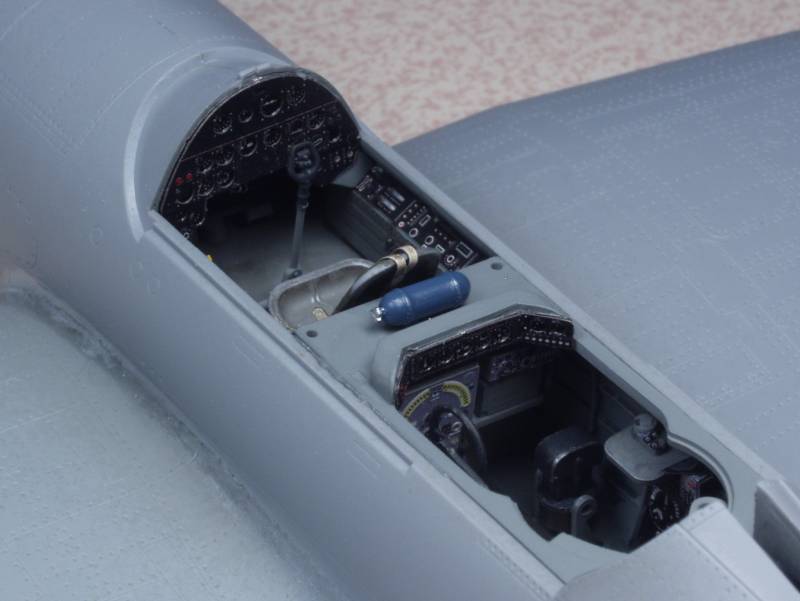
And just to show that I don't hide my failures, in an attempt to speed the drying of my decal sealing coat I left it too close to a swing arm lamp and when I returned I found this. Had it just been the wing it might have been salvageable as I had another kit but it distorted the fuselage as well. I really enjoyed this kit and will probably build it again sometime. I'm hoping I can salvage the interior parts when I do.
Back to the Russians are Coming page.