
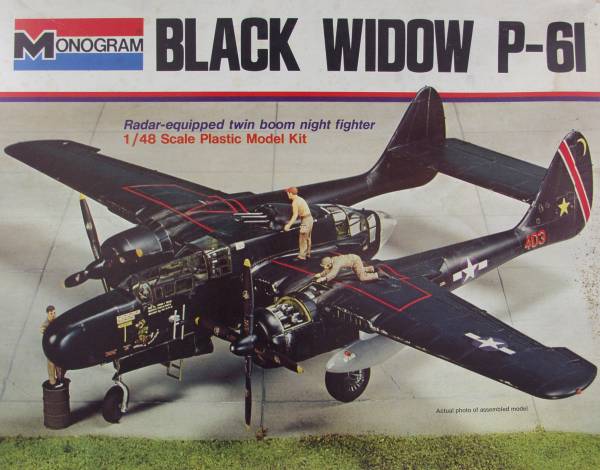
P-61B

The P-61 concept was brought about as a result of the observations of US officials in England during the Battle of Britain and discussions that Northrop had with British Purchasing Commission. After numerous talks with Material Command at Wright Field in which the final details and specifications of the design were worked out, the Air Corps issued Northrup a contract for two aircraft, the XP-61 and YP-61 on January 30, 1941. The XP-61 flew for the first time on May 26, 1942. Between then and when the first production "A" model rolled of the assembly line in October of 1943 numerous changes were made as a result of testing and requirements from the field. Like any piece of hardware pushing the state of the art, problems and delays are always present. Nearly half of the run of "A" models were built without the top turret due to buffeting problems when the turret rotated, although other historians give the reason for this as supply issue as the same turret was being used in the B-29. The next variant the "B" model which introduced many changes, most notable being a longer nose to accommodate the latest version of AI radar. The "B" model is what will be represented by the kit which can be built as an "A" or "B".
The Kit
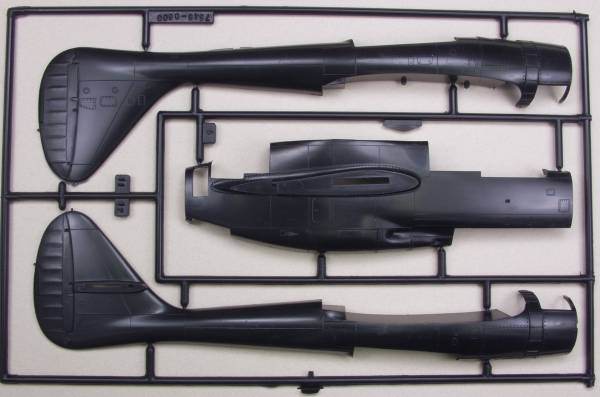
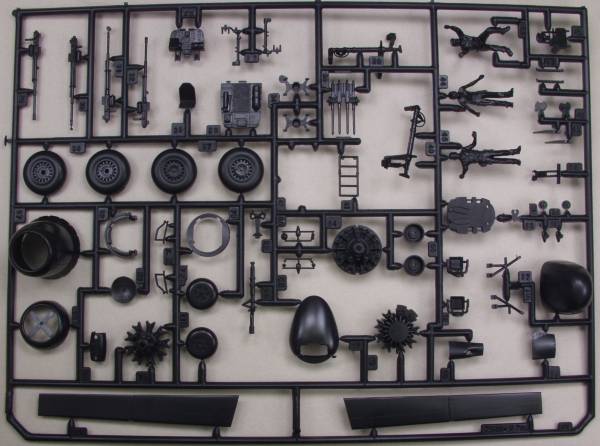
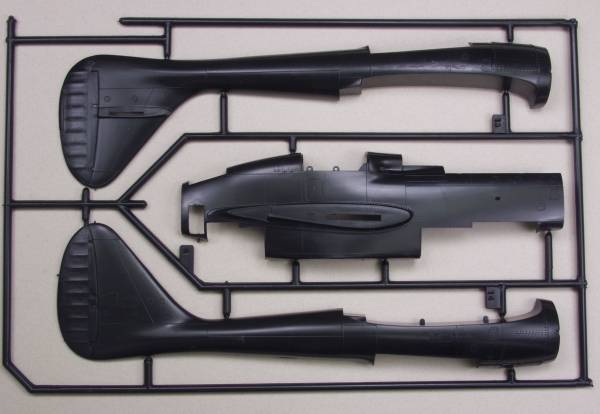
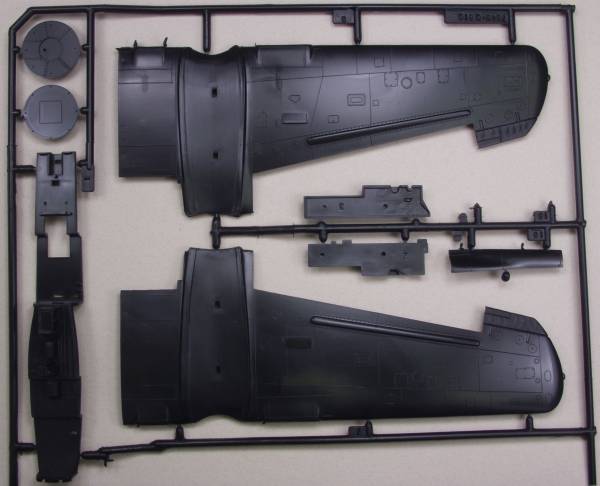
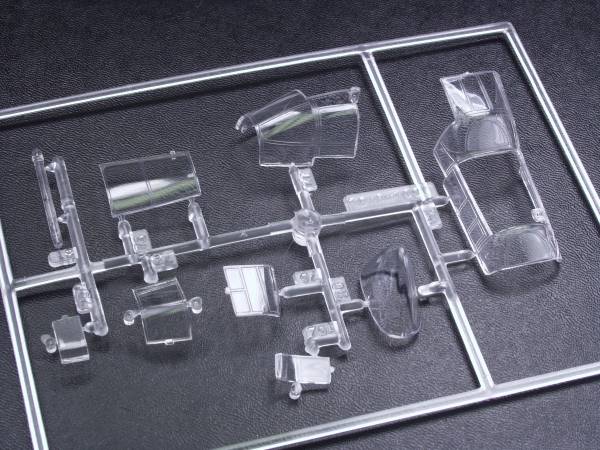
The Monogram kit has been around for a long time and is still the only 1/48 scale version of this interesting aircraft. The kit in my stash was released when Monogram was a division of Mattel and has a copyright date of 1974. This boxing included the Shep Paine four page article on building dioramas featuring a diorama with the P-61. The kit came in a sturdy top open two part box with a photo of the actually completed kit on the box top. The sprues in my kit were not bagged or if they were I discarded them long ago. The kit is molded in black plastic with raised panel lines, rivets and fastener detail. The finish is smooth and glossy but over the years some have acquired a lot of scuff marks from not being bagged separately. The major airframe pieces did not show any sink marks but some parts did have some flash on them. A few ejector pin marks were found, most noticeably on the insides of gear doors. The control surfaces are fixed except for the flaps which may be displayed up or down. The fabric control surfaces seemed a but over done to me. The insides of the fuselage and wheel wells display structural details. The port engine has both rows of cylinders and other detail so that it may be displayed with the cowling open, the other engine just has the front row of cylinders molded to a flat plate. The radar set for the nose is modeled but if you use it or chose to display the nose off you lose the space for weight necessary for to keep the nose on the ground. The cockpit has a nice level of detail for for the age of the kit but I have heard that the interior arrangement is not totally correct. The kit comes with several ground crew in various poses and a 55 gallon drum. There are four drop tanks supplied. By my count there are 123 parts in black. The clear parts are thicker than the norm for state of the art kits but it is quite clear. I have read that newer issues of this kit have problems with the fit of the clear parts. I did a quick check with mine and at least the main canopy glass fit nearly perfect. The main canopy is broken down into three pieces so it can be posed with both hatches open. The count for the clear parts is 9 for a kit total of 132. See photos below.

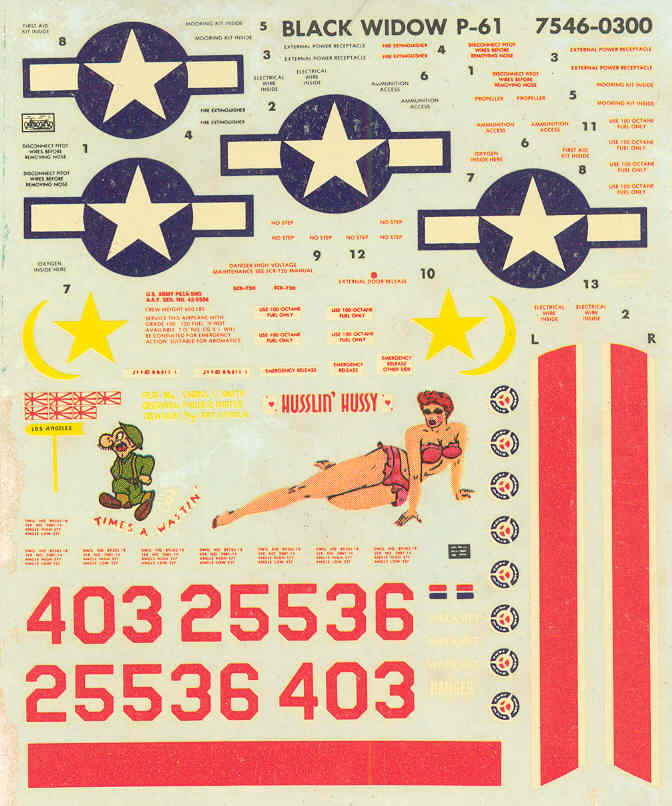
The decals that came with the kit included markings for two aircraft, one in all black and one in OD and neutral gray. Numerous stencils were supplied but the wing walk markings were intended to be cut out of a solid block of red. See photo below.
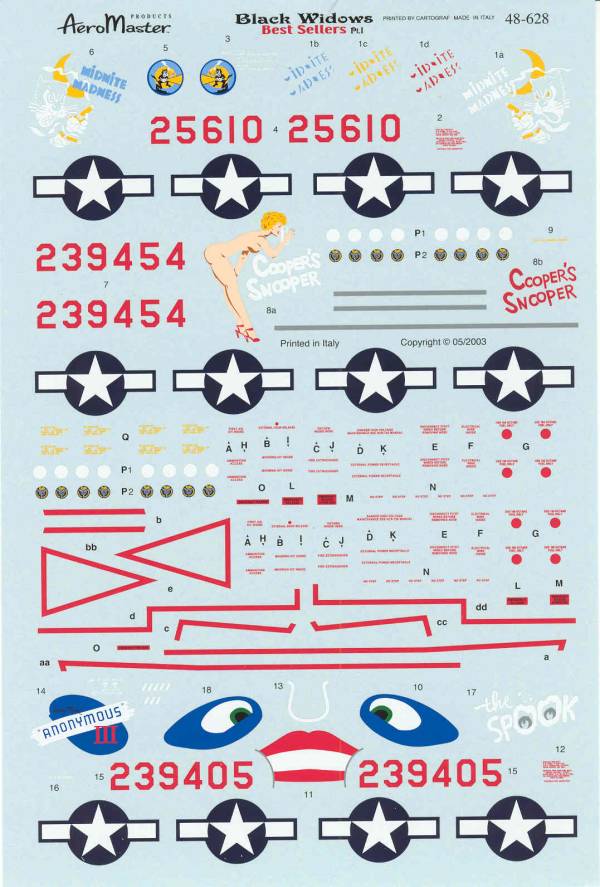
Since the decals are over 30 years old I wasn't to keen on using them. I picked up an aftermarket set by Aero Master [48-628]. This set will do three aircraft and at least for now I'm leaning towards doing Cooper's Snooper.
The instructions are printed on a 17" by 24" page that is printed on both sides and twice folded but the folding doesn't divide the sections like on a lot of kits. The front pages is divided in half with history, painting and marking instructions on one half and the first five assembly steps on the other. The back side is treated a one large page with twelve assembly steps spread out across it.
After Market Goodies
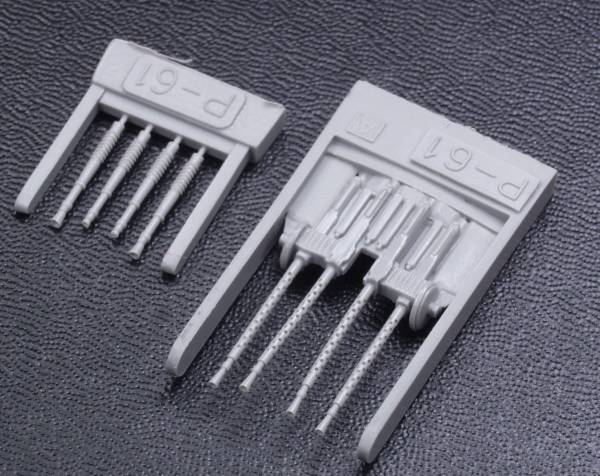
I decided to add a few after market items to the kit, the first is from Quick Boost [48080] and consists of replacement guns for the turret and gun barrels for the 20 mm's. These look nicer than the kit supplied parts and are pretty much self explanatory. see below.
Next up are replacement engines from Quickboost [48 055]. These resin replacement engines are nearly as nice as the Vector engines I had originally planned to use and have the advantage that they are designed to fit in the kit nacelles. The parts have nice fin detail are crisply molded with a minimal amount of flash. They come with separate magnetos and distributors. Holes are provided for push rods should you be so inclined but no material is supplied for them. I found no pin holes or short shots on any of the pieces which are molded in gray resin. The reason for the difference in appearance between the two is to accommodate the different mounting requirements that relate the kit have the option to open the cowling on one engine. The round piece with two tabs is an adapter for mounting the other engine. The set comes in a small corrugated box with a small but adequate instruction sheet. Photos of the prototype engine will be helpful if you decide to add additional detail such as the ignition harness. See photo below.

Vector recently released a replacement set of glazings [VDS48021] for the kit which while rather expensive compared to the price of the kit looks to be a worth while investment based on the fit issues with the kit supplied parts. The set offers the option of both open or closed panels in the forward section. The Forward glazing includes a portion of the fuselage which should make masking and painting easier but will require some cutting on the fuselage. Likewise the layout of the tail cone glazing will require some fuselage modification but will eliminate the fit issues with the small separate side glazings. The parts are nice and clear and about the same thickness and the kit parts. The were free of molding defects and bubbles and should look stunning with a coat of Future. There are no instructions provided but most of the modifications required are pretty straight forward once you look at the parts. While not recommended for beginners, most modelers with a moderate amount of experience should appreciate the grief this set will eliminate not needed to deal with the poor fit issues of the kit parts. See below.
![]()
![]()
I also opted for an Eduard photoetch set[48382] to dress things up inside since there is a lot of glass to see it through. This set is exclusively interior parts and there is some variation depending on whether you are doing and "A" or "B" model. See photo below.

I also plan on using the Eduard [EUEX075] mask set and a Terry Dean nose weight in lieu of the radar set.
This kit was the standard of
excellence at the time it was released and except for the raised
surface detail has stood the test of time. It's still the only choice
in this scale if you want to do a P-61. While the raised detail
make building more of a challenge they were SOP when I started modeling
and re scribing something this large really doesn't appeal to me.
That's not to say I won't try it when the time comes. It does have some
fit issues but no worse than many of the better limited run kits
available today. I would recommend it to modelers with a moderate
amount of experience.
Links to kit build or reviews
A review / build can be found here and here and another inbox review here and photos of a nicely built kit here.
References
"Northrop P-61 Black Widow" by Garry R. Pape and Donna Campbell
"Queen of the Midnight Skies" by Garry R. Pape and Ronald C. Harrison
Back to the Night Fighter page
Updated 11/10/09