OV-1A Mohawk

It's missions would include observation, artillery spotting, air control, emergency resupply, naval target spotting, liaison and radiological monitoring. The Navy also specified that the aircraft must be capable of operating from escort class carriers. In March of 1957, the DOD announced that the Grumman Aircraft Corporation had been designated the prime contractor to build the new aircraft which had received the Grumman designation G-134. While the Army remained the controlling agency, the Navy, acting on behalf of the Marines was heavily involved and would play an important role in the aircraft's development.
From the outset the G-134 was the center of controversy. The Army and Marine requirements were never actually compatible and compromises were made that suited neither service. From the Army's viewpoint the design was compromised by the shipboard requirements and other Marine specifications which had little application for an Army observation aircraft. The Marines needed a fixed wing replacement for the Cessna OE-1 and they did not need the sophisticated sensors which were planned for the aircraft.
The G-134 had armament pylons because the Marines required that the aircraft be capable of light attack missions. The Air Force strongly opposed this feature, tactical air support was the role of the Air Force, not the Army. Now all four services were involved. The battle over the air support issue became so heated that at one point the Air Force demanded that Grumman stop printing company brochures that highlighted the attack potential of the G-134.
In September of 1957 the Marines announced that they were dropping the G-134 program. Due to budgetary problems the Navy had decided to fund a fleet tanker instead. The Army elected to continue the project alone and was actually pleased to be free of the Marine requirements. The first contract called for nine aircraft to be built under the designation YAO-1AF. Even though the Marines had dropped the program, the designation of OF-1 was reserved for a Marine version.
The YAO-1AF made its first flight on April 14, 1959 at Bethpage, New York. From the beginning the tests progressed smoothly. The flight test program revealed that the YAO-1AF had outstanding flight characteristics. It was fully aerobatic and the controls were found to be very responsive, especially in a roll. The YAO-1AF proved to have one of the fastest roll rates of any aircraft, about 180 degrees per second. Test pilots reported that its flight characteristics were midway between those of a light aircraft and a jet fighter. As for the rough field requirements the aircraft had exceptional STOL characteristics due to full span leading edge slats, the triple fins and rudders and large flaps. The YAO-1AF was originally to be named the Montauk after a tribe of Long Island Indians that lived near the Grumman plant but since the tribe was virtually unknown the Army decided to name it after the more well know and aggressive New York tribe, the Mohawk. With the service aircraft re-designations of 1962, the YAO-1AF was re-designated the YOV-1A. After completing all tests, the Army accepted the Mohawk and ordered the aircraft into production under the designation OV-1A.
The Kit
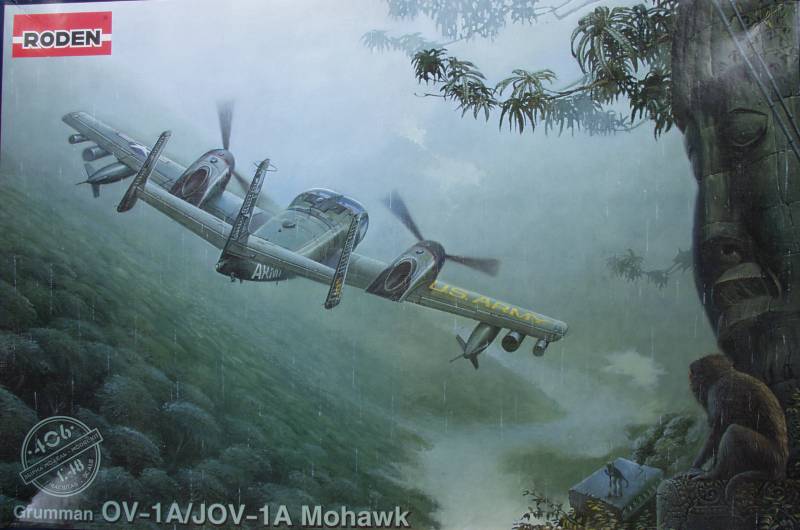
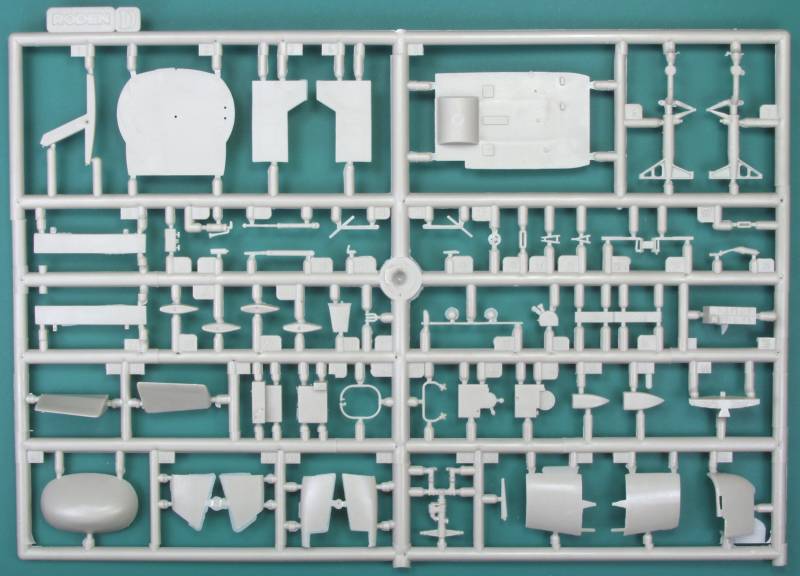
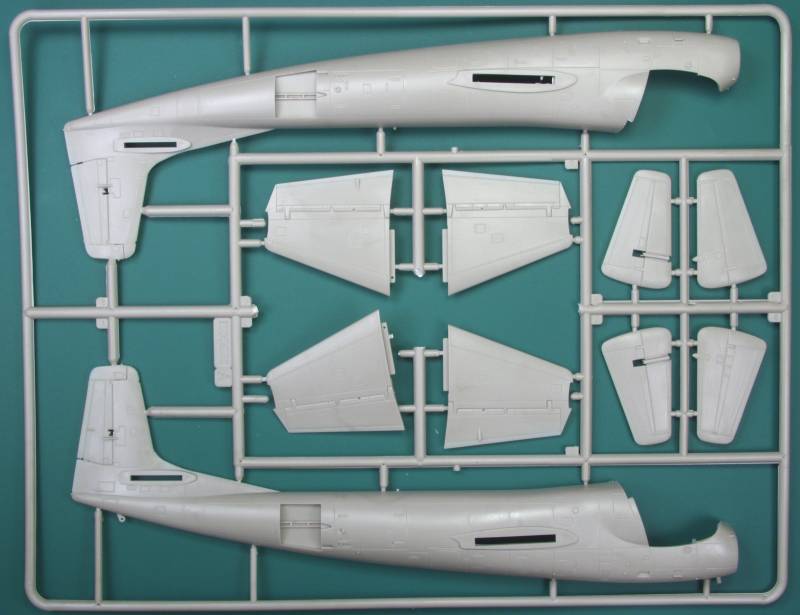
The Roden kit comes in a fairly large top open two part box with nice artwork on the front. So nice in fact a print suitable for framing is included in the box. Inside the box there are five sprues molded in a tan color and each in its own sealed bag. The surface detail is both recessed for panel lines and raised as required for other surface detail. The parts are nearly flash free with a few of parts having a light amount of flash to clean up. The surface had a smooth flat finish and was for the most part blemish free. My kit had flow marks on the lower and upper surface of one wing as if the plastic wasn't quite as hot as it should have been and this left a swirled defect that will need a light filling and sanding. The wing gear bays are closed in and feature nice structural detail but this is marred by a prominent ejector pin mark. The control surfaces are all fixed in the neutral position but the air brakes are provide separate and can be displayed open. There is a definite lack of detail underneath them. The doors themselves have nice backside detail but again it is marred by ejector pin marks. The gear doors are free of ejector pin marks but seem to have more flash on them than most of the other parts, The nose gear well is boxed in but lacks detail and yes it has ejector pin marks as well. The interior is pretty well appointed with the exception of the rear cockpit wall which is rather a bit too plain looking. The kit comes with a nice supply of typical under wing stores including wing tanks, a gun pod and two different rocket launcher pods. The sway braces supplied for these are very nice, small and petite but a couple of mine were broken or poorly formed. The exhaust tubes are two part and due to their location will require a bit of work to clean up the otherwise very obvious seams. By my count there are 196 tan colored parts. See below.
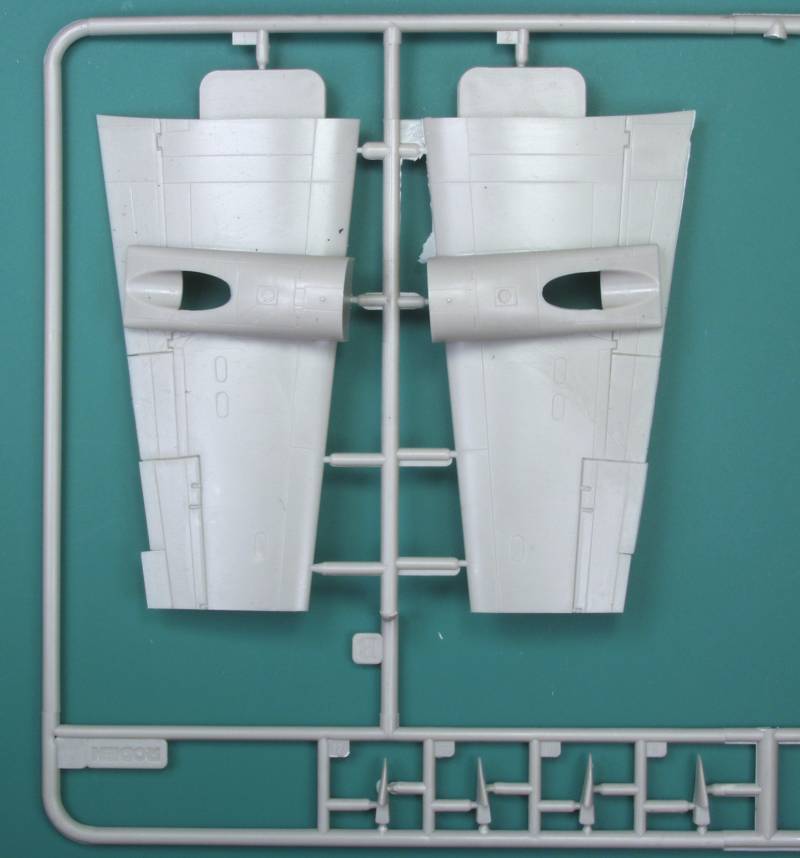
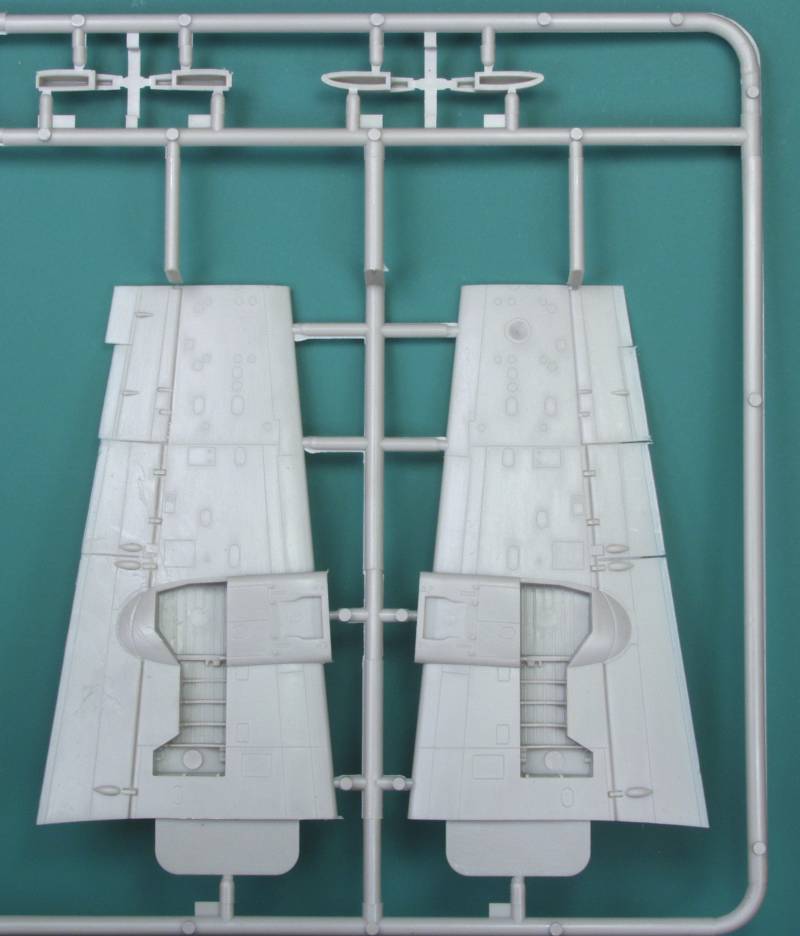
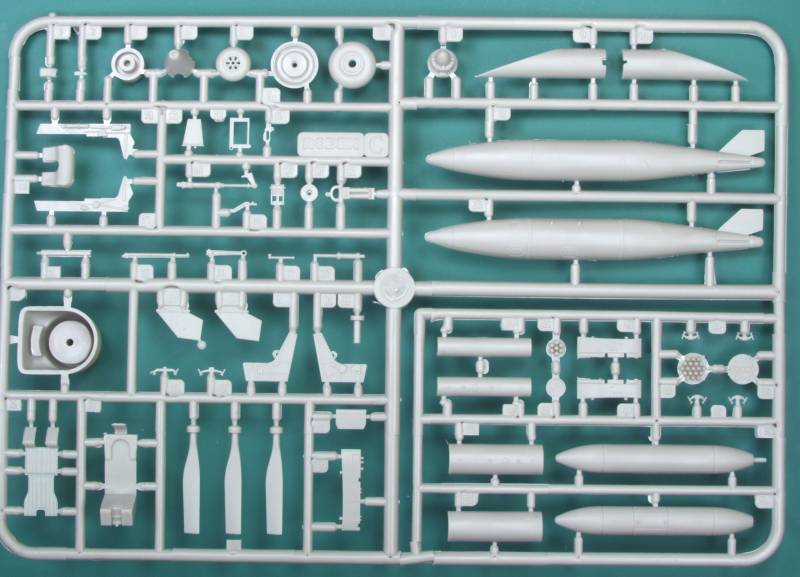
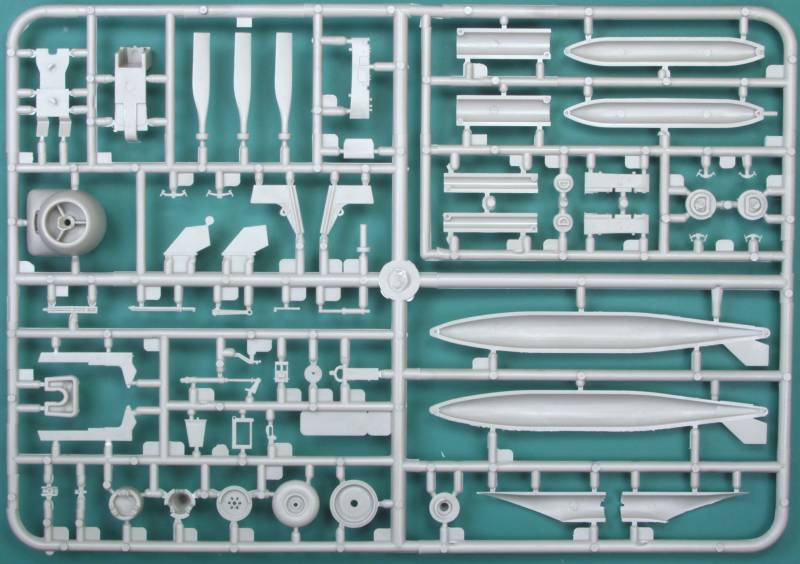
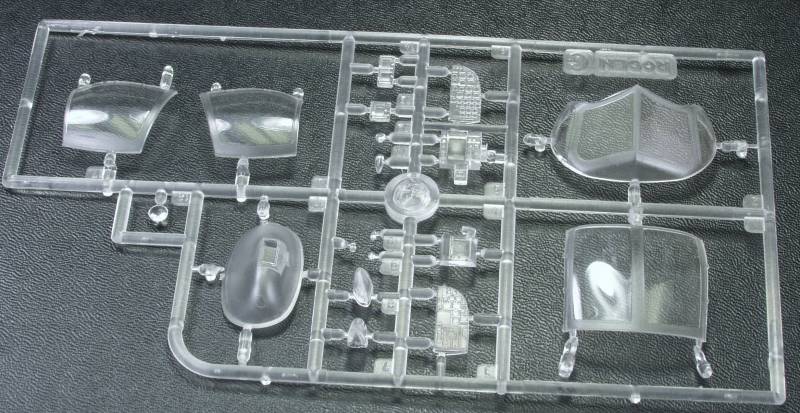
The clear parts are clear and thin but mine had a coating of what looked like an oily dust on them even though they were separately bagged like they were stored in a dusty area before packaging, there was also some abrasions on mine that I hope Future will correct. The clear parts include instrument panel which has a decal to be placed behind it for the instrument faces. There are 19 clear parts, see below.
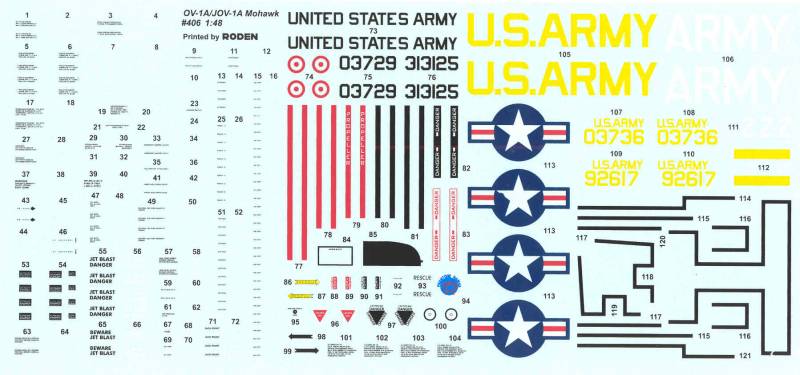
The decals are thin and glossy and well registered but have a lot of excess clear film on them. One of my star and bar markings had a slight misprint with some blue in the white star area. There are markings for four different aircraft including more stencils than I can image installing.
The instructions are printed on three near legal sized sheets that are folded and printed on both sides forming twelve pages or panels. The first pages has a fairly detail history and specifications for the aircraft, pages two and three have safety warnings, an icon chart, parts map and a paint chart listing colors by name and Humbrol, Testors, Lifecolor and Gunze color numbers., pages four through nine have assembly drawings divided into 39 steps, page ten has a diagram for the stencil locations and pages eleven and twelve have the painting and marking instructions.
After Market Goodies
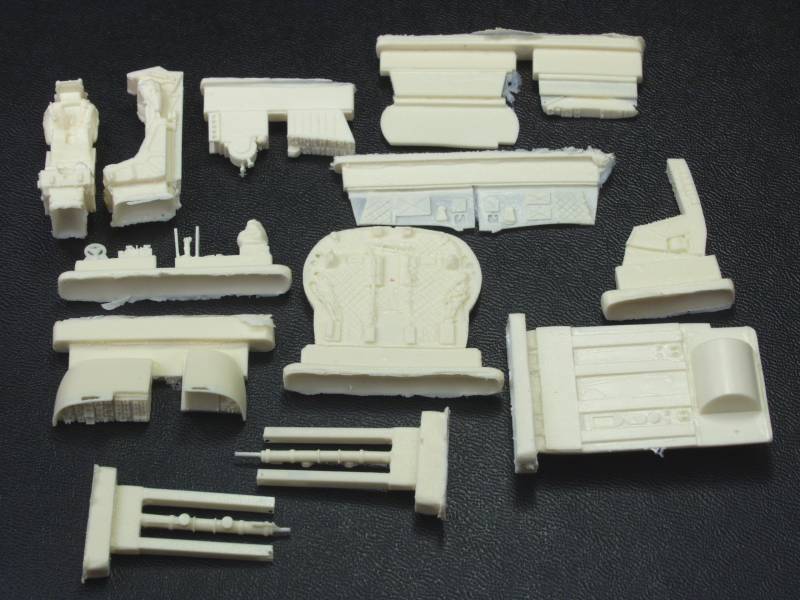
First up here is the True Details [48513] resin cockpit. The parts are molded in a tan colored resin. The parts are crisply molded and I found only one small blemish and no pin holes or short shots. The parts consist of two very nicely done ejection seats, replacement instrument panel, replacement floor with a very nicely done nose wheel well with the detail that was missing from the kit part. New center and overhead console, side consoles and throttle quadrant, side panels, control stick, trim wheel, ejection gun and a very detailed rear bulkhead to replace the very plain kit version. Altogether there are 18 parts. The instructions are on a small 5 1/2 x 8 1/2" sheet and are well illustrated and included some details that will need to be scratch built if you want them. See below.
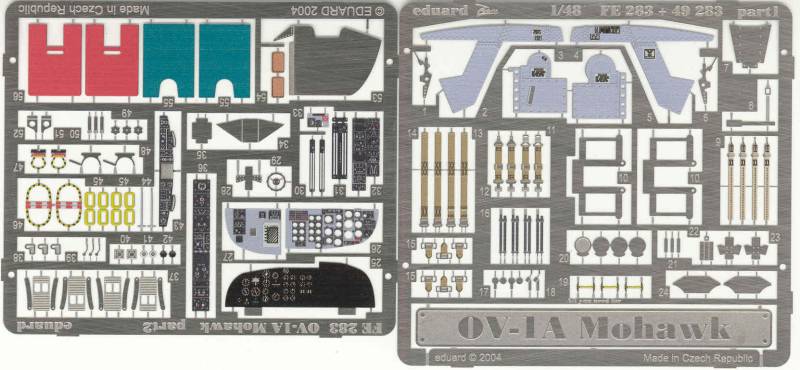
The Eduard Zoom photoetch set [FE 283] includes some duplicate parts to the set above and it's up to you to decide which parts look best. I bought it primarily for the color instrument panel and will use in in conjunction with the above set to give me the best of both worlds. See below
Conclusions
While I may have seen overly picky in my description of the kit, this kit marked a milestone in Roden's progression from being a limited run kit maker to becoming closer to a main stream player. While some parts of the kit look very much limited run it does have alignment pins on major parts. It still should be treated as a limited run kit with all the caveats about test fitting and edge sanding mating parts but most build reviews have favorable comments concerning fit so I will recommend the kit to most modelers with a moderate amount of experience
Links to kit build or reviews
Build / reviews can be found here and here.
References
The OV-1 Mohawk In Action by Terry Love