
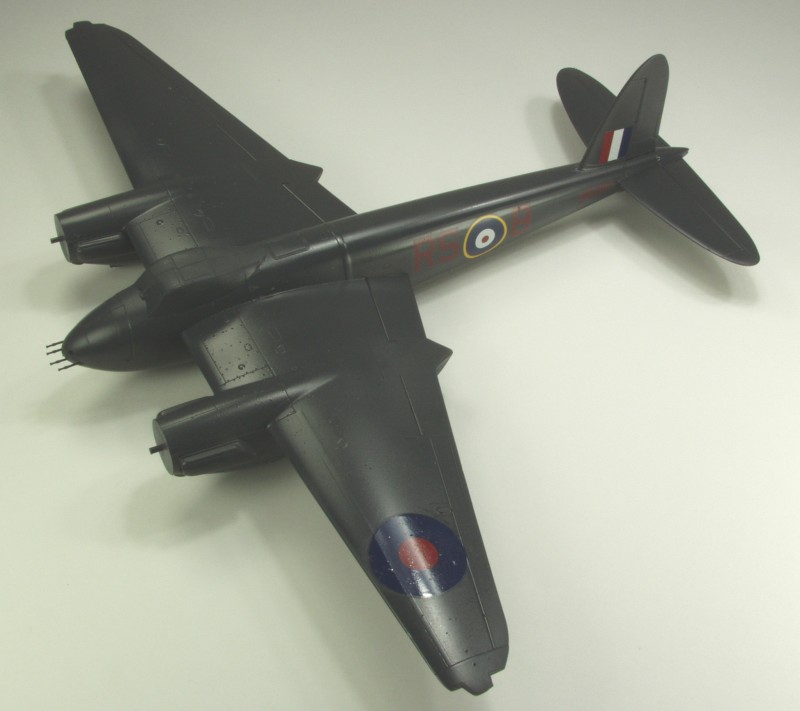
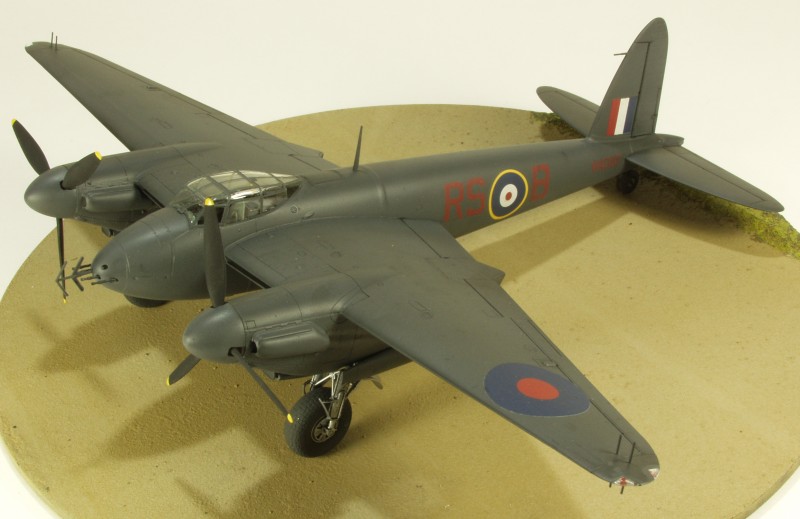
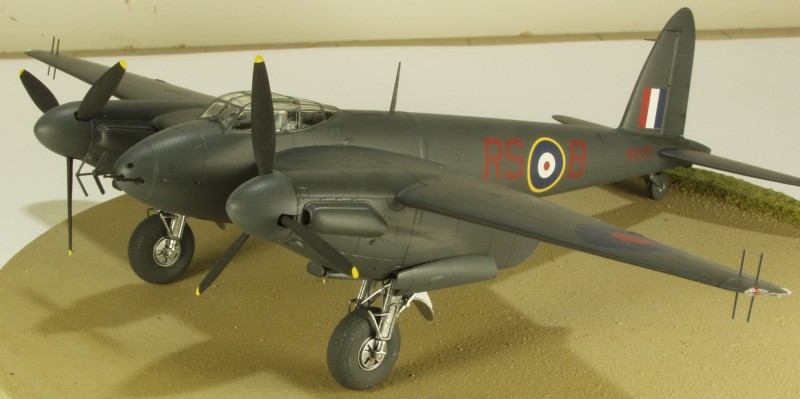
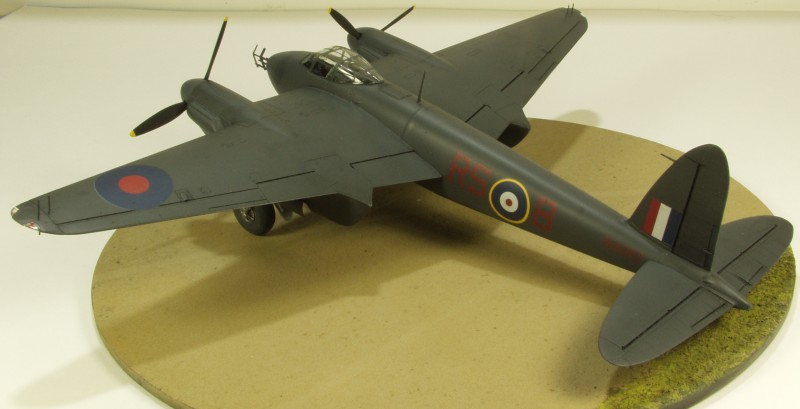
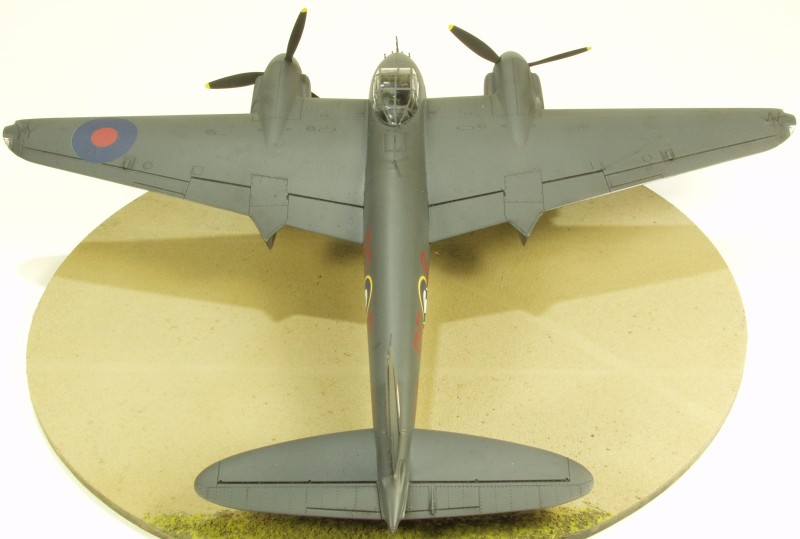
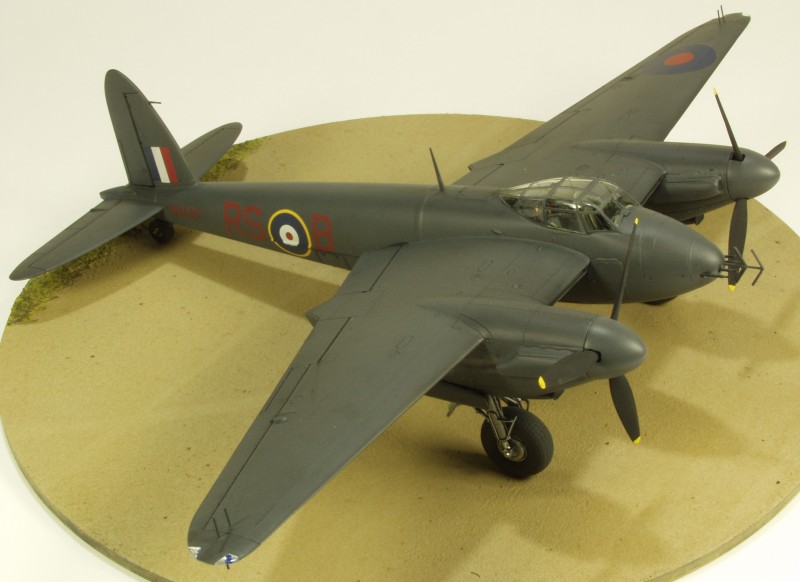
Mosquito NF Mk II
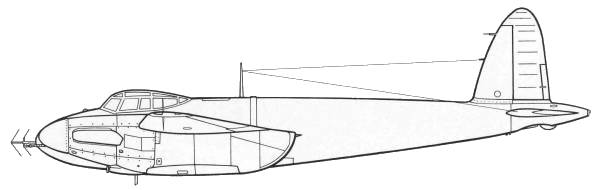
The DeHaviland Mosquito was a paradox in that while it was conceived as a bomber, it became one of the wars most potent fighters and was probably the most successfully versatile of any of the twin engined types built during the war. The first fighter version of the Mosquito introduced into squadron service was the N.F. MkII equipped as a night fighter and used for home defense along side the Bristol Beaufighter. It's matte black finish reduced the aircrafts top speed by 16 m.p.h. In May of 1942 the night fighters scored their first "probable" and in the following three years would rack up a score of nearly 600 kills over the British Isles and destroyed 600 V-1's in a two month period. They later operated, much to the detriment of the Luftwaffe, in the bomber support role defending the bomber streams over enemy territory. The Germans also spent a lot of effort trying to develop an aircraft that would be a Mosquito killer. The closest they came was the Me 262 which had the speed to catch them but was too late in the war to have any major effects on operations.
The Kit
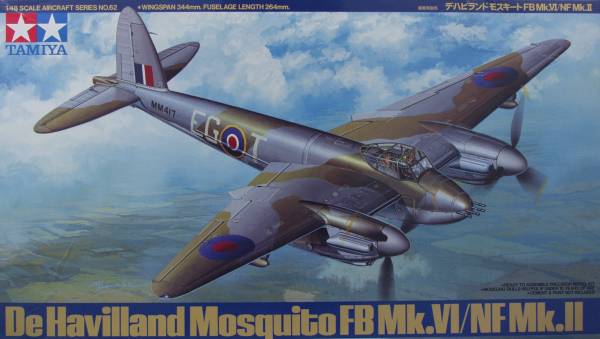
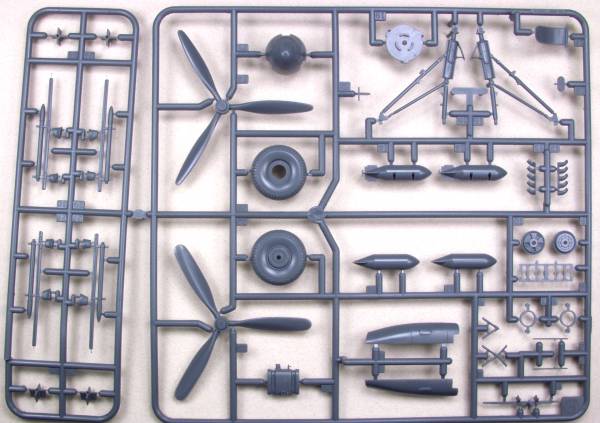
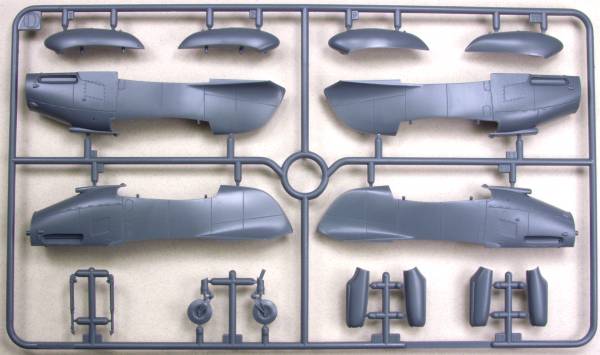
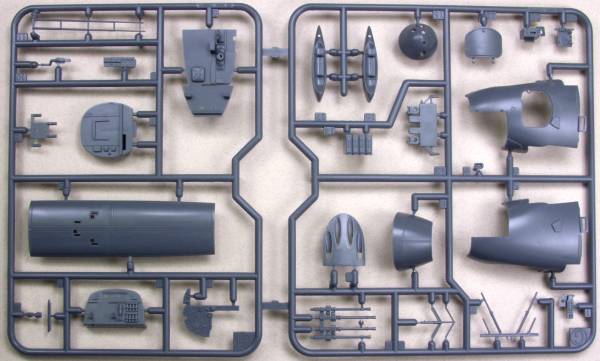
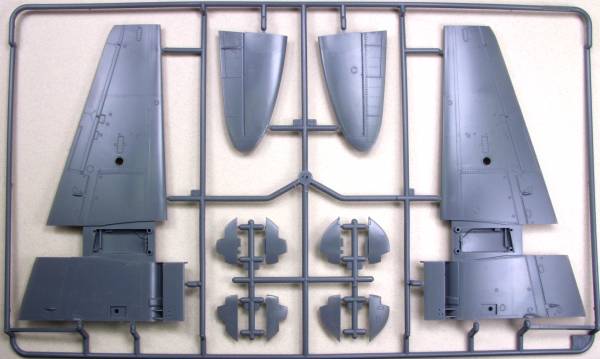
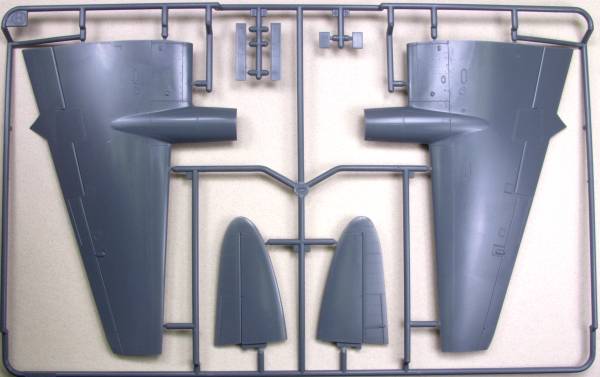
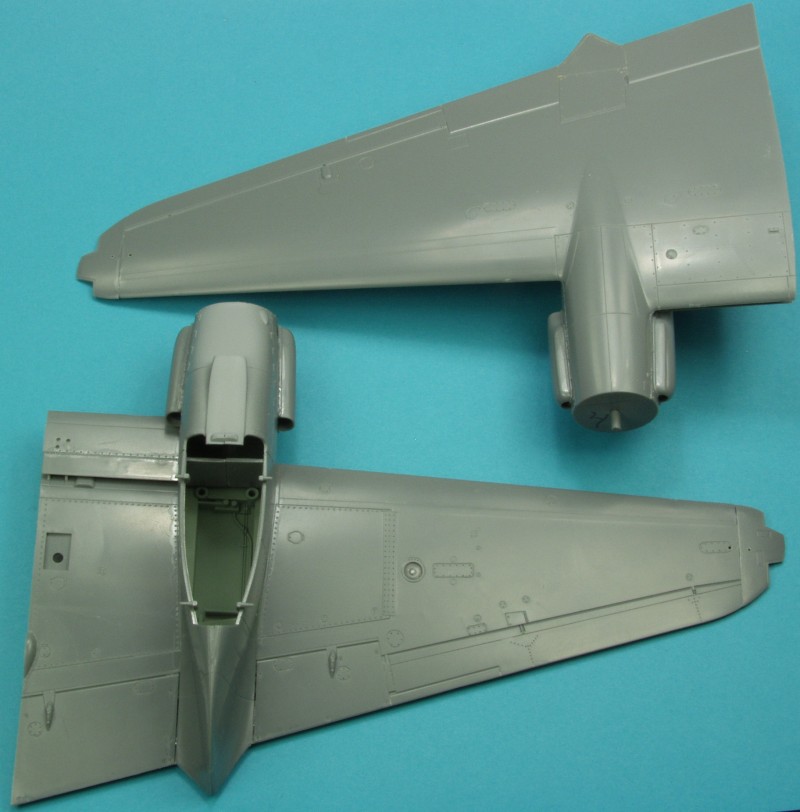
The Tamiya kit comes in a two part top open box with attractive artwork on the top. Inside the box are five bags, four with the kit parts molded in a medium gray color and one with the clear parts. The parts are smooth and has recessed panel lines and fasteners as well as some raised detail where appropriate. I found no sink holes or other surface defects in the major airframe pieces. The parts were virtually flash free with only minor parting lines to be cleaned up on the smaller parts. Since the kit can be built as either a fighter bomber Mk.VI or a night fighter Mk.II there are some redundant parts depending on which you build. For the fighter bomber there are bombs and external bomb racks as well as under wing rockets and mounting rails and slipper tanks. There are flame dampers and radar antenna for the night fighter version as well as different cockpit instrumentation and propellers. There are some ejector pin marks to be found inside the gear doors and on a few of the landing gear struts but they are very light compared to most kits and you almost need to make a special effort to see them. The cockpit is reasonably well done and will satisfy all but those suffering from AMS. Two crew members are supplied and they are not bad detail wise. All of the control surfaces are molded in place. The crew entry hatch is separate and can be mounted in the open position and a boarding ladder is supplied as well. The kit tires are nice but not weighted. There is a double wing spar that should provide a solid mounting for the wings as well as provide the correct dihedral. Altogether there are 164 gray parts, not bad for a twin engined aircraft but not all will be used. The clear parts are thin and clear and the frame work is well defined. There are a total of 9 clear parts for a grand total of 173 parts. See below for photos of the sprues. Note that there are two of the sprues with the propeller blades, only one is shown.

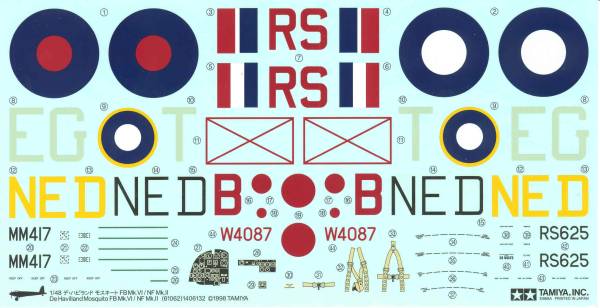
The decals provide marking for three aircraft, two fighter bombers and one night fighters. They appear to be reasonably thin and opaque. On my set there was a slight registration issue which was most noticeable on the yellow part of the fuselage roundels and the fin flashes although they could easily be trimmed to correct the issue. The sheet includes the instrument panel which has only raised bezels with no other raised detail. Also included is a nice assortment of stencils and a set of harnesses. See below.
The instructions are typical Tamiya printed on a 10 1/2" x 33" page that is folded to create ten pages. Page one is history in multi-languages Page two lists tools, safety warnings, colors by name and Tamiya number. There are seven an a half pages of assembly instructions with the balance devoted to painting a decal instructions. In addition to the main instruction sheet there are two other pages, one 6 1/2" x 10' printed on both side with decal locations shown for each version and the other is a 10 3/4" x 13 1/4" sheet printed on one side in full scale showing the camouflage patterns for the fuselage and upper wings. This is quite nice as it could be cut out and used as a mask for painting.
After Market Goodies
This is yet another kit that AMS kicked in on and as a result I ended up with some after market items, three of these will be reviewed.
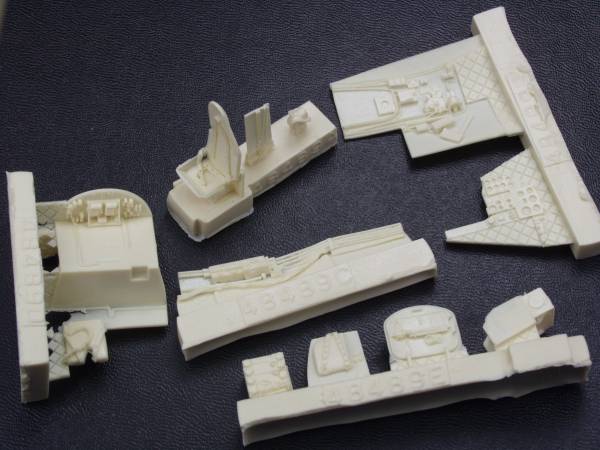
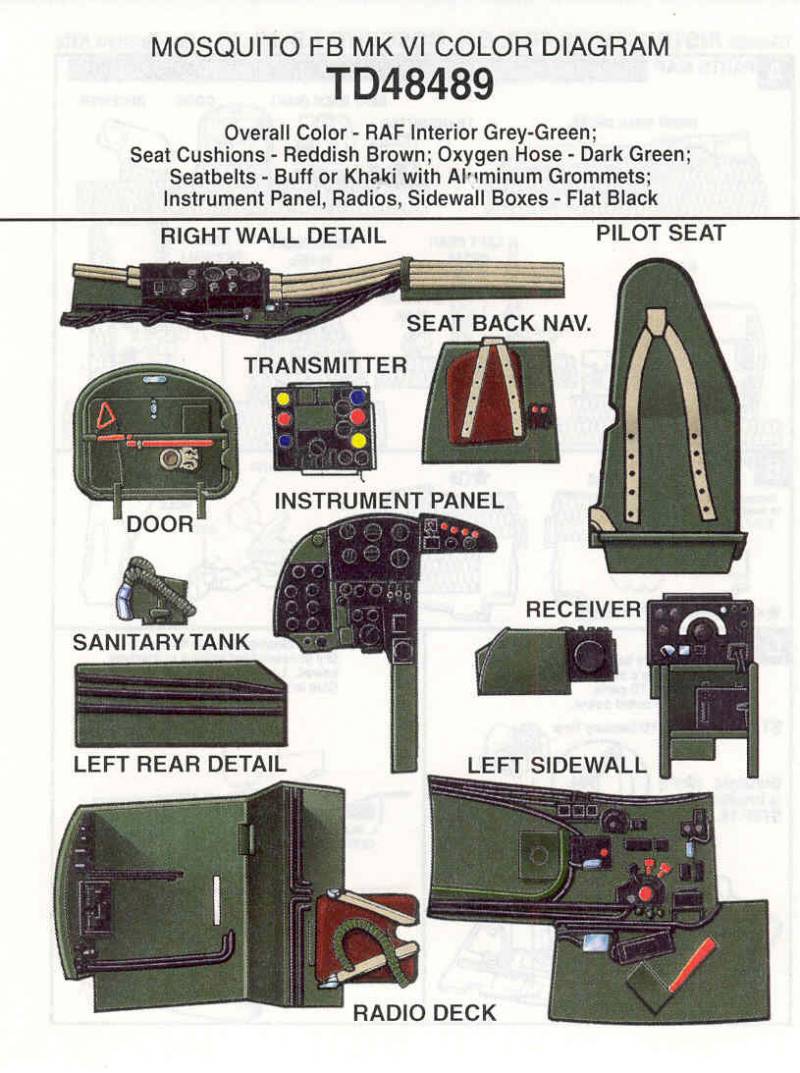
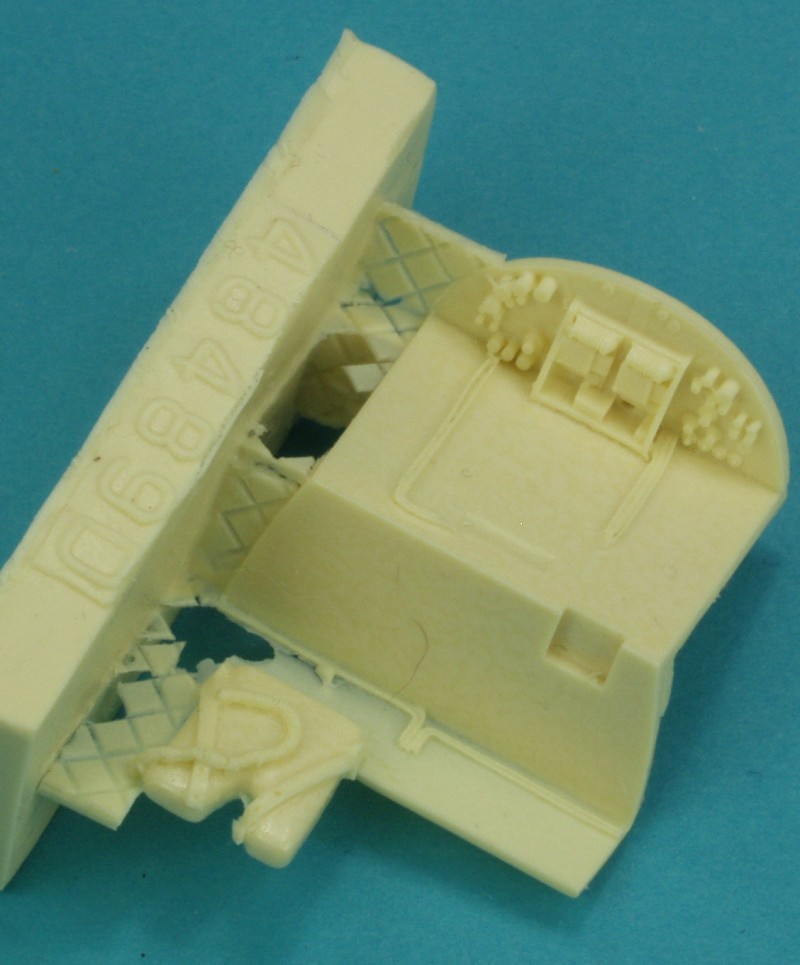
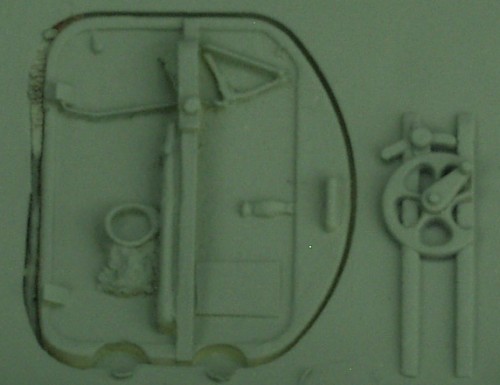
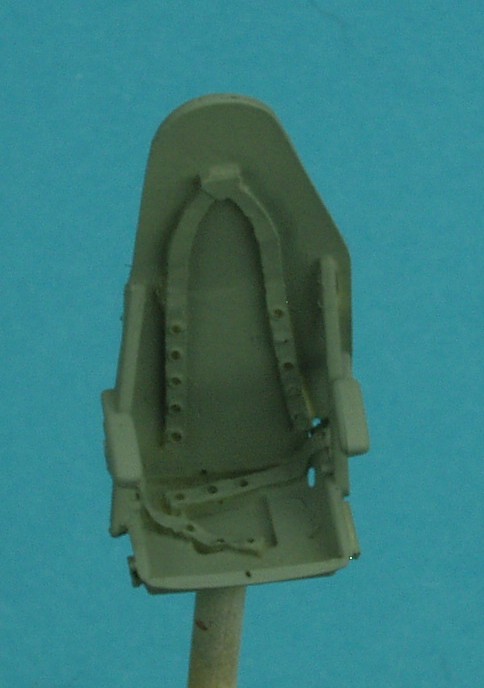
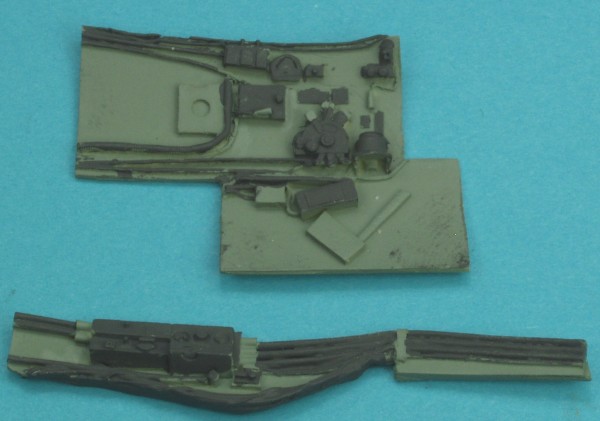
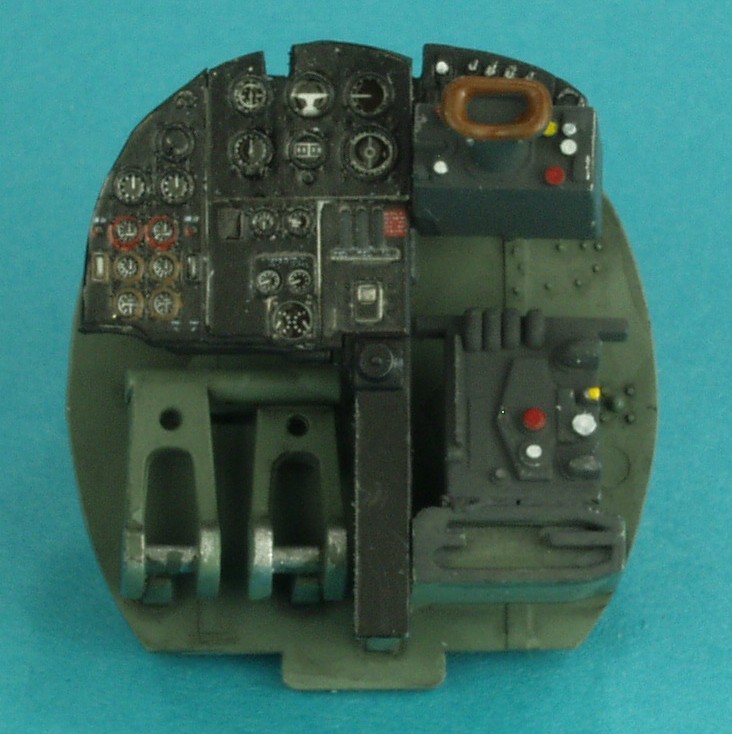
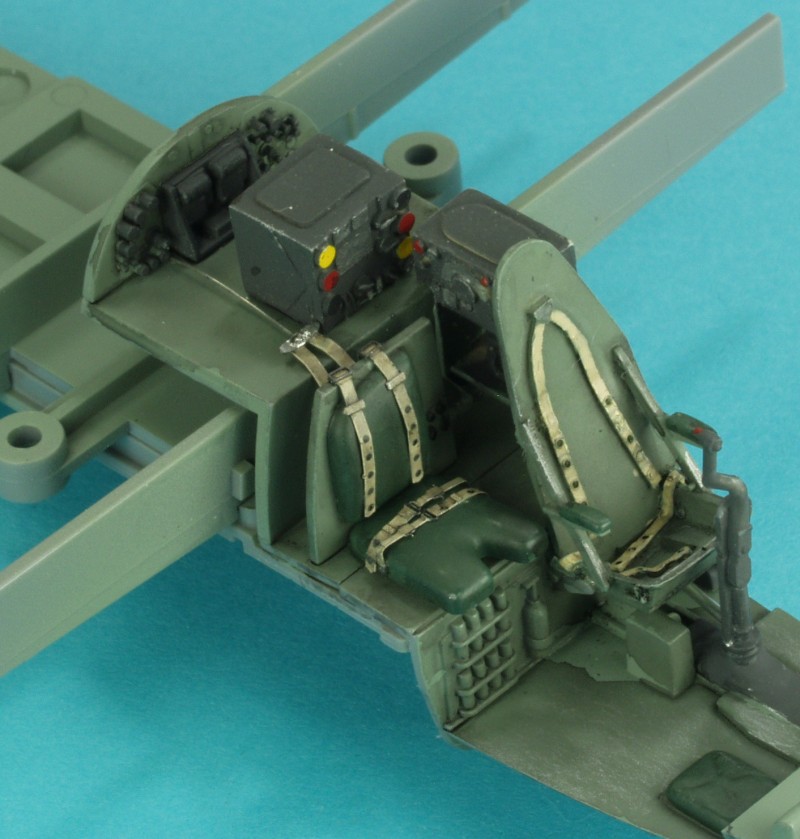
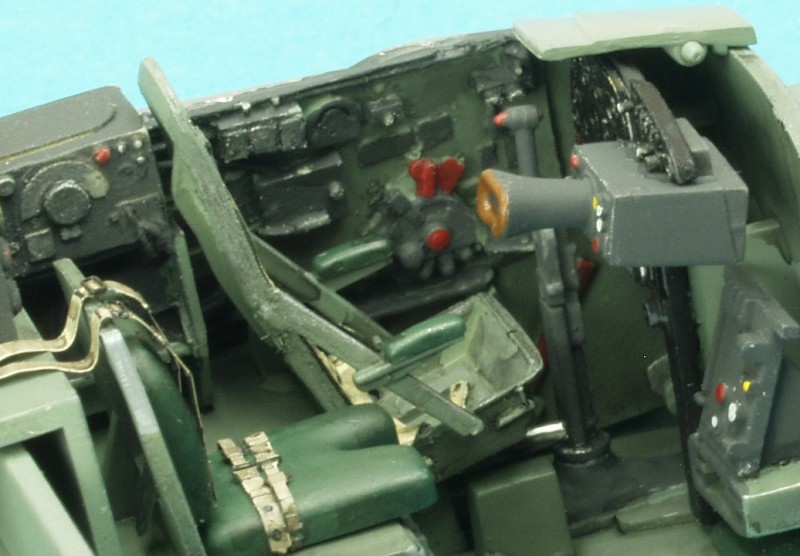
True Details (TD48489) Resin interior detail set
While the kit supplied parts aren't bad, this set provides some side wall details that are not included and some other pieces that are just a bit better than the kit. The instructions are printed on a 4 1/4" x 5 1/2" sheet printed on both sides. One side has a parts map and instructions while the other has painting diagrams. I thought this was done rather well so I have reproduced it here below the photo of the parts. The radio rack shelf in my set was not well molded and I decided to go with the stock kit part. See below.
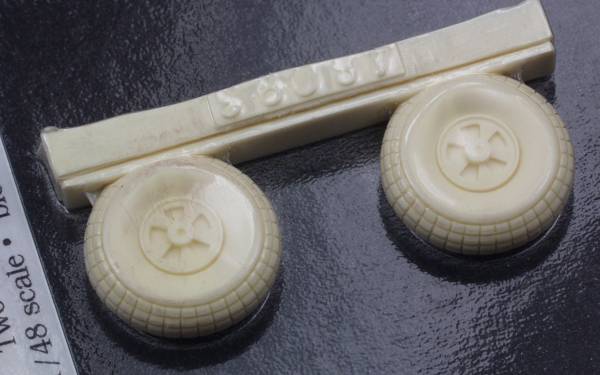
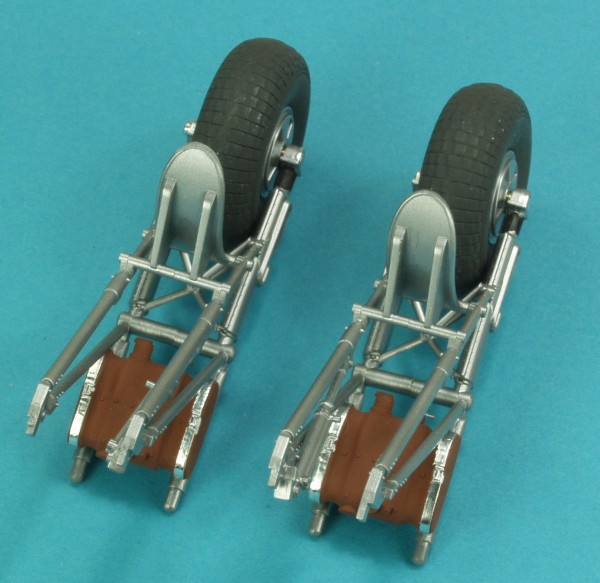
True Details (TD48093) Wheel set
I'm not sure why I got these, just a
bad habit I think, other than being weighted they appear a bit too
flat to me. If I do use them I may sand the bulges down bit. See
below. I found when I went to use these in my build that wheel detail
was the same on both sides which is just wrong. May no longer be
available with the demise of the Squadron Shop.
Eduard (FE239) Photo etch detail set
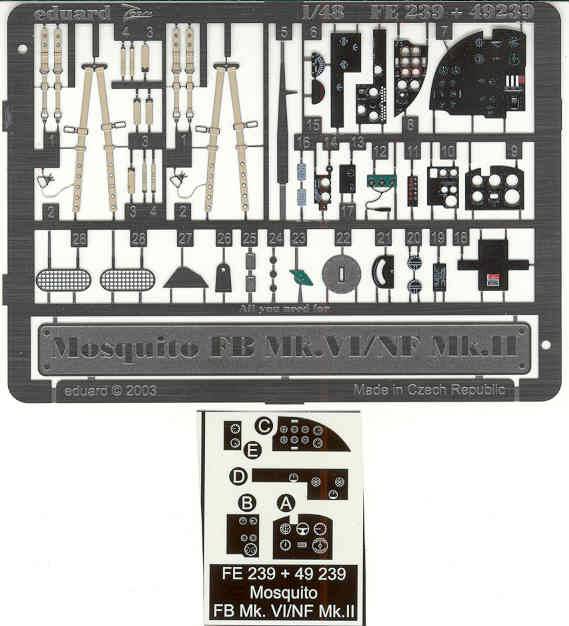
This is one of the new ZOOM color sets that looks like it was converted from one of the older sets as it has two numbers on the fret. It also comes with the traditional film which near as I can tell is no longer need. That said the instruments on the main panel look a little faint and it may look better with the film installed. I'll admit to wimping out on panels as I'm lousy at dry brushing and jump at the chance to avoid that sort of grief. See below.
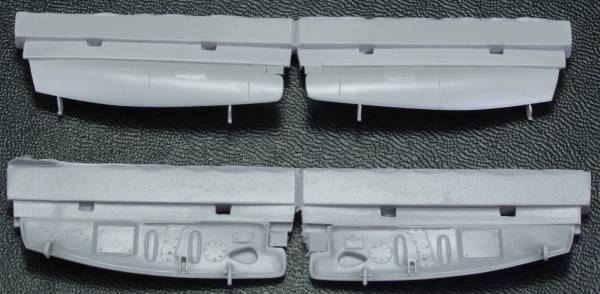
Like the sucker that I am I couldn't pass these up either Quickboost [48140] undercarriage covers. Not only are these better detailed but they don't have the annoying ejector pin marks like the kit parts do. Molded from a gray resin they were free from pin holes and short shots. See below. Note: In the end I did not use these either, the kit doors have a much more robust mounting arrangement and once installed you really can't see the inside detail anyway !
Eduard (EUEX029) Mask set
Not much to say here either, I hate masking canopies !
Squadron offers a Vacuum formed canopy (SQ9600) but I'm going to go with the kit parts.
There are other aftermarket sets but the ones listed above are the ones I plan to use.
Conclusions
This looks to be another great Tamiya shake and bake kit, while I like a challenge sometimes it's nice to build a kit without major issues just to get your groove back. While you don't really need any of the aftermarket stuff they should take the kit to the next level. Most reviews speak highly of the engineering and good fit of this kit and heartily recommend it to modelers of all skill levels.
Links to kit build or reviews
Reviews can be found here and here These are for the day fighters but the kit is the same. This link is to a build that uses a lot of the other after market items that I did not cover in this review.
References
"Famous Fighters of the Second World War" by William Green
Back to the Night Fighter page
The
Build
Most
kits have you start the assembly with the interior parts,
but Tamiya has you start start with the landing gear,
everything fit well but getting everything aligned was a bit
fiddly, The kit tires fit well with little work required to
hide the seam.


Updated 6/17/21