
MiG-15bis
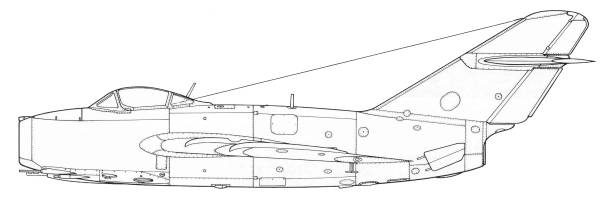
During January of 1946, the Soviet State Defense Committee issued a specification for an advanced high altitude day interceptor with a top speed of Mach .9 and a service ceiling of 30,000 feet. The Design Bureaus of Yakovlev, Lavochkin and MiG were all given the specification. At the MiG Bureau a great deal of time was spent analyzing the characteristics of the swept wing with a goal to achieve the best angle of sweep and anhedral. This turned out to be a long process. An existing problem was the engine to be used, as all the Soviets had was a copy of the Junker Jumo 004 engine and there were delays in getting its output up to the levels required for the new fighter. In a stroke of luck the British agreed to sell them Rolls-Royce engines which they soon created an unlicensed version thereof. This too was not without problems as the MiG-15 was designed originally for an axial flow engine and the Rolls-Royce engines were centrifugal engines requiring a redesign of the fuselage. The prototype first flew in December of 1947. It was powered by a Rolls-Royce Nene engine and armament of one 37 mm and two 23mm cannons. Late in 1948 after testing and correcting some short comings the prototypes were cleared for mass production. The first production MiG-15 flew on December 30, 1948. The MiG-15bis was an improved version with a more powerful engine, an improvement on the Rolls-Royce Nene engine which increased its thrust from 5,000 lb. to 5,950 lb. It also had an increased fuel capacity. The prototype flew in September of 1949 and after a series of successful trials went into production in 1950.
The Kit
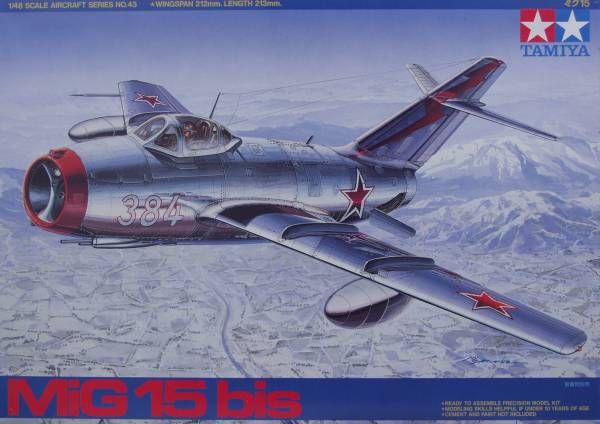
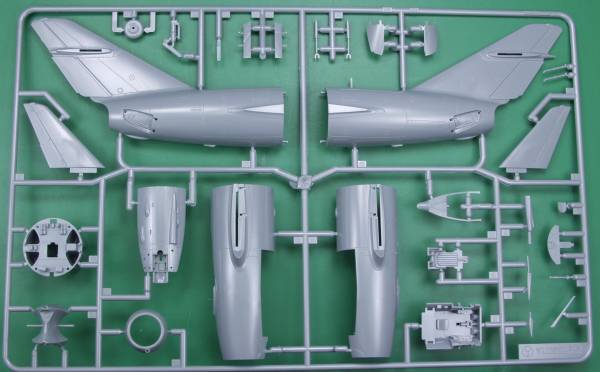
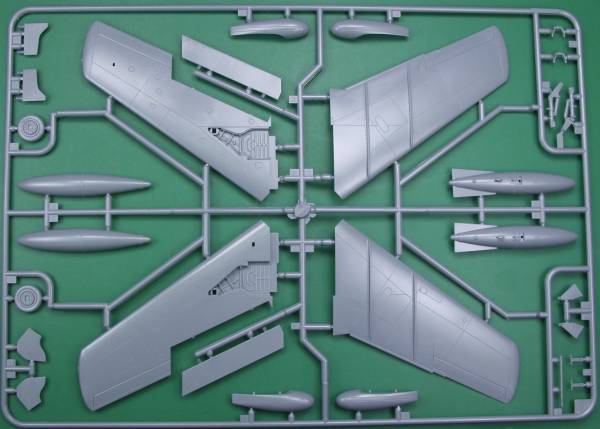
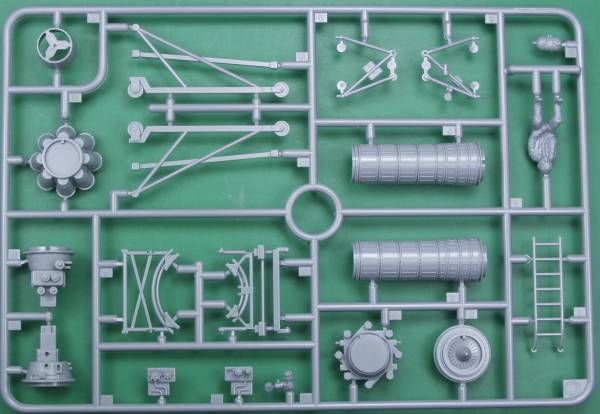
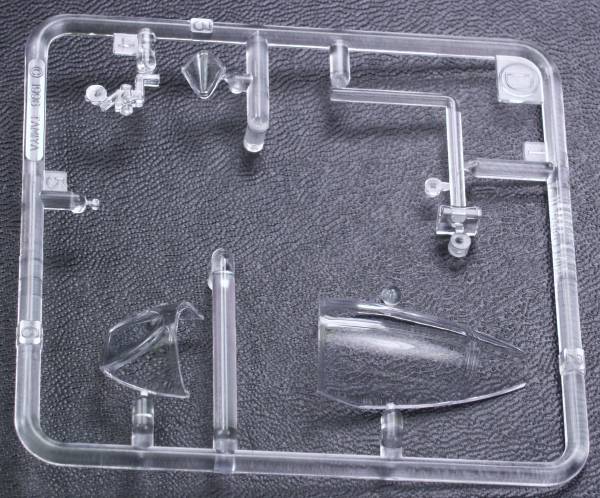
The Tamiya kit comes in a top open two part box with nice artwork on the top. Inside the box there are four plastic bags, two have the kits main parts, one has the clear parts and the last the weight to keep the kit from being a tail sitter. The parts are molded in a gray color with recessed panel and fastener detail. The parts are nearly free of flash and the small parts have only minimal parting lines to clean up. I found no sink holes on the air frame parts and only a small amount of surface deformation on the bottoms of the flaps as a result of the internally molded detail. All the control surfaces are fixed except for the flaps. The kit includes a nicely detailed engine and the tail section and be removed to display the engine and a stand is supplied to support the tail section. Unlike the Academy F-86 kit the fuselage is molded in two parts to accomplish this and I'm dubious about how well the fuselage halves will fit if you chose to leave it closed up. The wheel wells are boxed in and have some internal detail. The cockpit is pretty basic and includes a pilot figure for those inclined. Most of the ejector pin marks will be hidden but there are some that show on the insides of the gear doors and on the gear struts. The ones on the gear doors are light enough to be ignored by me anyway. The clear parts are thin and clear with raised frame detail and the canopy is two part so it can be displayed in the open position. There are 79 parts in gray plastic and 6 parts in clear for a total of 85 parts. See below.
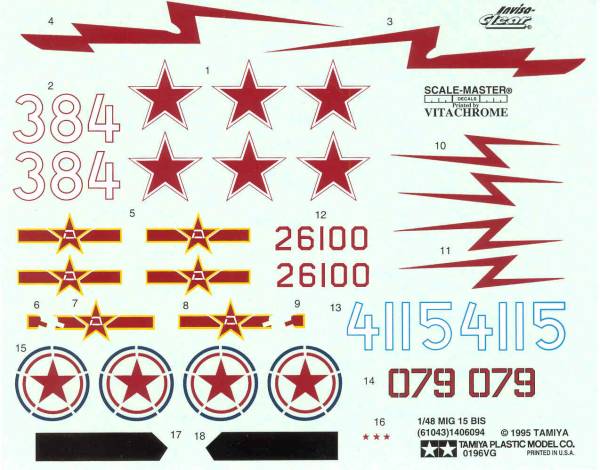
The decals are thin and well registered and printed by Vitachrome and include markings for three aircraft, one Soviet, one Chinese and one Korean. See below.
The instructions are typical Tamiya printed on a 10 1/2" x 33" page that is folded to create ten pages. Page one is history in multi-languages Page two lists tools, safety warnings, colors by name and Tamiya number. There are five an a half pages of assembly instructions with the balance devoted to painting a decal instructions.
After Market Goodies
As I mentioned above the cockpit is pretty basic so I opted for the True Details cockpit [48459] which includes a nice ejection seat with molded in harness and belts, cockpit side walls, instrument panel, new floor and seat mount and canopy locks. the parts are molded in a tan resin and are crisp with minimal flash. I found no bubbles or short shots. The instrument panel has instrument detail molded in but it's not quite as sharp as the rest of the detail so it may be more problematic to paint up. See below.
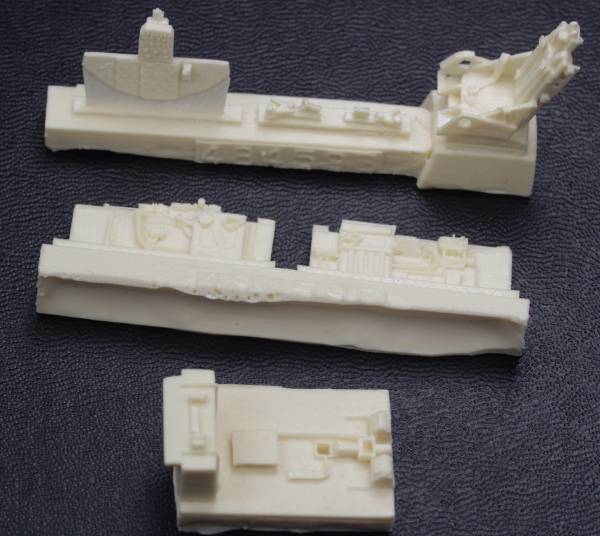
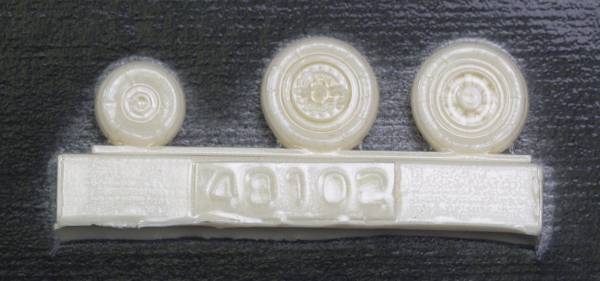
I also decided to go with a set of True Detail wheels [48102], their jet wheels don't seem to have as much of the flat tire look that their WWII aircraft set have. See below.
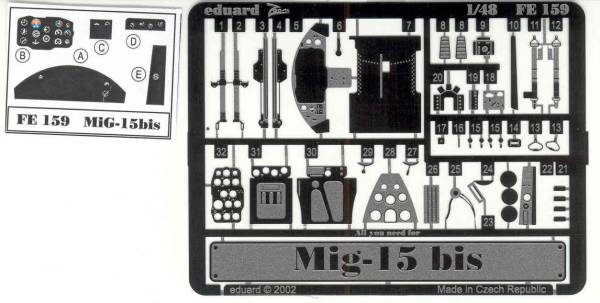
Since I wasn't convinced I could do a good job with the panel from the TD set so I also picked up the Eduard photoetch set [Fe 159], though not a color set it has a nice instrument panel with a backer to provide dial and instrument detail. This is not a film as with some sets but is printed on a glossy paper. While it works I don't like it as well as the film when using Future to glue in on as it tends to soak up the future and requires reapplying Future to the fronts to simulate glass in the bezels. See below for the fret.
Conclusions
It's really tough to find fault with Tamiya kits and this one is no exception, from the nice box art to providing the weight to keep the nose on the ground the engineering is there. The time saved by not needing to clean up flash allows one to enjoy the experience of assembly and detailing. Highly recommended to modelers of all skill levels.
Links to kit build or reviews
References
Back to the Russians are Coming page
Updated 15/11/08