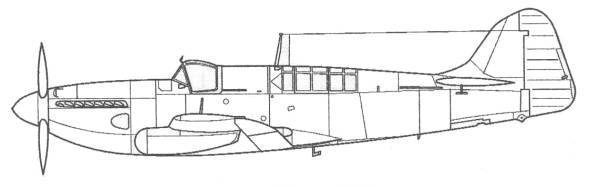
Fairey Firefly Mk.V
The Firefly was designed by H.E. Chaplin at Fairey Aviation; in June 1940, the Admiralty ordered 200 aircraft "off the drawing board" with the first three to be the prototypes. The prototype of the Firefly flew on 22 December 1941. Although it was 4,000 lb (1,810 kg) heavier than the Fulmar (largely due to its armament of two 20 mm Hispano cannon in each wing), the Firefly was 40 mph (60 km/h) faster due to improved aerodynamics and a more powerful engine, the 1,735 hp Rolls-Royce Griffon IIB. The pilot's cockpit was over the leading edge of the wing and the observer/radio-operator/navigator aft of the wing trailing edge - positions which gave better visibility for operating and landing. Both crew had separate jettisonable canopies. The all-metal wing could be folded manually, with the wings ending up along the sides of the fuselage. When in the flying position, the wings were hydraulically locked.
The primary variant of the aircraft used during the Second World War was the Mk I, which was used in all theaters of operation. In March 1943, the first Firefly Mk Is were delivered but they did not enter operational service until July 1944 when they equipped 1770 Naval Air Squadron aboard HMS Indefatigable. The first operations were in Europe where Fireflies carried out armed reconnaissance flights and anti-shipping strikes along the Norwegian coast. Fireflies also provided air cover during strikes on the German battleship Tirpitz in 1944.
Throughout its operational career, the Firefly took on increasingly more demanding roles from fighter to anti-submarine warfare stationed mainly with the British Pacific Fleet in the Far East and Pacific theaters. Fireflies carried out attacks on oil refineries and airfields and gained renown when they became the first British-designed and -built aircraft to overfly Tokyo.
Following the success of the earlier Firefly variants, 100 Mk.III aircraft , fitted with the Rolls Royce Griffon 61 engine were ordered, however, only one aircraft was built as a prototype in 1944 and development was then concentrated on the Mk.IV. The Mk.IV was powered by a Rolls-Royce Griffon 74 engine with a two stage supercharger, driving a four bladed propeller. This new power plant resulted in greatly increased performance and led to some changes to the airframe. The "chin" radiator was replaced with radiators mounted in the leading edges of the wings; the fin and rudder were broadened and the wing tips were clipped. Nacelles were fitted to the outer wing panels, one to hold an ASH radar and the other to hold fuel. If required the ASH radar could be removed and the nacelle used for additional fuel. Fairey received orders to build 293 Mk.IVs. The first production FR.4 made its initial flight on May 25, 1946. A batch of 133 aircraft was canceled from the initial order due to the end of the war. The first Firefly MK.4s were alloted to the Royal Canadian Navy in August 1947 and the first Fleet Air Arm examples were available for 810 Squadron when it reformed in October of the same year.
The Firefly MK.5 was the next version produced and was basically the same as the Mk.IV with enhanced internal equipment. One improvement was the introduction of power folding wings during production and this was later retrofitted to the earlier versions. One difference between the Mk.4 and Mk.5 was that the Mk.5 was built in three main variants; fighter reconnaissance, night fighter and anti-submarine, and each could be easily modified to assume any of the three roles. The first Firefly Mk.5 made its first flight on December 12, 1947 and eventually production reached a total of 352. The last 16 of these were modified as Mk.VIs.
The Firefly went on to see service in the Korean War and over Malaya, finally retiring from active service in 1956. The Firefly also saw service with Australia, Canada, Denmark, Ethiopia, the Netherlands, India, Sweden and Thailand as fighters, trainers and target tugs.
The Kit
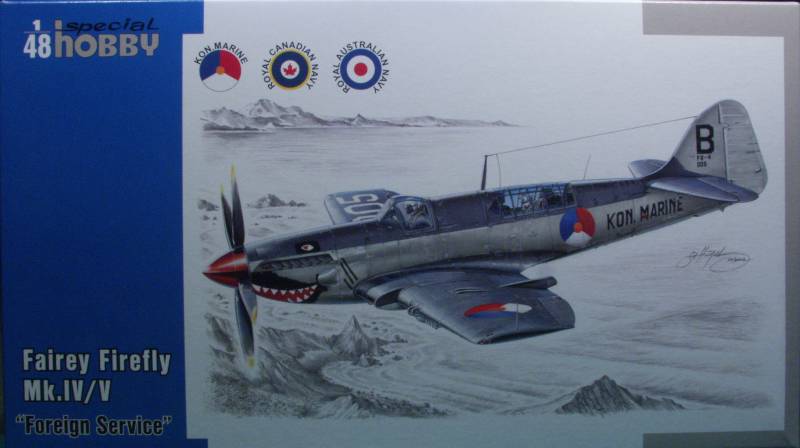
The Firefly was never on my radar screen as an aircraft that I had any interest in until I got to see one close up at the Canadian Warplane Heritage Museum at Hamilton, Ontario, Canada and after seeing it fly I was hooked. The aircraft was used during the latter part of WWII but I decided to build the later model that the museum had with its distinctive wing radiators and clipped wings.
The
Special
Hobby kit comes in a medium sized top open box with OK artwork
on the top. Inside the box is one large adhesive type resealable bag
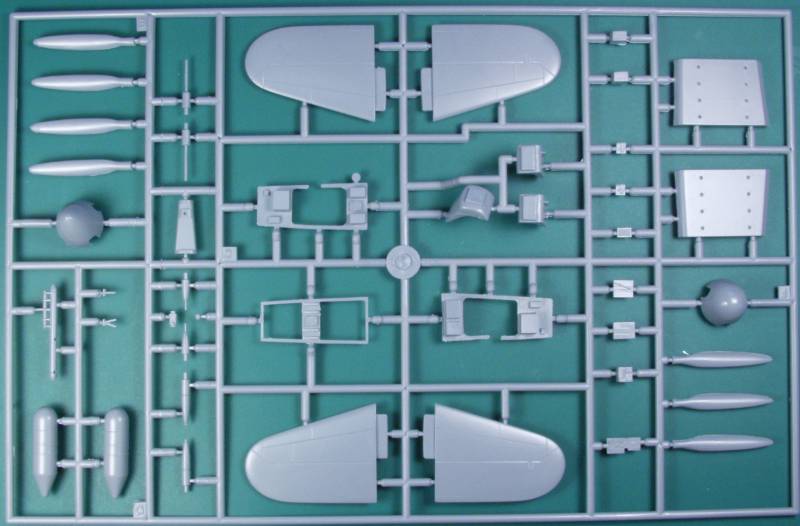
containing all the sprues molded in a medium gray color. A small zip
lock bag contains the clear parts and and another zip lock bag holds
the resin parts. The decals and a small photo etch fret are contained
in another adhesive type resealable bag.
Like all Special Hobby kits this is a limited run kit with all the
usual issues associated with this type of kit. That said Special
Hobby
kits have been getting progressively better in the past six years or
so
since I got back into the hobby and this one looks to be one of
their
better efforts.
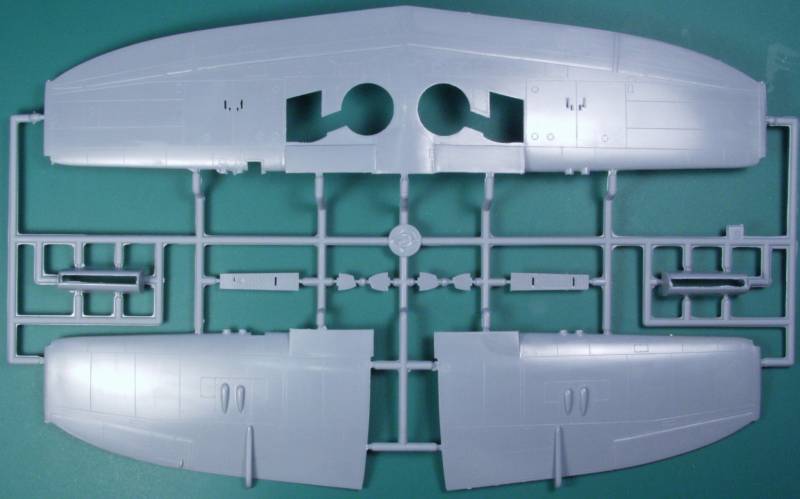
The
surface detail consists of nice fine uniform
recessed panel lines and some fastener detail and the surface has a
glossy finish. There is a small amount of raised detail where
appropriate. Like most limited run kits there is some flash to be
found. Most will be easy to clean up but the shell ejector ports on
mine had quite of bit of flash and I always seem to have issues
getting
them cleaned out and having the slots all end up the same size. also
common to limited run kits some of the sprue attachment points are
large and will require care when removing. Looking over the main
air frame parts I found no surface defects save for one small spot
on
one of the fuselage halves between the two cockpit positions that
looks
like it might have been some dirt in the mold. It is raised and
should
sand off with little effort.
The control surfaces are all molded in the neutral position and to my eye the demarcation lines for these could be a bit deeper but again an easy fix if you are so inclined. The fabric detail on the rudder is very subdued as it should be and the ailerons and rudder must be metal skinned as they show no signs of any fabric detail. One of the three aircraft for which markings are supplied does not use the wing mounted cannons and it's up to the modeler to remove the fairings and fill in the holes for these. The mold parting lines on many of the small parts is a bit heavier than I like to see as it makes clean up more difficult and requires care on the round parts to see that they stay mostly round. There are a good number of parts that were utilized on the WWII variant that are not used on this one so one needs to pay attention to the parts map to get the correct parts.
The
cockpit
area is well detailed with some structural and other detail
molded into the fuselage halves. There are close to 50 parts
associated
with the pilots and radar operators cockpits. The instrument panel
has
raised detail and a decal is provided with instruments however it is
not all that impressive. Those with patience might want to use some
Air
Scale decals here for a better appearance. There are two ejector pin
marks in the front cockpit which look to me like they might show so
some work cleaning those up may need to be done.
The landing gear bays are provided in resin and are molded to match the dihedral of the wing. structural detail is nice but I suspect some additional detail could be added. There is an arrow etched on the top side of the casting to make certain it is orientated correctly Time will tell how well this fits, resin gear bays often prove problematic to fit. There are no markings, locators or other indications where the under wing pods mount on the wings so some care and study will be required when placing these. There are also some armament options and a good reference of the aircraft you want to depict may be helpful. The tires are not weighted. The landing gear strut system is well detailed and there is nice structural detail on the inside of the gear doors and no ejector pin marks which is always a treat. The other parts supplied in resin are the exhaust stacks which do feature slightly indented ends. I did not do a parts count but if you are so inclined you can count them in the photos below.

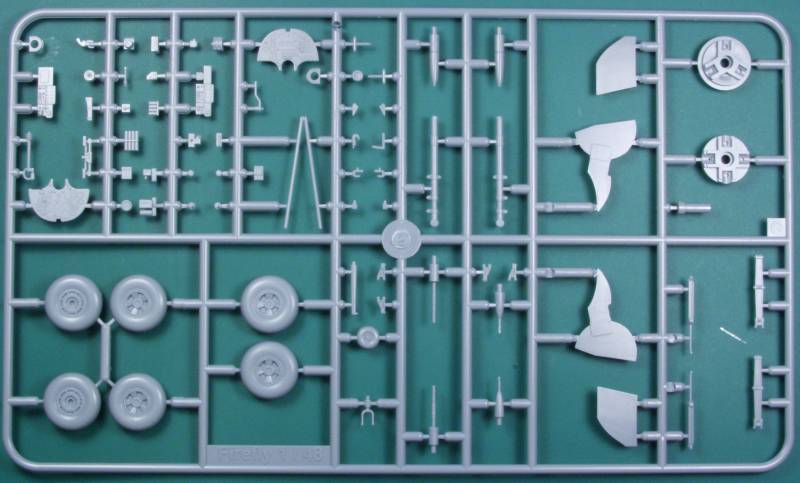
The resin parts are nicely cast and I found no visible defects on mine, see below.

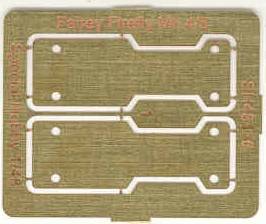
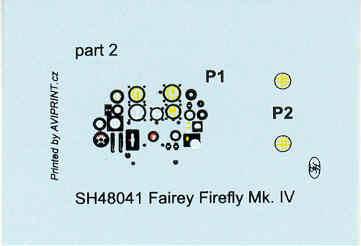
Only two photo etch parts supplied and these are mounting plates for the under wing rocket launchers.
The clear parts are about the norm for thickness and have raised frame lines which should make for easy masking. They are reasonably clear but both had a bit more distortion than I would like. a dip in Future may help some. With all the nice cockpit detail to see a vacuform replacement would be nice. Landing light lens and wingtip formation light cover are also supplied. see below.
![]()
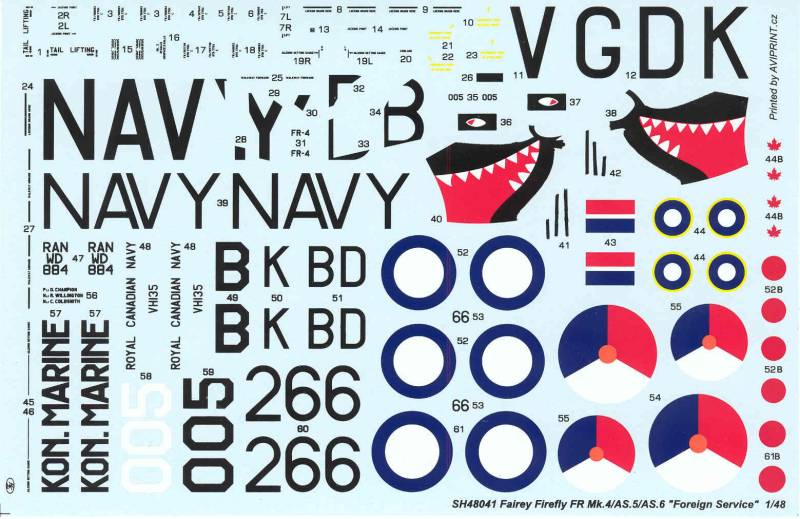
The decals are thin and glossy with little excess film and appear to have good opacity. The sheet supplies markings for three aircraft, One from the Dutch Navy, one from the Royal Australian Navy and one from the Royal Canadian Navy. The latter two require you to stack decals for the wing and fuselage roundels choosing either the red spot or maple leaf depending on the country want. A goodly number of stencils are supplied and registration and clarity of printing is good. See below.
This small auxiliary sheet is supplied for the instrument panel. It does not provide much beyond what could be accomplished by careful painting of the raised details. For those with patience Airscale details would look much better.
The instructions Are in the form of a small booklet made from three A4 sized sheets folded to form 12 pages. Page one contains history and specifications in Czech and English, pages two and three have the parts map, symbols chart and a color chart with generic names and Gunze color numbers, pages four through nine have the assembly steps and the last three cover painting and decal locations for the three aircraft included on the decal sheet.
After Market Goodies
None that I have seen yet but I would bet we might eventually see some PE from Eduard.
Conclusions
I like what I see in this kit, well detailed cockpits and other nicely done detail and it should build up into a nice model. All the usual caveats apply for limited run kits and I'm almost certain there will be some fit issues. Test fitting of everything is always the best rule when building this type of kit. Recommended for modelers with some experience with limited run kits.
Links to kit build or reviews
Another nice comprehensive in box review here.
References
I came up short with references for this one and got all of my information online, Google is your friend !
Back to the Misc 1/48 Scale
British Aircraft page