![]()
F-4C Phantom II
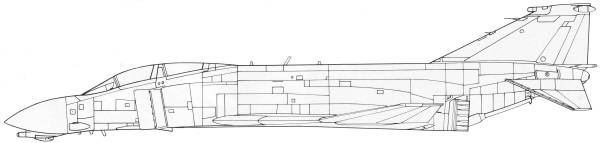
The
F-4 Phantom is probably one, if not the most famous jet fighters that
the United States ever fielded, as such, information on it is available
in abundance and for me to repeat a lot of it here would just be a
waste of bandwidth. The F-4C came about when the Air Force took notice
of its performance with the Navy and borrowed a couple of them for
evaluation purposes. While essentially the same airframe, the Air Force
requested changes to better suit their requirements and in the end the
Air Force became the largest user of the F-4.
The Kit
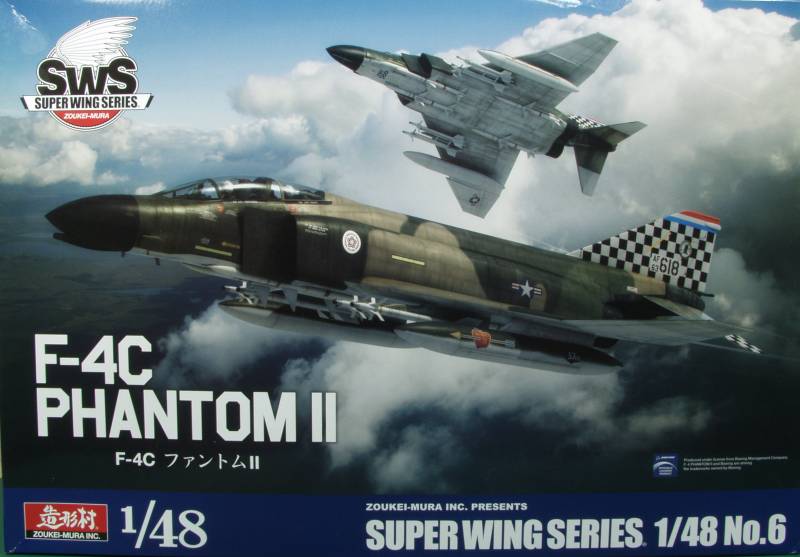
The Zoukei-Mura kit comes in a large box for a 1/48 scale kit but the Phantom is a rather large aircraft. The box is a tray type top open box with a corrugated bottom and thinner top. Inside the box is pretty well full of sprues, eleven to be exact of parts in a medium gray color and one clear sprue. All sprues are bagged individually and vary in size from large, nearly the size of the box to one rather small one. The kit features recessed panel lines, fastener and rivet detail. The panel line are fine for the scale and the rivets vary in size but are not over done as often seen on some of the Chinese made kits. The surface finish is satin and there are some raised details where applicable. The parts are nearly flash free with only a hint of it found. Mold alignment is good so where a mold seam exists it is light and should be easy to clean up. I did not find any surface defects on any of the airframe parts in my kit nor did I find any ejector pin marks that will show on the completed model.
Lets
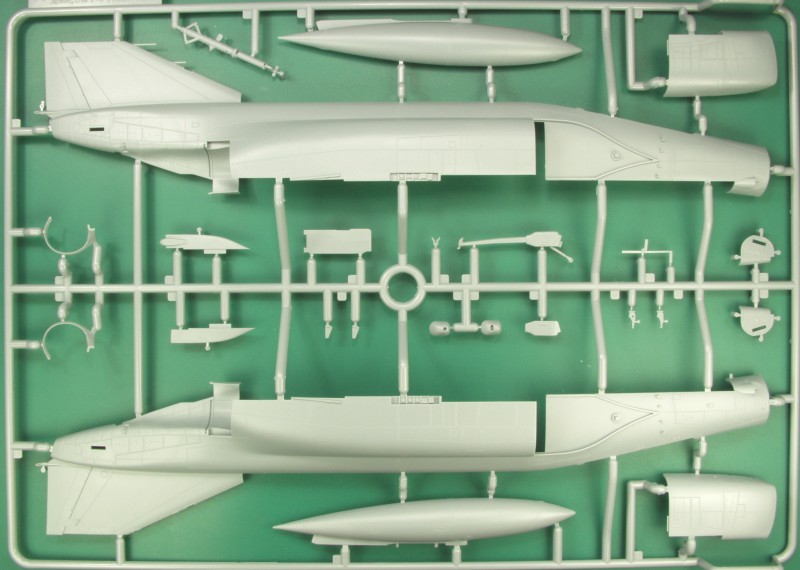
look at the sprues. First up is the 'A' sprue with the fuselage halves,
center line drop tank halves and the outer intake skins. An assortment
of the other parts are on this sprue as well including the arrestor
hook parts. The forward portion of the
inside of the fuselage halves has some structure detail molded in.
My only complaint would be the molding of the two pitot tubes integral
with the fuselage halves. I will probably cut these off
before
starting as they would not survive the assembly process for me.
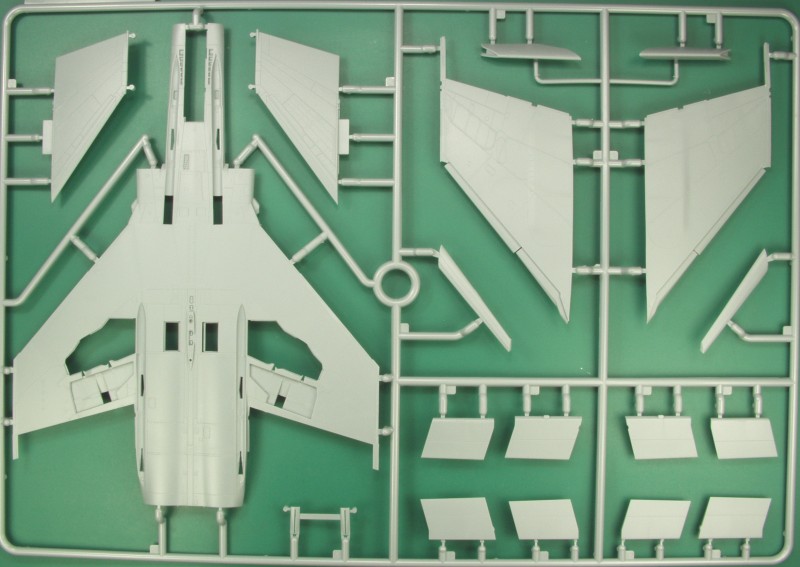
Next up is the 'O' sprue which contains the lower fuselage section with wings out to the out board section, the upper wing halves and two outer wing sections which due to their thinness are molded as one piece parts. also on this sprue are the flap and aileron halves and leading edge slats.
The next sprue is 'J' sprue which has an assortment of parts such as the single piece horizontal tail parts, the upper fuselage center piece, and various engine and cockpit parts as well as some of the bottom side weapons racks.

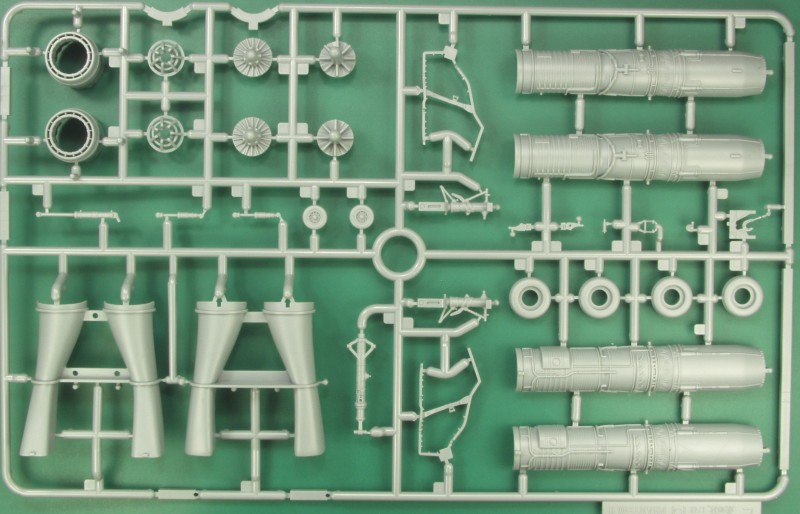
Next sprue is 'E' which includes most of the engine parts as well as the engine intake ducts. Also here are the main and nose gear struts, one piece nose gear wheels and the halves for the main gear wheels. These are not weighted. If you look around the edge of the sprue you will notice there are several sections that are square instead of round and two curved sections. These can be removed and glued together as shown in the instructions to create a stand for the engine if you wish to display it outside the model or use it to hold the engine for painting.
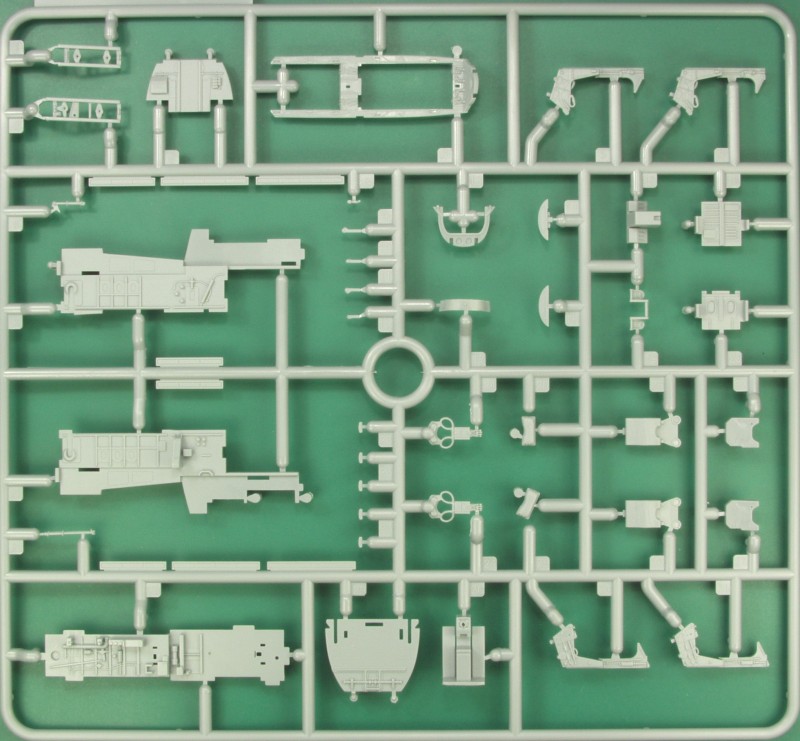
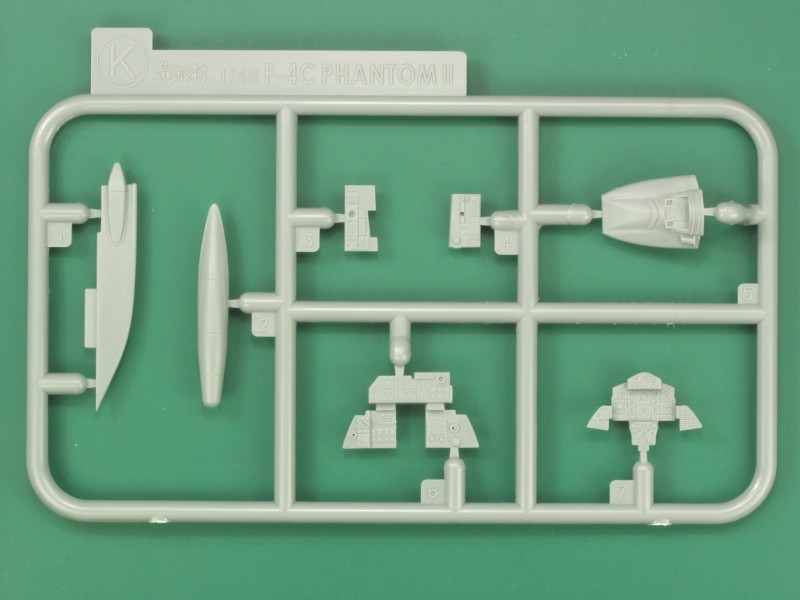
Next is sprue 'C' which is predominately the cockpit parts. The cockpit is very well appointed and only the most AMS modelers will consider in need of replacement.
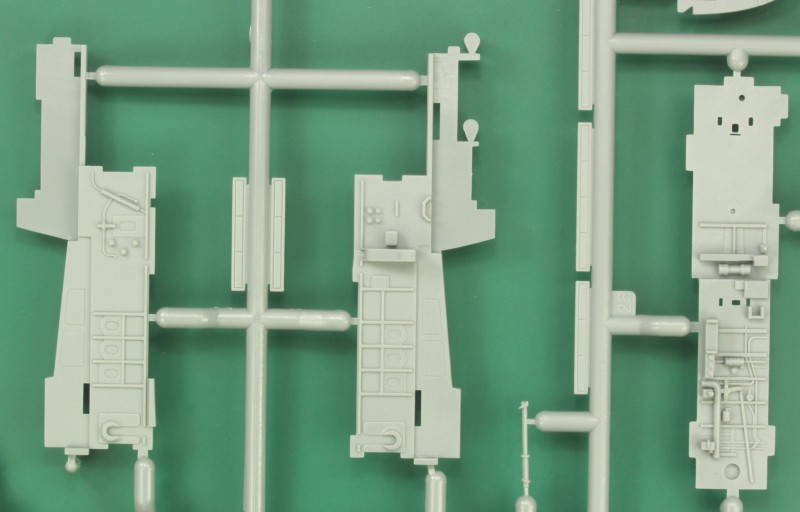
This photo shows a close up of the cockpit side walls.
Next comes sprue 'D' which has the nose cone, balance of the leading edge slats, gear doors and a host of other misc. parts.

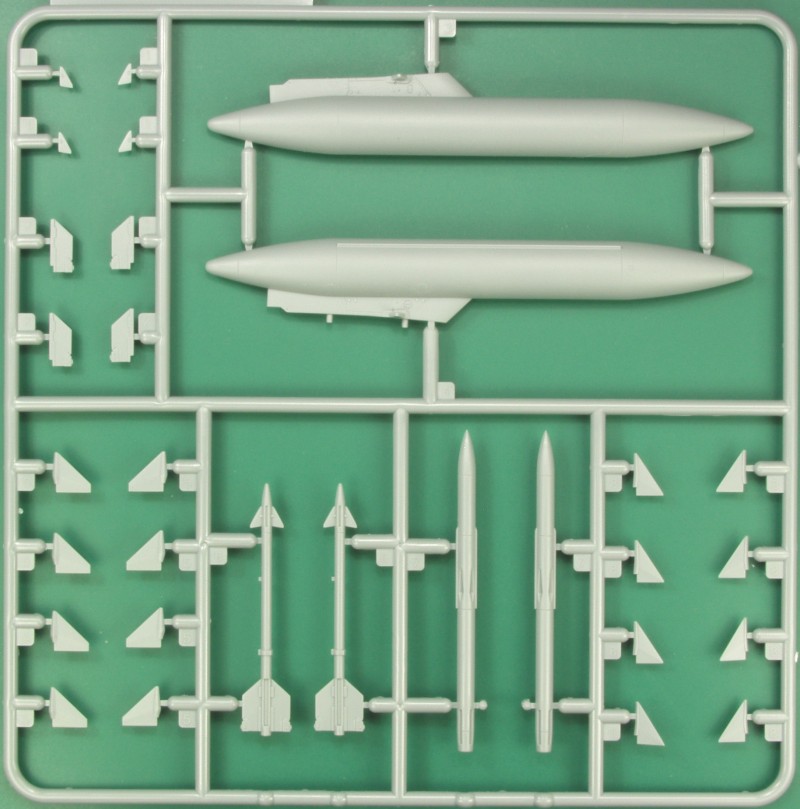
Next is sprue 'N' of which there are two, contains mostly missile parts as well a boarding ladder.
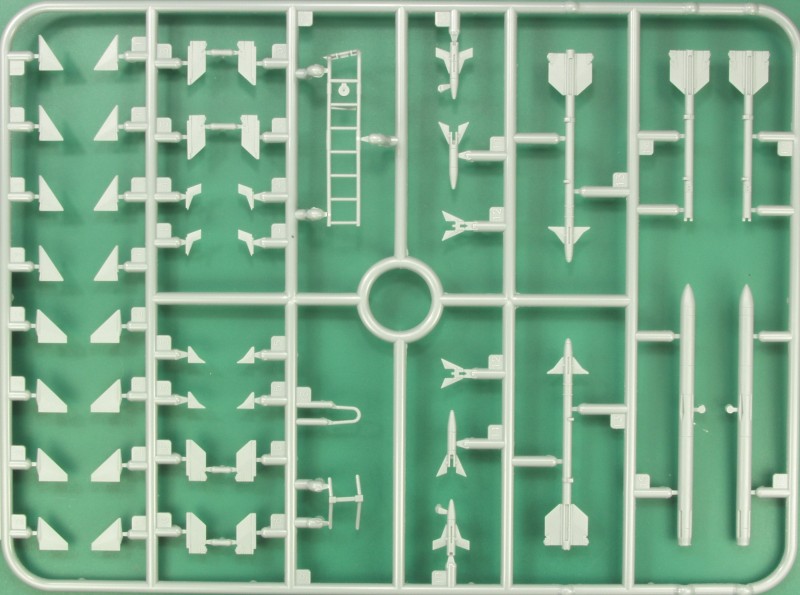
Sprue 'F' of which there are also two has the under wing drop tanks and more missile parts.
And lastly sprue 'K' which contains the instrument panels and a few other parts which are different on the C model Phantom.
The clear parts are quite clear and thin with little if any optical distortion. Parts are supplied for both open and closed options and in spite of being package separately mine had a minor ding on the closed canopy and some light abrasions which should disappear when dipped in Future.
![]()
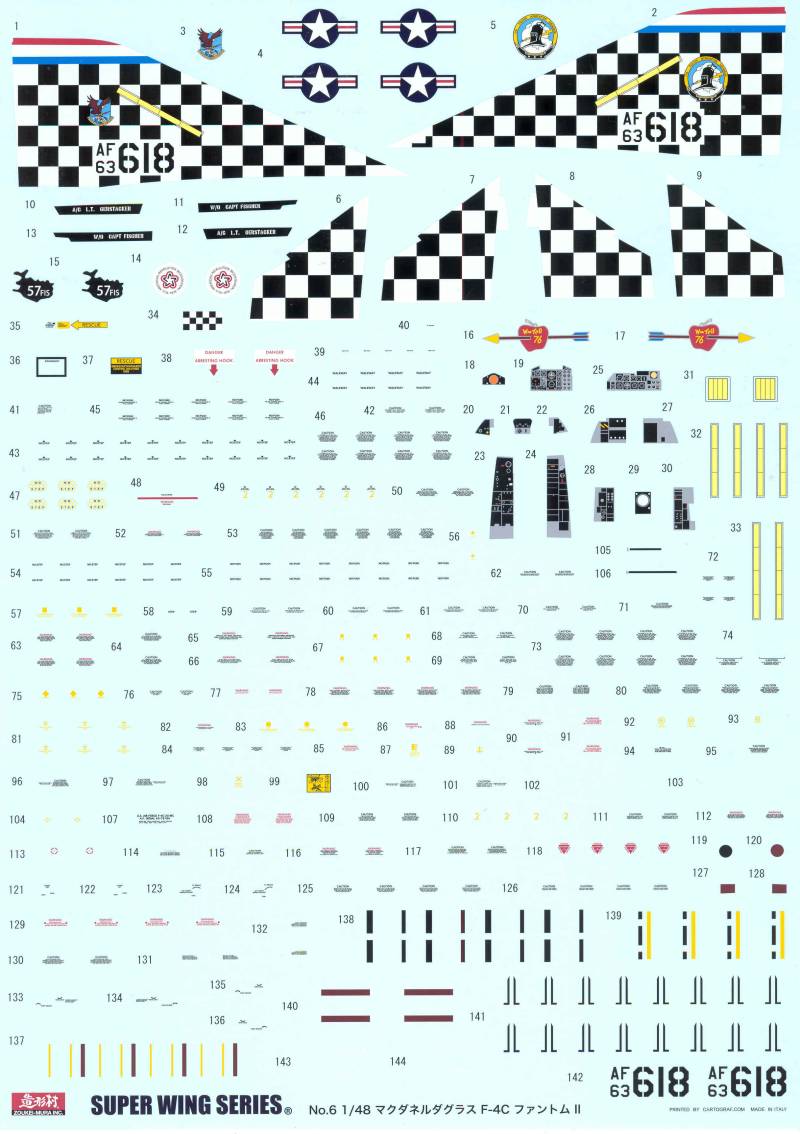
The decals are printed by Cartogragh, possibly the best in the industry and the quality shows. The down side is that there are only markings for one aircraft, it is the memorial aircraft that participated in the ADC shooting competition "William Tell", held at Tyndall Air Force Base in Florida on October, 1976. As one can see no stone was left unturned when it comes to markings and stencils as there are 142 different markings and of many of those there are multiples as they are mirrored on both sides. Decals are supplied for the instrument panels and side consoles. There is a large 11 3/4" x 16 1/2" painting and marking diagram printed on glossy stock in color which has a color chart calling out Vallejo color color numbers and generic color names. FS numbers are also given where applicable. Fortunately there are a lot of after market decals available although many are designed to fit other manufacturers kits so there could be some fit issues.
The instructions come in the form of a 32 page A4 sized booklet stapled at the spine and printed in black and white. The front page has a reproduction of the box top art and a photo of the completed model with the real aircraft's specifications. Page 2 has the history of the F-4C. Page 3 has some assembly notes outlining some of the features of the kit and differences between the Navy and Air Force airframes. Also some notes as to where to find information on installing flaps down or air brake closed. Page 4 has the usual safety warnings, general assembly information,, a tool list, icon chart and a paint chart with Vallejo number, generic paint names and FS numbers if applicable. Assembly starts on page 5. Pages 5 through 8 cover the cockpit assembly and ends with assembling the fuselage halves. The balance of the assembly runs through page 29 with a total of 45 assembly steps. Page 30 has instructions for modifications if you wish to have the horizontal tail point downward as it is often seen on the ground. Page 31 is a part map. Page 32 has some generic decal instructions and an order form for parts for use in Japan only. Overall I would rate the instructions as very good although the pages all seem a bit crowded and busy There are lots of notes and warnings as well as what they call design concepts that explain the reasons for some things and there are also call outs that tell you what the parts are in the real world.
After Market Goodies
Zoukei-Mura markets a whole range of after market items for their kits, available at this time specific to this kit are metal gear struts, resin weighted tires and a photo etch detail set similar to Eduard Zoom sets covering mainly the instrument panels and a few other items. At the time of this review I have not acquired any of these.
Conclusions
Based on reviews of their earlier released versions of the F-4 and other reviews of this specific kit it appears to be a winner that trumps other kits in this scale and from what I see in the box should build up into a real beauty. Recommended !
Links to kit build or reviews
In box reviews can be found here and here.
References
There is an overwhelming amount of material available both in print and online about the F-4, for my purposes I acquired the following:
F-4 Phantom II in action by Larry Davis