
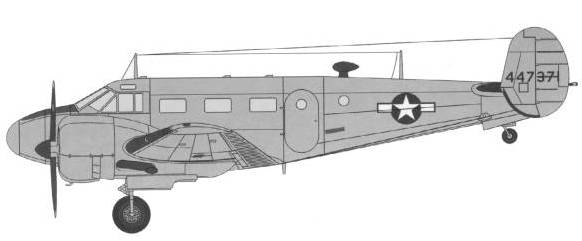
C-45F
The Beechcraft Model 18 (or "Twin Beech", as it is also known) is a six to eleven seat, twin-engine, low-wing, light aircraft manufactured by the Beech Aircraft Corporation of Wichita, Kansas. Continuously produced from 1937 to November 1969, (over 32 years, the world record at the time), over 9,000 were produced, making it one of the world's most widely used light aircraft. Sold worldwide as a civilian executive, utility, cargo aircraft, and passenger airliner on tail wheels, nose wheels, skis or floats, it was also used as a military aircraft.
During and after World War II, over 4,500 Beech 18s saw military service -- as light transport, light bomber (for China), aircrew trainer (for bombing, navigation and gunnery), photo-reconnaissance, and "mother ship" for target drones -- including United States Army Air Forces C-45 Expeditor, AT-7 Navigator, AT-11 Kansan; and United States Navy UC-45J Navigator, SNB-1 Kansan, and others. In World War II, over 90% of USAAF bombardiers and navigators trained in these aircraft.
Prior to Pearl Harbor, the Beech 18 was outsold by the Lockheed 12 by two-to-one. However, war priorities forced Lockheed to concentrate on its heavier aircraft, and Beechcraft received a major boost through wartime contracts.
Production got an early boost when Nationalist China paid the company $750,000 for six M18R light bombers, but by the time of the U.S. entry into World War II, only 39 Model 18s had been sold, of which 29 were for civilian customers. Work began in earnest on a variant specifically for training military pilots, bombardiers, and navigators. The effort resulted in the Army AT-7 and Navy SNB. Further development led to the AT-11 and SNB-2 navigation trainers and the C-45 military transport. The United States Air Force Strategic Air Command had Beechcraft Model 18 (AT-11 Kansans, C-45 Expeditors, F-2 Expeditors (the "F" standing for "Fotorecon"), and UC-45 Expeditors) from 1946 until 1951. From 1951 to 1955, the USAF had many of its aircraft remanufactured with new fuselages, wing center sections, and undercarriages to take advantage of the improvements to the civil models since the end of World War II. Eventually, 900 aircraft were remanufactured to be similar to the then-current Model D18S and given new designations, constructor's numbers and Air Force serial numbers. The USN had many of its surviving aircraft remanufactured, as well, these being redesignated as SNB-5s and SNB-5Ps. The C-45 flew in U.S. Air Force service until 1963, the USN retired its last SNB in 1972, while the U.S. Army flew its C-45s through 1976. In later years, the military called these aircraft "bug smashers" in reference to their extensive use supplying mandatory flight hours for desk-bound aviators in the Pentagon.
The Kit
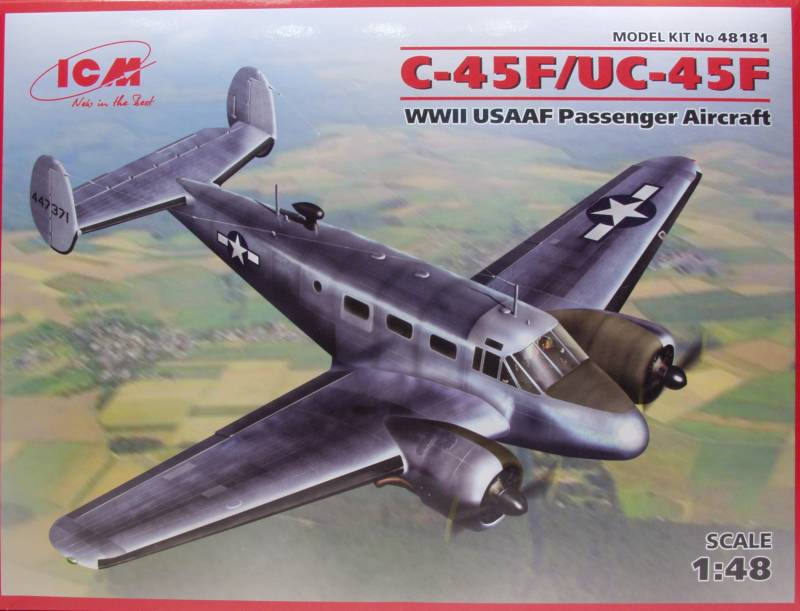
The ICM kit comes in
a traditional tray top box the bottom half of which is thin corrugated
cardboard making for a sturdy box. Inside all of the sprues are
contained in a single resealable bag. The clear parts are in a
separate
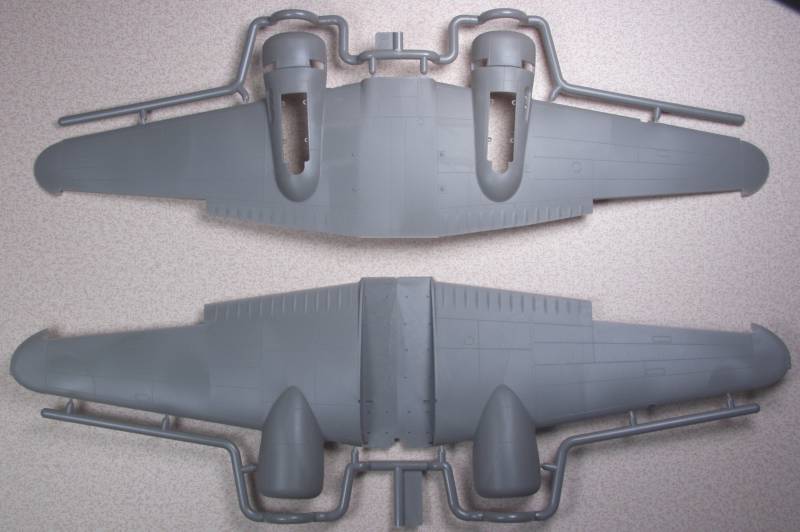
bag inside the larger bag. Altogether there are five sprues molded in
gray and one of clear parts. The top wing and bottom wing make up two
of the sprues. Some what unusual the cowlings are molded completely as
part of the wing. The surface detail consists of recessed panel lines
with a few raised details. The panel lines are quite fine and nicely
uniform. There is some texture to the surface which will most likely
need to be smoothed out if you intend on doing one with a natural
metal
finish. The parts are cleanly molded with only a hint of flash. Both
wings are full span and are assembled and the fuselage sits on top of
them. The have very fine tips and trailing edges but this comes at a
cost and will be discussed in the test fit section. The ailerons are
molded separately. All of the rest of the control surfaces are molded
in the neutral position. All of them also have over done rib detail
which will look better if sanded down. There is no structure detail
molded in the top of the gear well areas. I found no sink marks or
other surface defects on the wings.
The third sprue has the two fuselage halves. There are alignment pins and they do function as they should. There is no detail molded into the insides and there are a number of ejector pins marks to deal with. The side door is a separate part. There are four sink marks on the fuselage, two on top and two on the bottom. These occur where the alignment pin and socket towers are molded on the inside of the fuselage about in line with the ADF football. As with the wings these are otherwise cleanly molded with only trace amounts of flash.

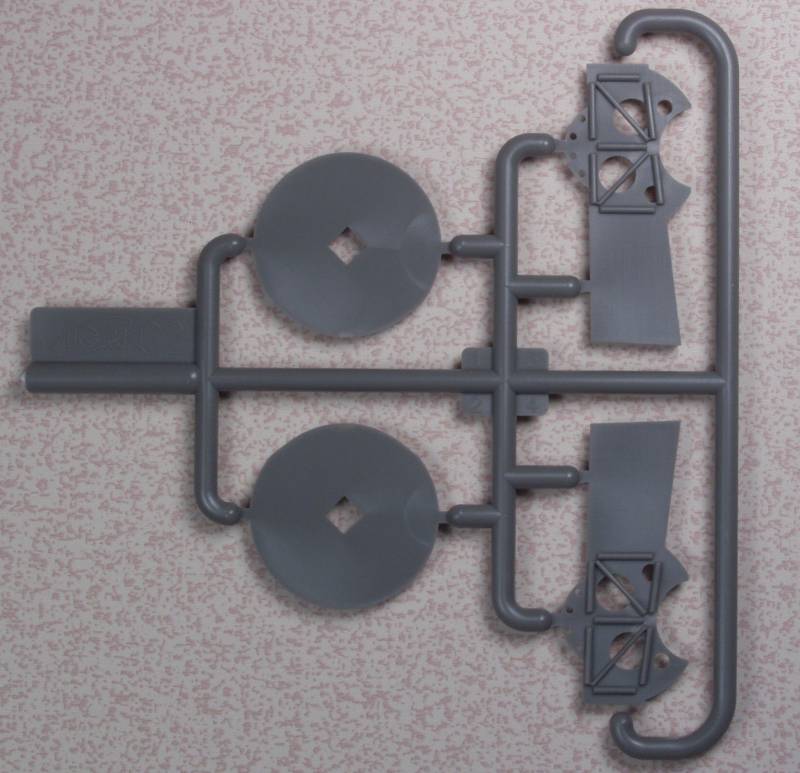
The forth sprue has all of the smaller parts on it. For the interior there is a forward bulkhead with the instrument panel and wells for the rudder pedals which are separate. The instrument panel has raised bezels for the instruments but they have no internal detail in them and no instrument panel decal is supplied. Eduard no doubt will provide something for this. There is a bulkhead behind the cockpit and one at they end of the passenger compartment. All of this along with a multi part jump seat at the rear of the fuselage behind the door opening get mounted in the fuselage before joining it. The pilots seats, control columns and four passenger seats get mounted to the top wing which forms the floor for the cabin. There is a fairly complex structure which makes up the engine mount/landing gear support structure that goes into the wing before the wing halves are joined. There are mold alignment seams to clean up and these will be most tedious on the structure parts behind the engines. The engines themselves are a bit of a disappointment looking like something out of a plastic kit from 50 years ago. No fins on the cylinders and rather thick looking push rods. Another opportunity for the after market folks. The propellers are one piece parts as are the wheels and tires which are not weighted but have nice detail and tread on them and just a small mold alignment seam on them to clean up. The landing gear can be assembled in the up position and there are separate parts for the closed gear doors. The landing gear struts and the gear doors both have ejector pin marks on them.
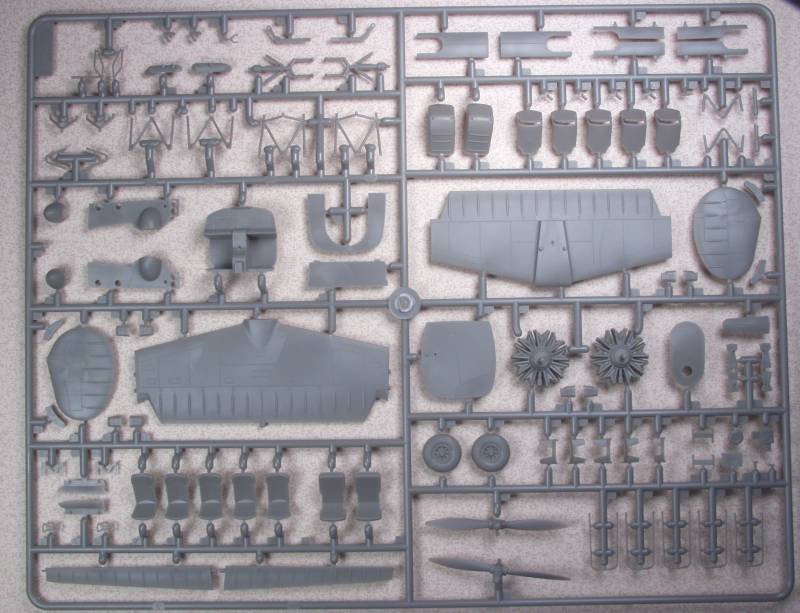
The last sprue looks like an after thought and contains only the engine mounting bulkheads and the bulkheads for the rear of the gear wells.
The clear parts seem a bit thick to me by current standards but they are clear and reasonably distortion free. I hope the three part cockpit glass fits well. The instructions have you installing the two side pieces before assembling the fuselage and adding the center section afterwards. Sounds scary to me.
![]()
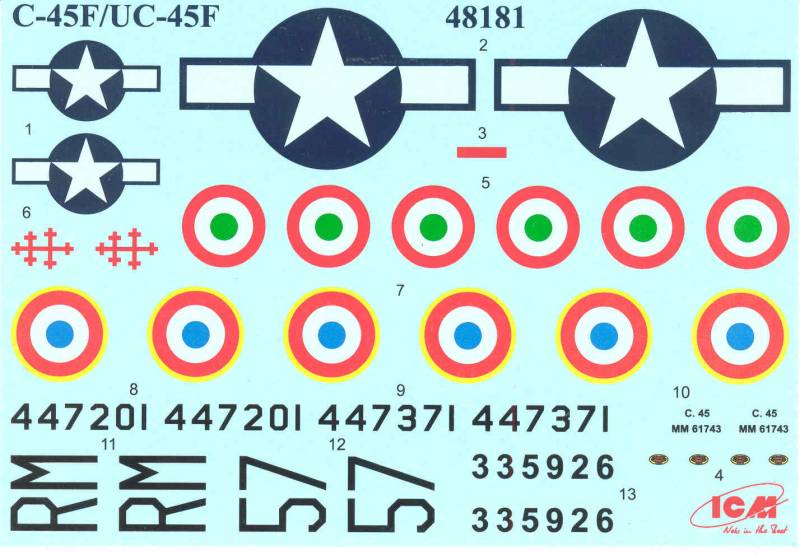
The decals provide markings for four aircraft, Two USAAF birds, one at Wright field in September 1944 and one in England July 1944, one French Air Force from the summer of 1944 and one Italian from 1949. The decals appear thin and have a flat finish. excess clear film is minimal and the registration is good on all except the outer yellow ring on the French national markings. No stencil markings are supplied but there are Hamilton Standard logo's for the propeller blades.
The instructions are in a large format booklet sixteen pages long and include the usual brief history, specifications, a color chart with generic color names and Model Master color numbers. Color call outs are used throughout the assembly which is nice. There is a complete parts map. The assembly is broken down into 56 steps which is a lot for a rather simple kit but each is well illustrated and spaced out so that things don't get cluttered. Two pages are devoted to painting and markings. All of the verbiage is provided in Russian and English.
Fit and Issues.
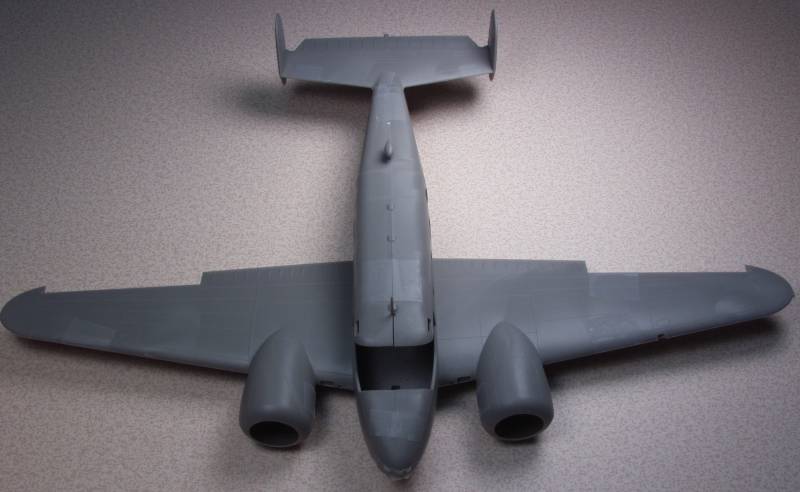
Lets take a look at how things go together. First of all there are few things, that to me anyway, just make extra work on kits and this model has several of those. In order to provide thin wing tips and trailing edges part of the bottom wing tip and trailing edge is molded as part of the top wing. Yes, this does provide for a nice prototype thin tip and edge but it also adds work in the form of more seams to fill. Here is the wing tip shown from the bottom.
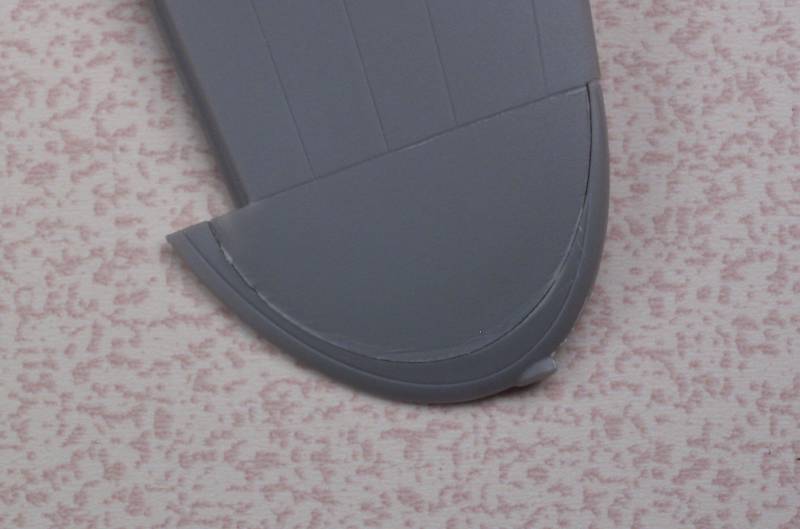
Had they followed the natural panel line this would be a lot easier to fix. Next up the trailing edge of the wing inboard of the ailerons.
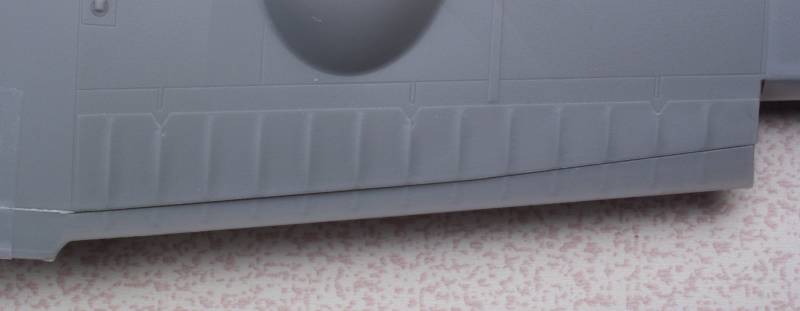
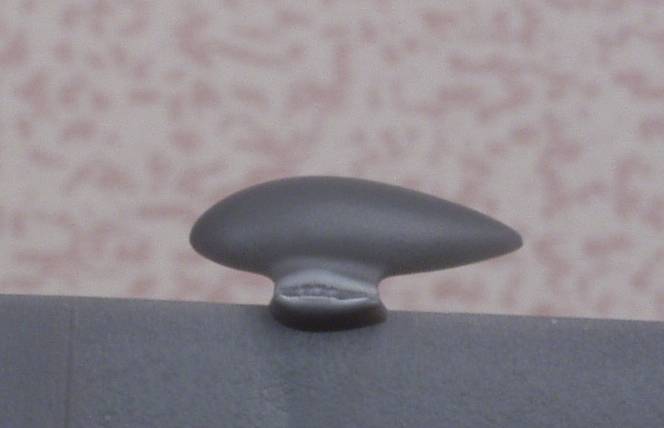
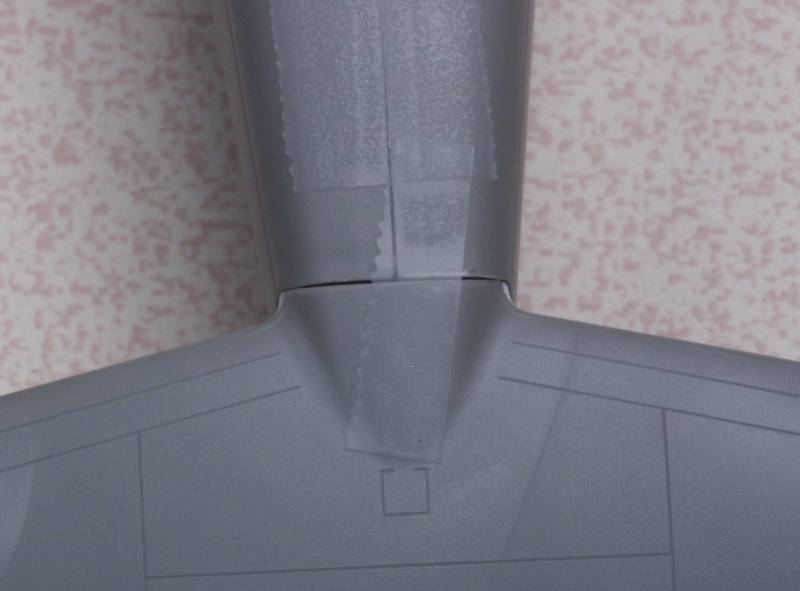
While the ribs probably need to be sanded down a bit anyway, by the time you get this seam fixed they will be most likely be completely gone. I think a separate flap would help here. My next complaint deals with small parts that protrude from the fuselage that are molded to it, three examples follow, the first is the ADF football of which half is molded to each fuselage. Besides being susceptible to be broken as mine was out of the box, if it doesn't line up just right it will be a pain to fix. This photo also provides a good idea of the surface texture of the kit.
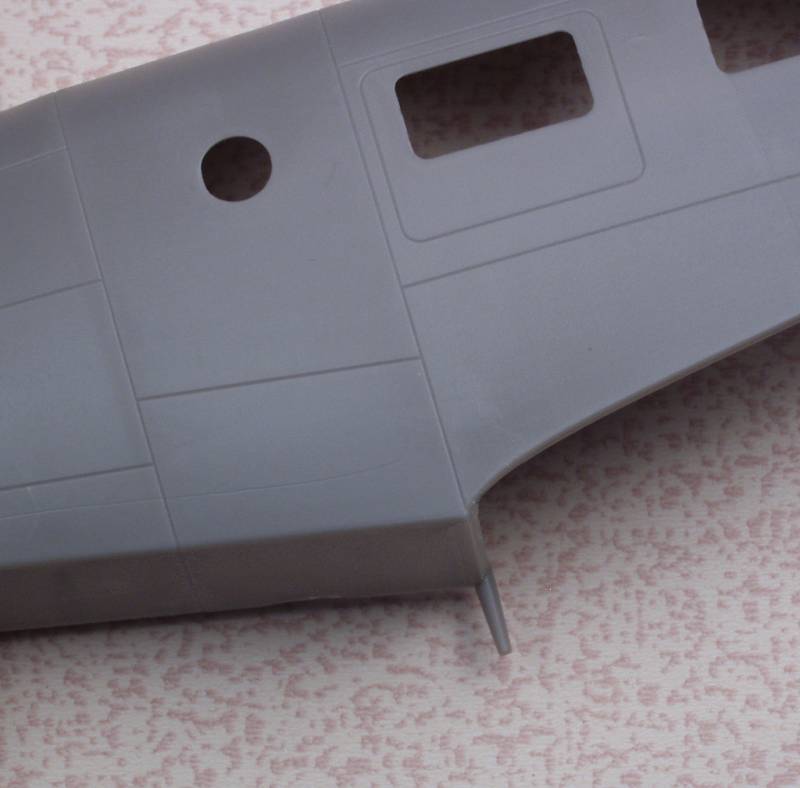
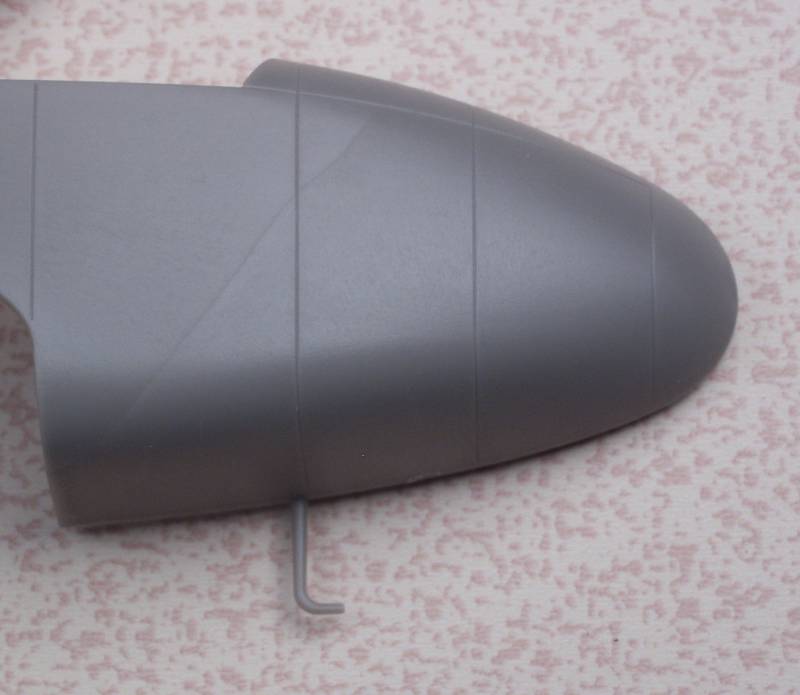
The next three illustrate the rest of the items just waiting to get broken off. I already lost the pitot tube when fitting the wing to the fuselage, best to just cut these off before you start.

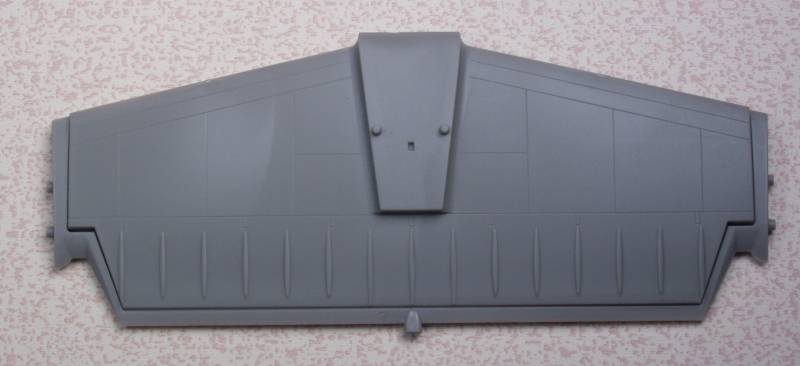
The horizontal stabilizer wasn't immune to the thin edge problem either, another pita to fix.
Overall the fit is quite good, the gap in back of the windshield should glue tight but a slight stress on the fuselage kept it from staying closed. The cowlings lined up well and there were no issues with gaps at the joints on either side of the openings.
The wing halves fit together well and the wing to fuselage joint will probably be better with a little trimming and some glue.

Probably the worst fit was the forward seam where the tail met the fuselage which will definitely require some filler.
The vertical fins have a recess that the horizontal tail fits into making for a nice snug fit that when glued should be really solid.

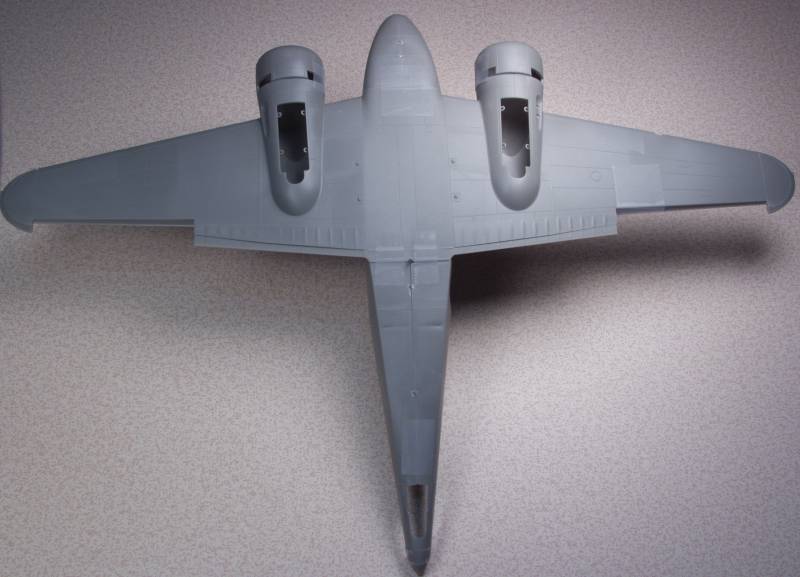
Bottom side fit was good.
Conclusions
Overall a reasonably nice kit of a long awaited subject in this scale. It seems to dry fit together very nicely. I wish I knew the logic of some of the design features as it seems some of them on this kit will only make life difficult for the model maker. I suspect that the landing gear/engine support structure will be a bit fiddly to assemble but only time will tell. In spite of my negative remarks I still like the kit and it should build into a nice looking model.
After Market Goodies
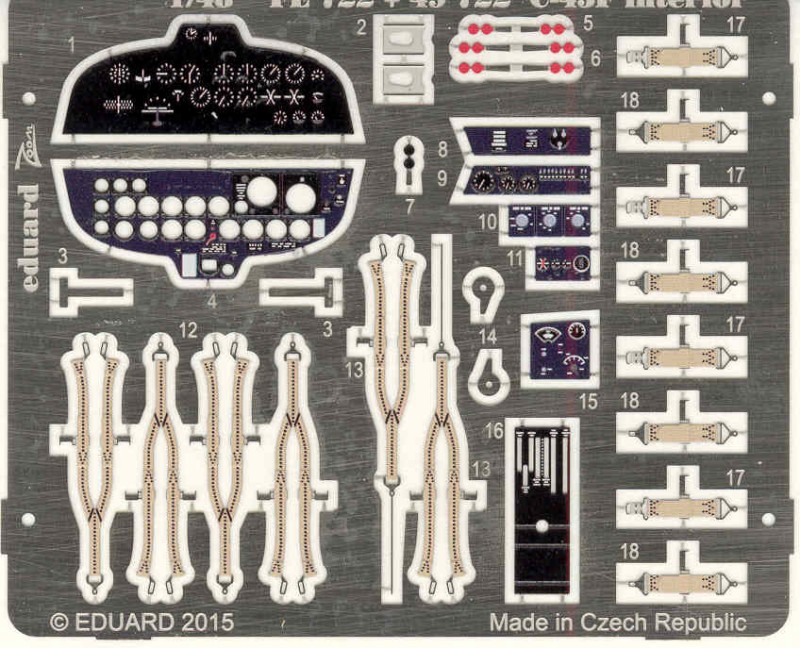
It is not always the case with Special Hobby kits as some get no love from the after market folks but this one seems to have gotten the works. I didn't get everything but I got probably more than enough. First up is an Eduard Zoom photo etch set (FE722) which includes the instrument panel, some side consoles, a few levers and harnesses and belts. Probably more than will be visible through the small cockpit windows.
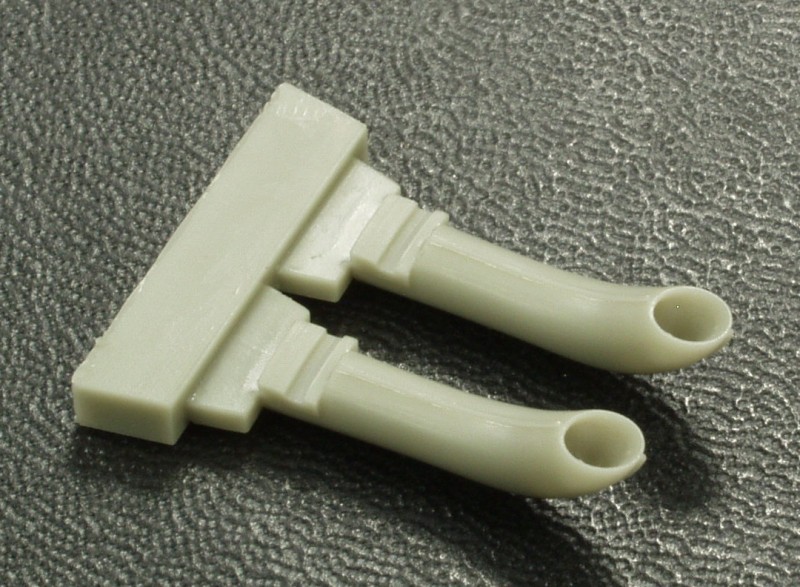
Next up are three sets from Quickboost, the first is a set of replacement air intakes for the engines, very nicely done with hollow front openings which trump the kit parts.
The next set is a set of props with hubs. The blades are separate and the set comes with a tool to align and set the prop pitch. The kit props look a bit pointy and thin to me and these just looked a lot better.

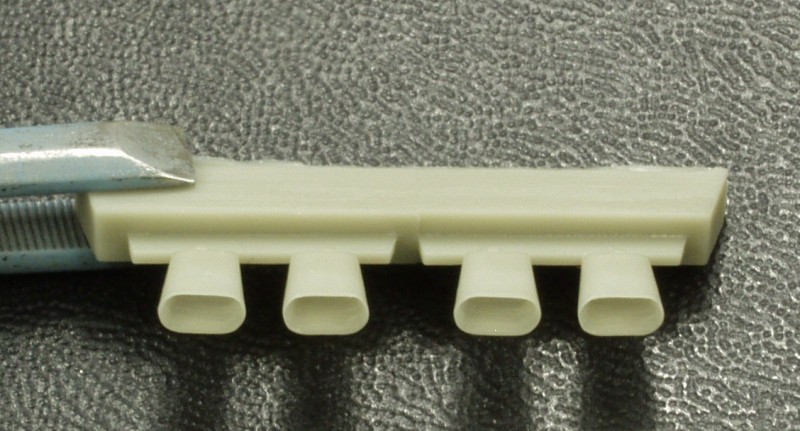
And lastly a set of exhaust stacks with nice weld seam detail and hollow ends again bettering the kit parts.
All three sets exhibited no flaws or bubbles.
Links to kit build or reviews
Another inbox review can be found here.
References