
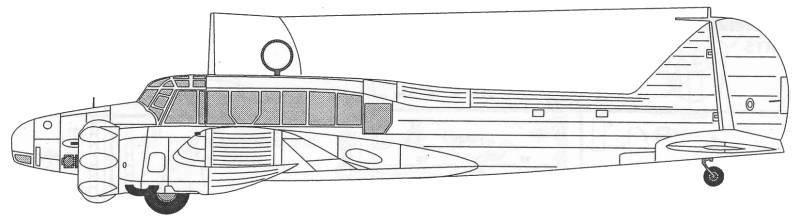
Anson Mk. I
The
Avro Anson had its origins in the model 652 civil transport
aircraft.
After two were used with success by Imperial Airways, they
sparked the
interest of the RAF. The military prototype first took to the
air in
March of 1935 as the model 652A. After a brief trial period
the RAF
ordered a production run of 174 aircraft. The Anson had the
distinction
of being the first monoplane and the first plane to be
equipped with
retractable gear to be used by the RAF. Operational service
began in
March of 1936. The outbreak of WWII found the Anson engaged in
the
anti-submarine and maritime reconnaissance roles, with the
first
successful attack on a U-boat occurring on December 13, 1939
which
resulted in the sinking of the U-boat. As newer and faster
aircraft
became available the Anson was pressed into service as a
navigation
and air gunnery trainer. Under the Empire Air Training Plan,
Anson's
were
used to train aircrew from Australia, Canada, New Zealand,
Rhodesia
and South Africa. Export versions of the Anson were operated
by
Estonia, Finland, Greece, Turkey and Ireland. The Anson
remained in
production for 34 years with 10,996 aircraft being produced.
The Kit
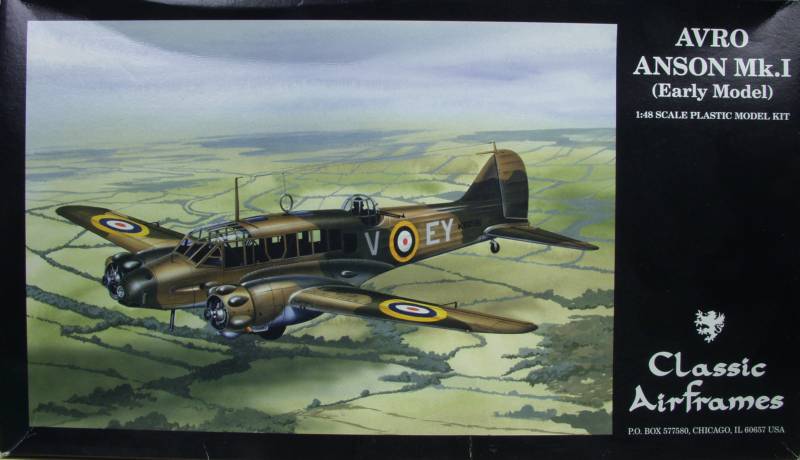
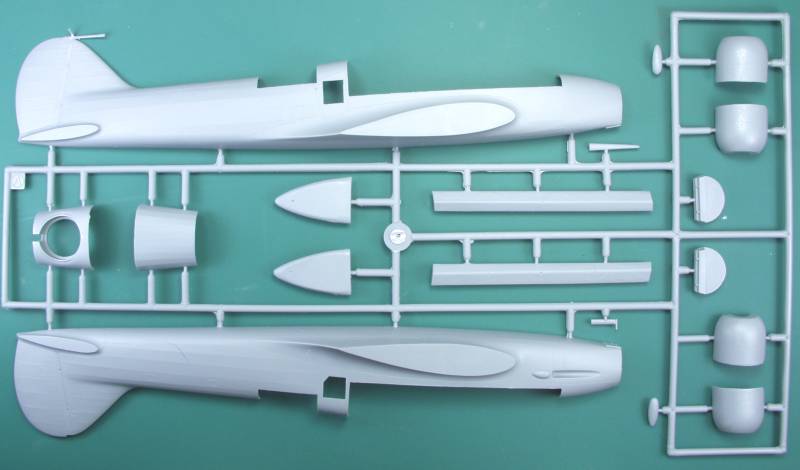
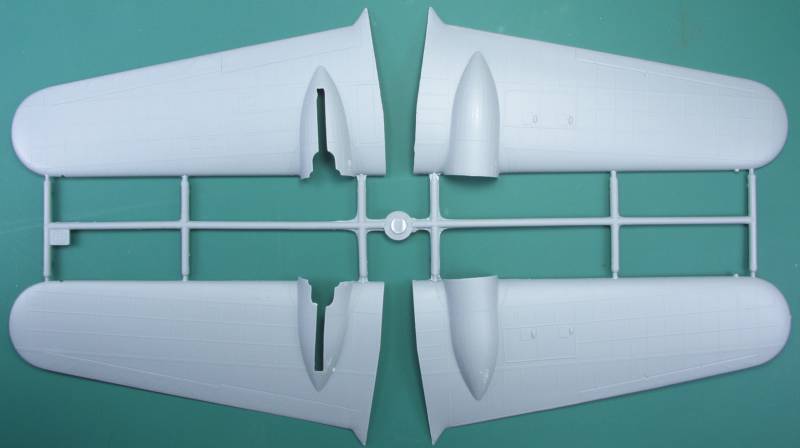
The Classic Airframes kit of the Avro Anson comes in a typical CA top open two part box of rather flimsy construction with rather nice artwork on the top. Inside the box is one large bag filled with three sprues of injection molded parts in a medium gray color, three bags of resin parts, one with the molded clear parts and one with a small fret of photoetch parts. The injection molded parts feature finely recessed panel lines and fastener detail and raised rib lines and nicely done fabric detail on the fuselage and control surfaces. The control surfaces are all fixed and I found no surface defects on any of the major air frame pieces. The surface of the plastic is smooth and matte. The larger pieces are mostly flash free with the smaller pieces exhibiting a bit more flash. Like most short run kits of the sprue attachment points are heavy though for the most part on this kit they aren't all that bad but take care with them any way. The wheels have nice hub detail and the tires are not weighted. Ejector pin marks and stubs are limited to areas that won't show when the kit is assembled. By my count there are 50 parts molded in gray. See Photos below.

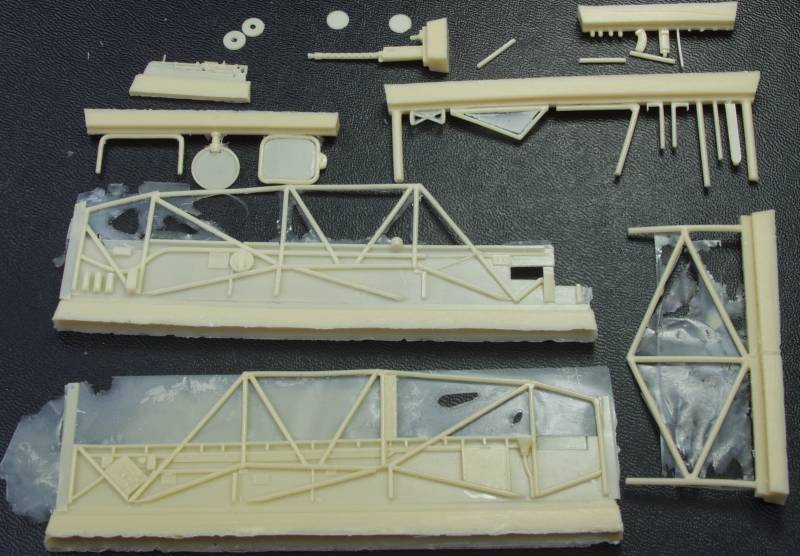
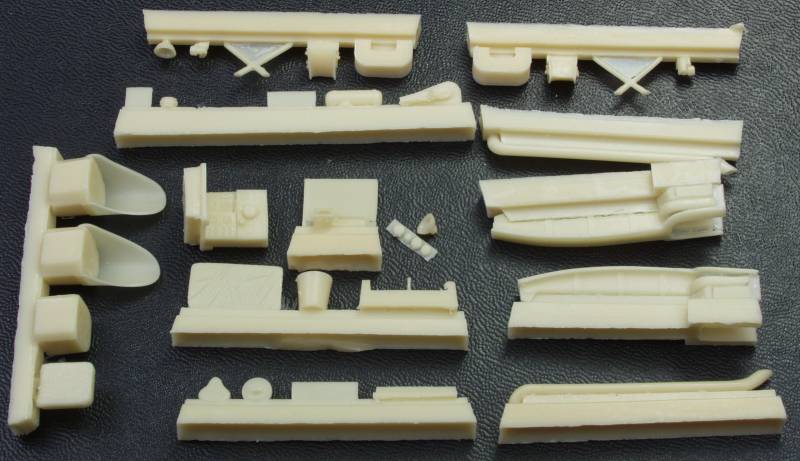
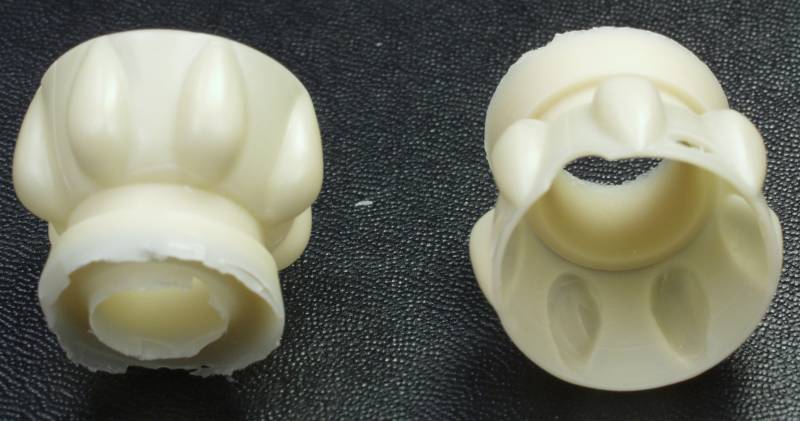
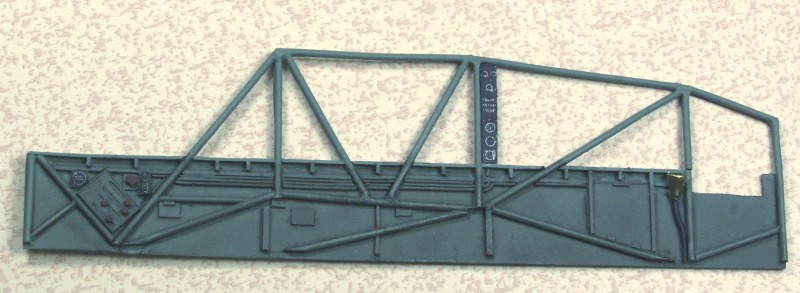
The kit comes with a substantial amount of resin parts, some of them quite delicate, especially the parts making up the side walls and framing. They are molded in a tan colored resin and also include a lot of the interior details, landing gear parts, engine exhausts, the interior turret parts and gun and two lovely molded engine cowlings. Some of the larger parts exhibit a bit of flash but it is paper thin and should clean up easily. A few of the small parts had broken off in shipping. The parts were all crisply molded and I found no short shots, voids or pin holes in any of the parts. By my count there are 60 resin parts. See photos below.
The clear parts are thin, clear and have nicely raised frame lines. Areas on them to be painted have a slight frosting to them, alternate noses are supplied. The area ahead of the windscreen is molded integral to the canopy eliminating fit issues close to the glass areas. All together there are 11 clear parts.

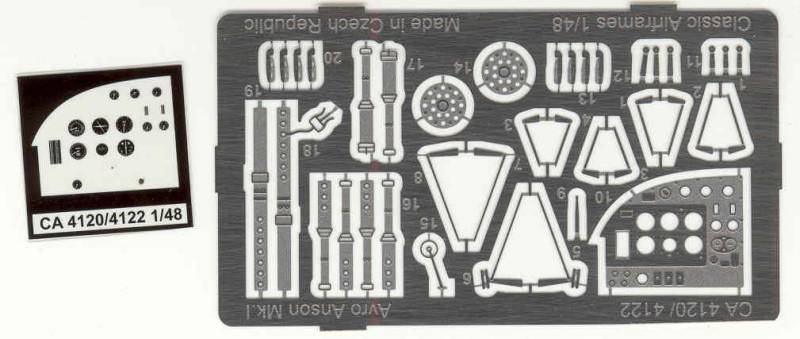
The fret of photoetch includes seat belts and harnesses, propeller hub plates, instrument panel with film backing, control levers, wing and tail mass balances and other detail bits. See below.
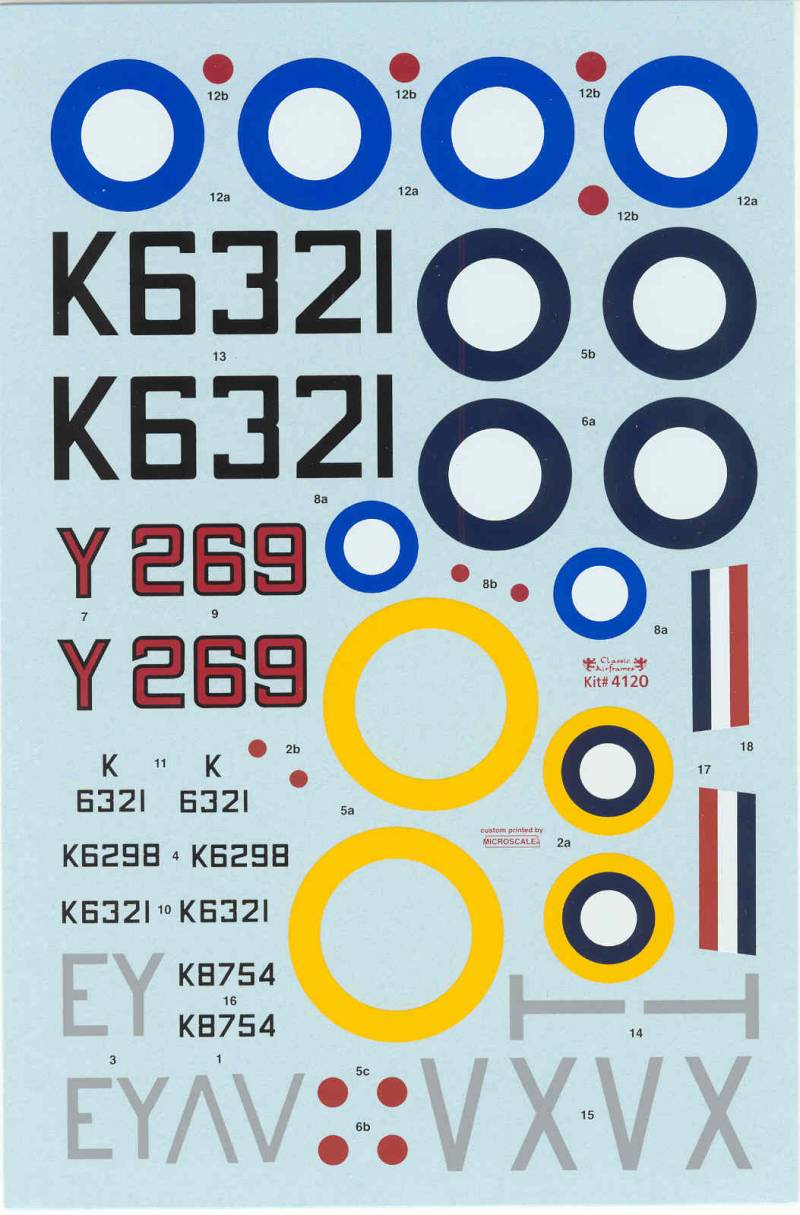
The decals provide marking for three aircraft, are thin, in register and glossy as one would expect from Microscale, see below.
The instructions consist of two A4 pages folded and printed on both side providing 8 pages. Page one has history and specifications, page two has an icon chart, color list and parts map. the balance cover assembly steps. The paint and marking information is on a second A4 sized sheet.
After Market Goodies
Currently the only after market that I am aware is a set of die cut masks from Eduard [EX196] and these will certainly ease the pain of masking all that glass area.
Conclusions
This is another gem from CA, typical of their kits which require a lot more in the way of parts prep and test fitting than the main stream kits but with another irresistible topic and an aircraft not likely to be done by any of the main stream companies. Usual caveats apply and this one should be doable by anyone who has successfully built a few of this type of kit.
Links to kit build or reviews
A build can be found here.
References
My library came up short on this one and all reference material was gleaned from the Internet.
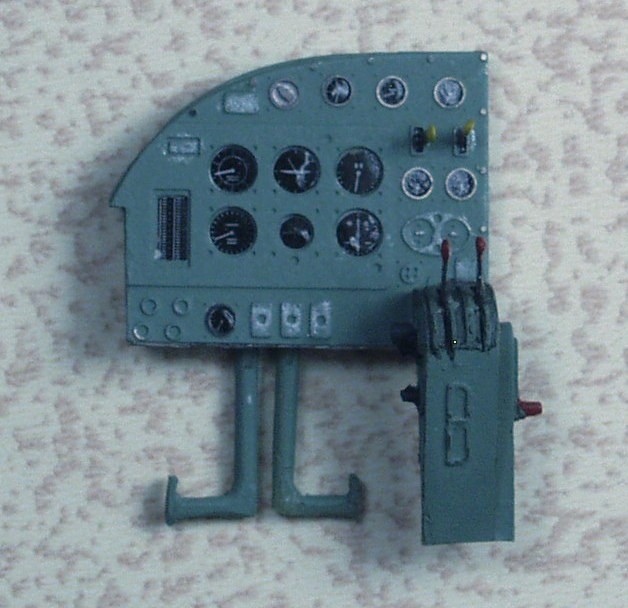
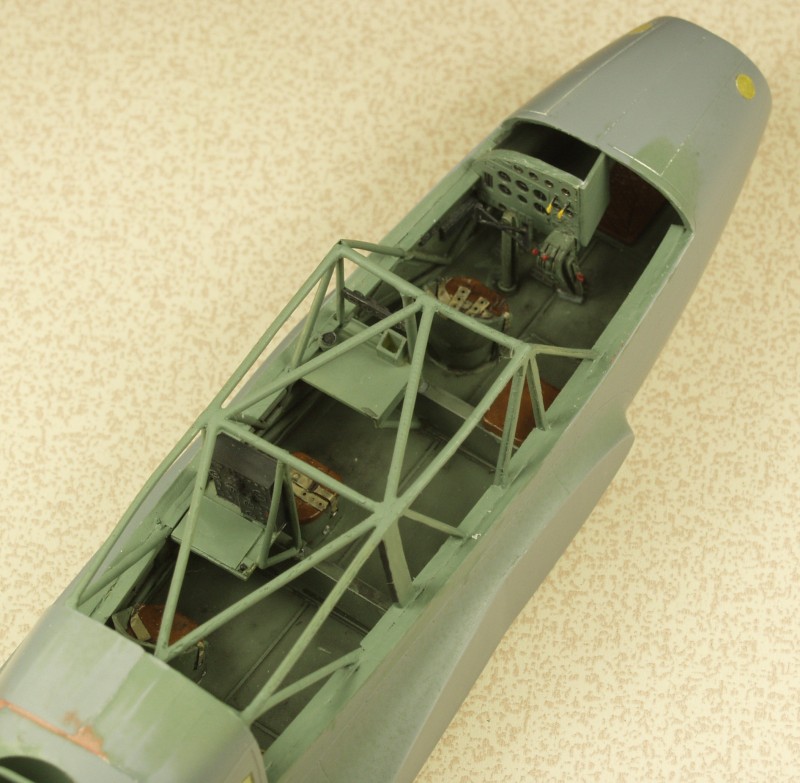
Like most kits it begins with the cockpit. The instrument panel was a sandwich affair with unpainted PE front to go over a film with the instruments. The panel was painted interior green and some of the paint was removed around some of the bezels to add some variation. Rather than painting the rear of the film white I added another layer of white styrene to the sandwich.
Most of the interior parts are then added to the port side of the fuselage. Like many limited run kits, placement of some of the parts was left up to the builder.
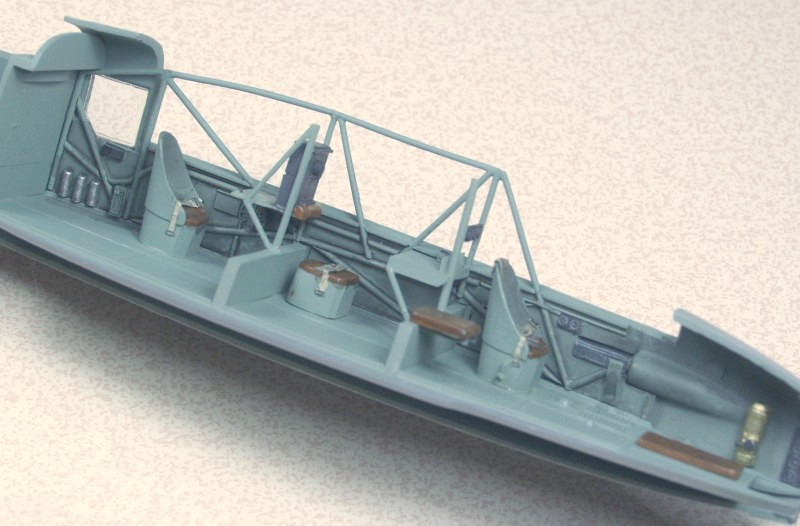
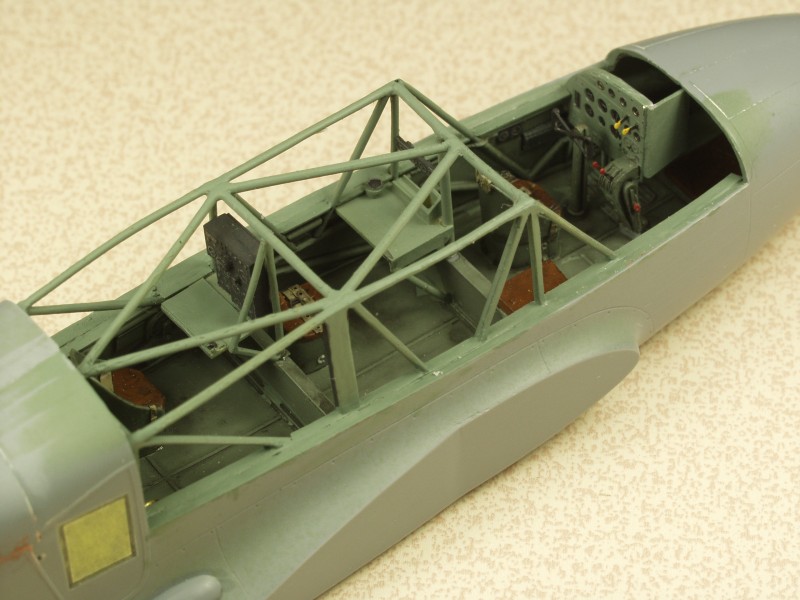
Another angle gives an idea of the level of detail supplied and up to this point everything has fit together quite well.
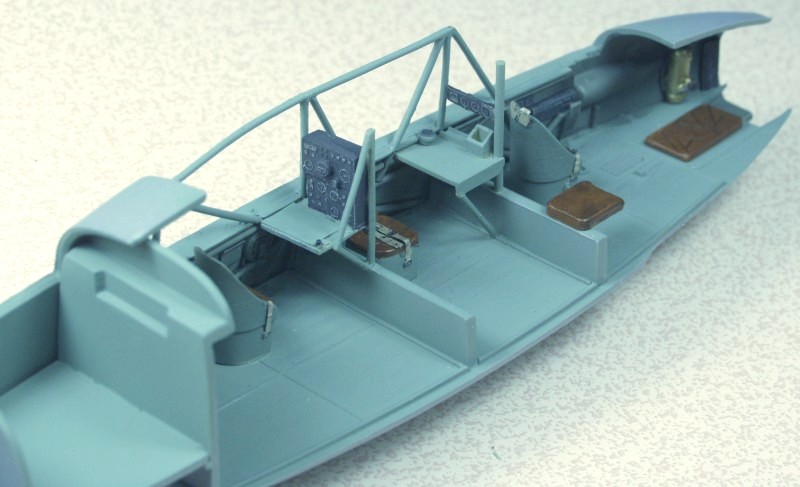
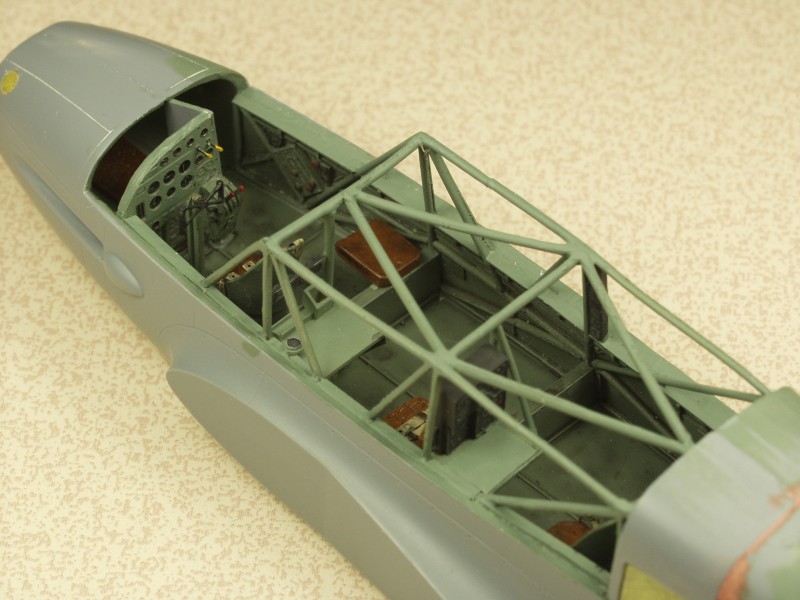
The starboard side interior wall just needed some detail parts added and painted up.
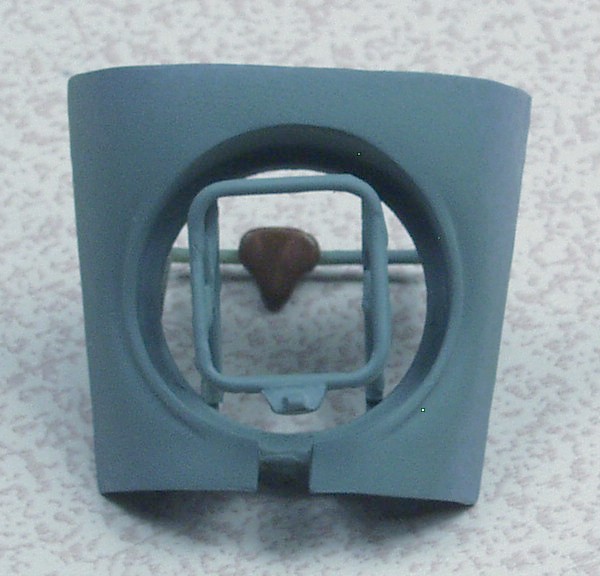
The turret interior structure proved to be a real test. If assembled as shown in the instructions the clear parts would not have fit. I ended up adding a couple pieces of styrene structure for the framework to set on. It as still quite fiddly to assemble.

I managed to get the seat a little off center but one together this is difficult to see so I didn't risk trying to move it.
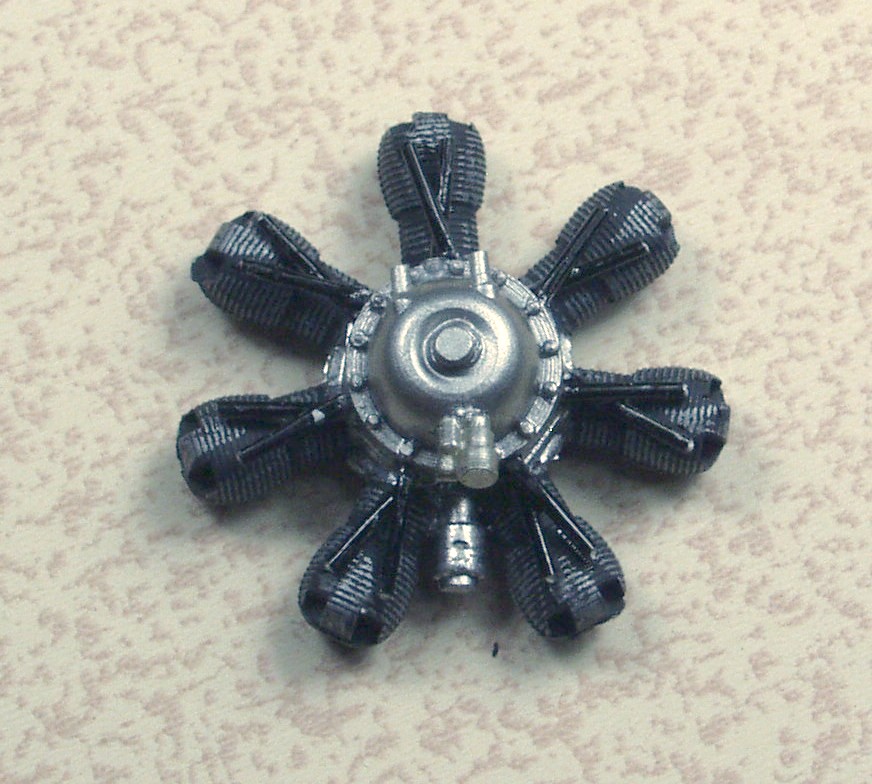
The engines looked a bit plain out of the box. The instructions called out to use resin engines instead of the molded plastic ones but the resin engines were not supplied with my kit. I added some push rod tubes but since only part of them can be see I did not make them full length. As it turned out later the styrene part was probably a better choice anyway.
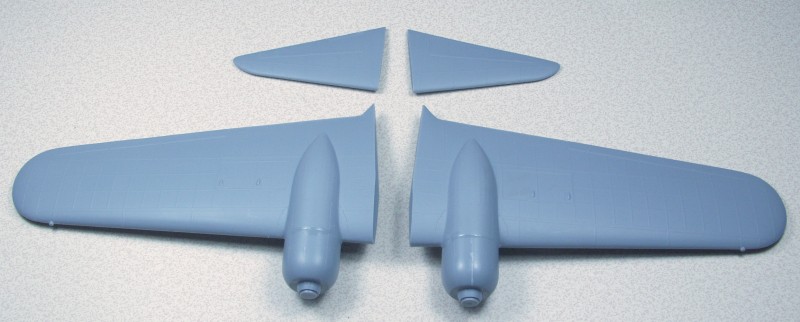
While waiting for paint and glue to dry on other parts I assembled the wings and tail parts, these all fit quite well.
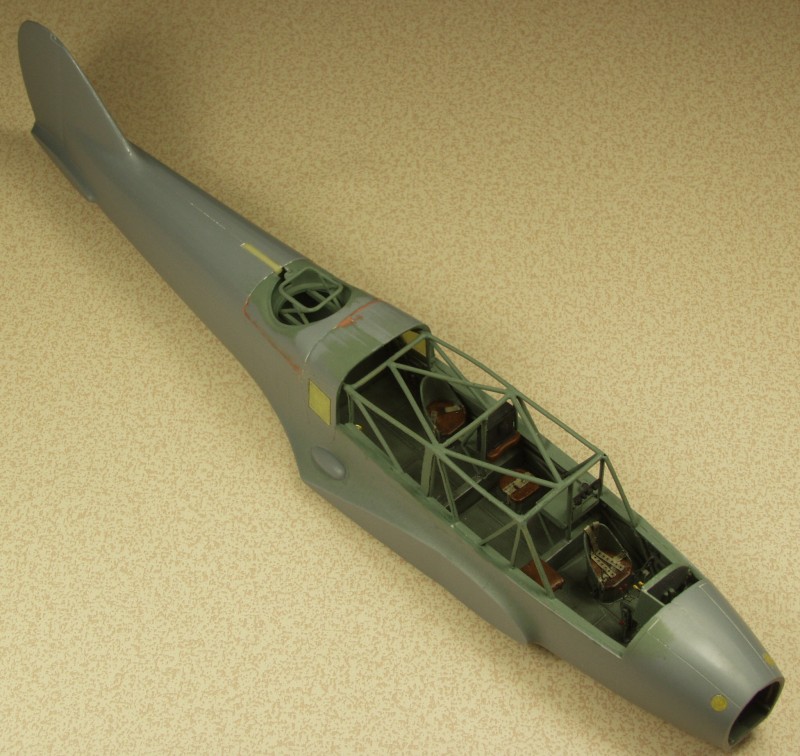
The instrument panel turned out to be an interference fit with the gun breach and I ended up pulling it out and cutting a notch in the breach to get it to sit in the correct position. It still set too high to clear the early model windscreen. More on that later. The port side interior wall gets glued to the floor prior to installing the pot side fuselage. The floor protruded a bit beyond the interior wall once together and I needed to sand it down a bit to get the fuselage halves together. Initially the port interior wall did not want to sit flush with the fuselage half but a little CA glue and clamping took care of the issue. It did leave a bit of a gap to fill. I did a progressive glue job around the fuselage and when complete it only required a bit of sanding and filler to smooth things. Being mostly fabric covered there weren't a lot of panel lines that needed rescribed. The resin framework parts were also a bit fiddly to deal with but fortunately the resin is more flexible and less brittle than most.
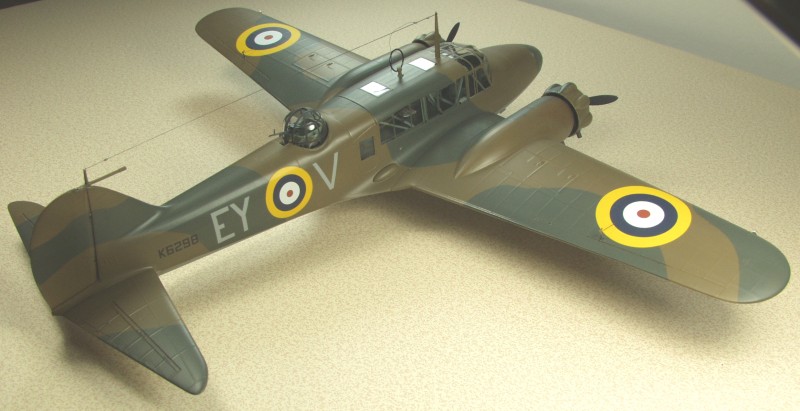
Wings and tail on, cockpit canopies on an masked. Fit of the wings was excellent and the tail was mostly so. I did end up using a styrene shim on the bottom side of the starboard tail plane. I usually add some additional supports when wings and tails are just butted together but these fit so well and felt really solid after gluing. One disappointment was the Eduard mask set for the kit as it only contains masks for the later model forward section which meant a lot of laborious hand masking.
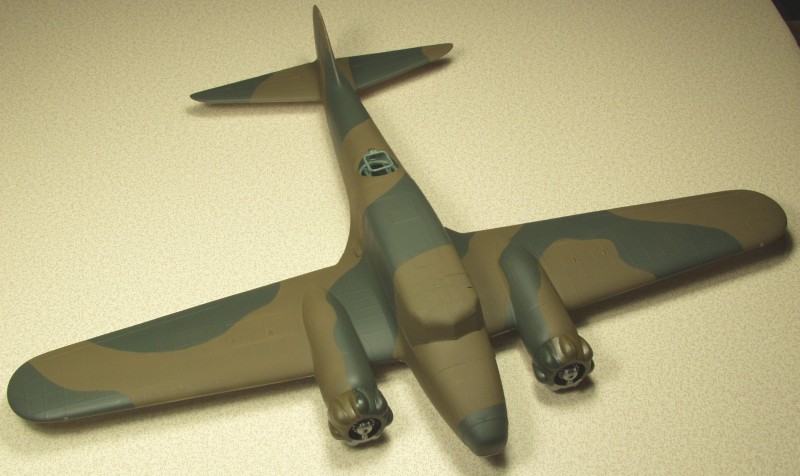
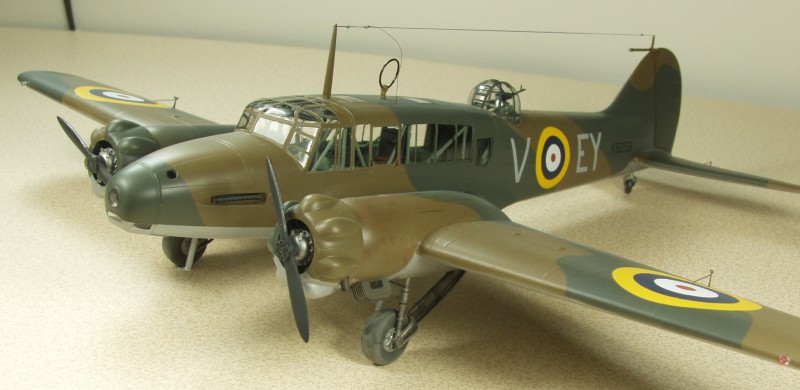
And here it is complete. I mentioned earlier about the choice of engines, the cowling have no real mounting point. They can be squeezed on over the engines and once in place pretty much stay where they should be. These are a real tight fit requiring flexing of the cowlings to get them on. Again it was fortunate that the resin had some give to it. Had the resin engines been supplied I'm not sure they would have survived the stress. Grinding down the tops of the cylinders is not an option as the cowlings will then fit loose and it will be very difficult to get glue into the areas to secure them. The PE aileron actuators and the elevator trim tab actuators were a real test to install. After several tries I gave on the rudder ones. I also did not install the aileron hinges as they proved just to difficult to bend to shape for me.
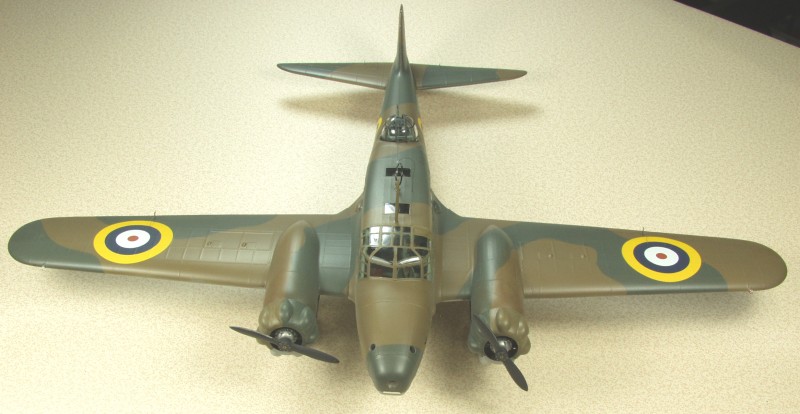
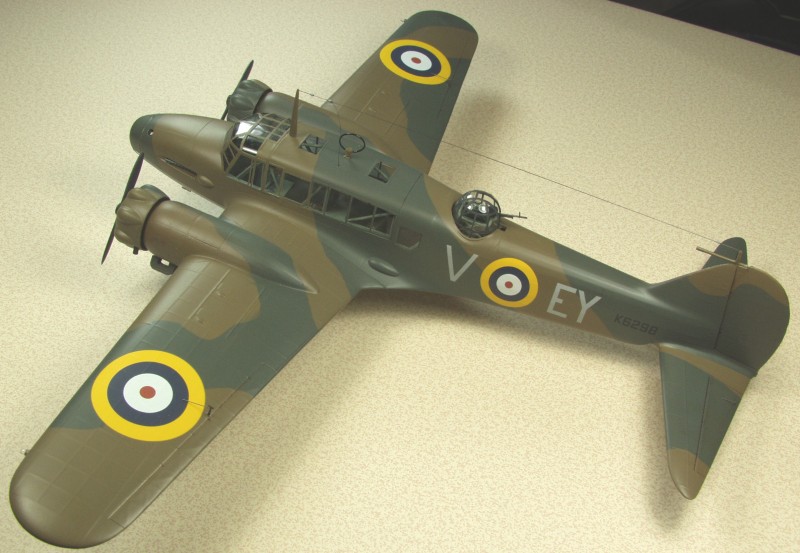
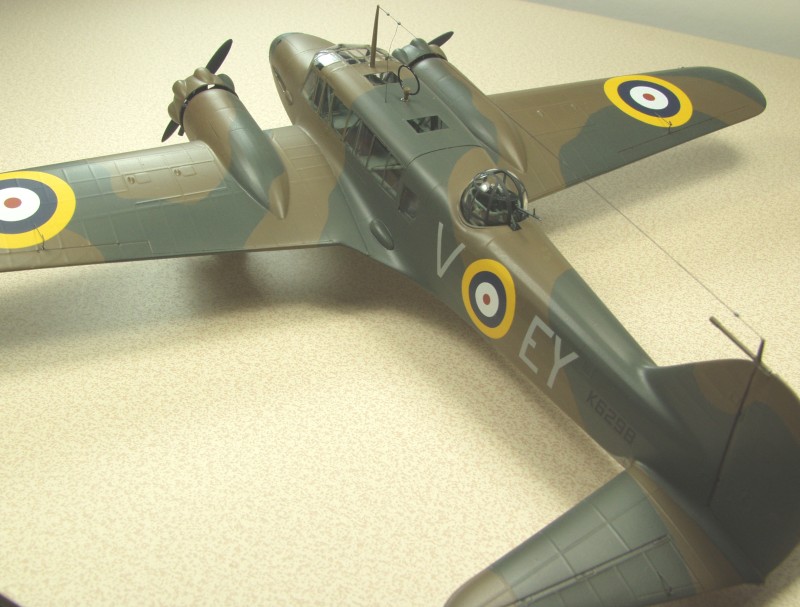
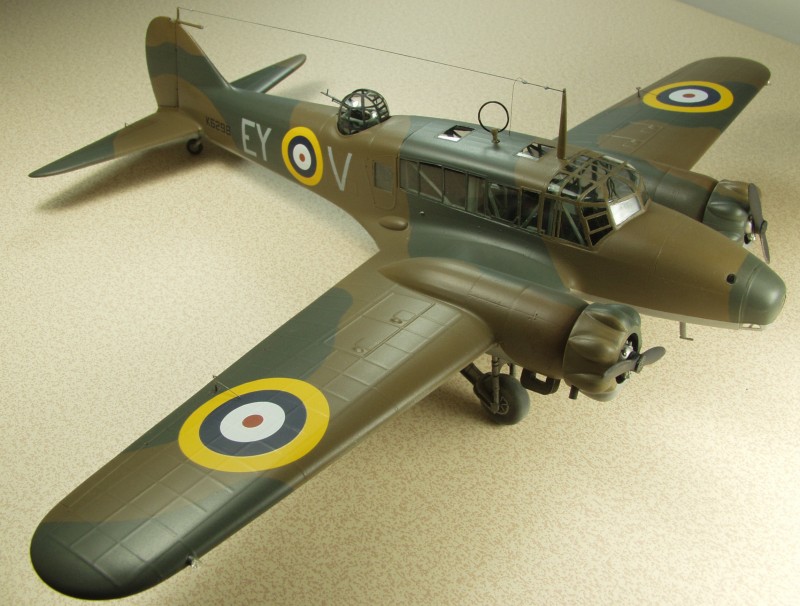

My DF loop had a bit of a twist to it but it was so delicate I didn't try to fix it. Calling it bird strike damage. The decals from Microscale went down flawlessly and I did not use any setting solution. While I don't normally like the stacked decals that leave registration up to the modeler, I had really good luck with these.
Overall I think this is one of Classic airframes better kits. Getting all of the tiny resin parts freed and cleaned up was a chore but for a limited run kit fit was quite good and I'm pleased with the end result.
Back to the MISC BRITISH page