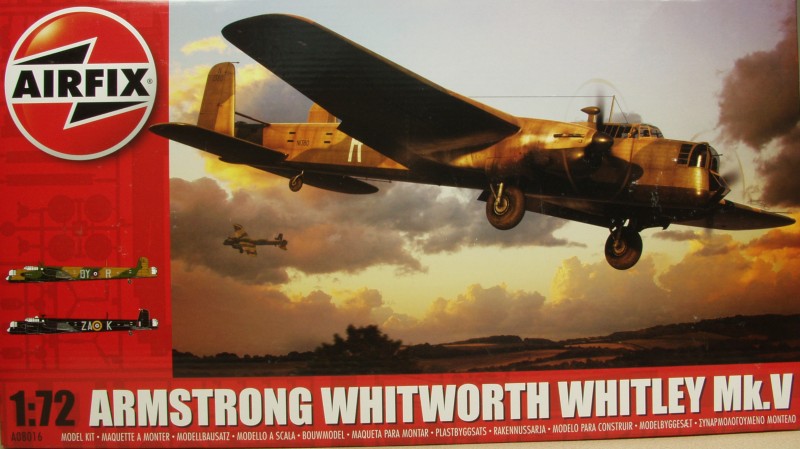
Armstrong
Whitworth Whitley Mk.V

In July 1934, the Air Ministry issued Specification B.3/34, seeking a heavy night
bomber/troop transport to replace the Handley Page Heyford biplane
bomber. John Lloyd, the Chief Designer of Armstrong Whitworth Aircraft,
chose to respond to the specification with a design designated as the AW.38,
which later was given the name Whitley after the location of
Armstrong Whitworth's main factory. The design of the AW.38 was in fact
a development of the Armstrong Whitworth
AW.23 bomber-transport design that had lost to the Bristol
Bombay for the earlier Specification C.26/31.
Lloyd selected the Armstrong Siddeley Tiger IX radial engine to power
the Whitley, which was capable of generating 795 horsepower. One of the
more innovative features of the Whitley's design was the adoption of a
three-bladed two-position variable-pitch propeller built by de
Havilland; the Whitley was the first aircraft to fly with such an
arrangement. As Lloyd was unfamiliar with the use of flaps
on a large heavy monoplane, they were initially omitted from the design.
To compensate, the mid-set wings were set at a high angle of incidence
(8.5°) to provide good take-off and landing performance. Although flaps
were included late in the design stage, the wing remained unaltered; as
a result, the Whitley flew with a pronounced nose-down attitude when
flown with the wings in the cruising position, resulting in considerable
drag.
The Whitley holds the distinction of having been the first RAF aircraft
with a semi-monocoque fuselage, which was built using a slab-sided
structure to ease production. This replaced the traditional tubular
construction method employed by Armstrong Whitworth, instead
constructing the airframe from light-alloy rolled sections, pressings
and corrugated sheets. According to aviation author Philip Moyes, the
decision to adopt the semi-monocoque fuselage was a significant advance
in design; many Whitleys surviving severe damage on operations.
While the Tiger VIII engine used in the Whitley Mks II and III was more
reliable than those used in early aircraft, the Whitley was re-engined
with Rolls-Royce Merlin engines in 1938, giving rise to the Whitley
Mk IV. Three Whitley Mk I aircraft, K7208, K7209,
and K7211, were initially re-engined to serve as prototypes. The
new engines are accredited with producing greatly improved performance.
Other changes made included the replacement of the manually operated
tail and retractable ventral turrets with a Nash & Thompson powered
turret equipped with four .303 in (7.7 mm) Browning machine
guns, the increasing of fuel tank capacity, including two additional
fuel tanks in the wing. A total of 40 Whitley Mk IV and Whitley Mk IVA,
a sub-variant featuring more powerful models of the Merlin engine, were
completed.
The decision was made to introduce a series of other minor improvements
to produce the Whitley Mk V. These included the modification of
the tail fins and rudders, the fitting of leading edge de-icers,
further fuel capacity increases, a smaller D/F loop in a streamlined
fairing being adopted, and the extension of the rear fuselage by
15 in to improve the rear-gunner's field of fire. The Whitley Mk V
was by far the most numerous version of the aircraft, with 1,466 built
until production ended in June 1943.
The
Kit
The
Airfix Whitley is a new tool kit that was released in 2015. It
must have been very popular as the kit took a long time to find
its way to U.S. distributors. The kit comes in a large box
considering the scale of the kit and there is a fair amount of
unused space inside. It is a sturdy tray type top open box made
from thin corrugated cardboard. Inside one finds that all of the
parts are contained in a large sealed plastic bag with a smaller
inner bag for the clear parts. The parts are molded on four large
sprues and with the exception of the sprue with the wing halves
all the parts were still attached when I received it. The large
wing parts were only attached to the sprues at three points and
one had broken completely free and the other three had at least
one broken attachment point. These were the ones on the leading
edge and unfortunately left a small divot that will need addressed
during assembly.
The
parts are molded in the Airfix signature pale blue color that has
a smooth matte finish. The surface detail consists of some very
restrained and nicely done fabric detail and the metal surfaces
feature recessed panel lines. Still large for the scale but much
better than some other recently released 1/72 scale kits and
should look fine once painted. The parts are crisply molded and I
had to look hard to find even the slightest hint of flash. Mold
parting lines are also quite fine and should be easy to clean up.
Other than some faint flow marks I did not find any surface
defects. The ailerons are molded in the neutral position but the
flaps, elevators and rudders are molded separate.
The
kit has a some what unusual break down assembly wise the fuselage
is divided fore and aft about the wing, the rear section
consisting of two halves minus the top which is a separate part.
The forward section is more conventional but part of it has no top
initially. The lower wing center section is built up with two
large spars to which a fair amount of interior detail is added
before attaching the lower and upper wing halves. More internal
structural and detail is then added in the area of the engine
nacelles which are then added once they have been assembled. Once
the wing assembly is complete the forward fuselage is added and
when that is in place the rear portion is attached. The top
section of the rear fuselage extends forward and adds a top to the
forward fuselage.
The
interior has a good amount of detail for the scale but I fear that
except for the cockpit area little of it will be seen. There are
decals for the instrument panel which is otherwise flat and
featureless. It does have rudder pedals attached. The fuselage has
structural detail molded inside in the front and rear and there is
an option to leave the crew door open so there will be structure
to see inside. The bomb bay has structural detail molded in and
the kit supplies bombs to fill it. The doors are molded in the
closed position and will need to be cut if you desire them open.
The turret detail is nothing to write home about but adequate for
most I suspect. The wheels are in halves and weighted but look way
too flat in my opinion. You have the option of gear up or down.
Separate open and closed doors are supplied so no cutting is
necessary on those. The propellers are one piece moldings. OK,
lets look at the parts.
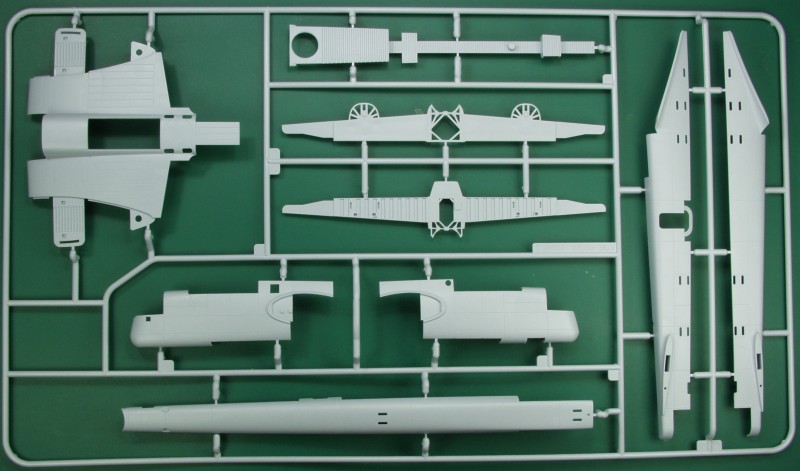
The
first sprue shown has the three parts of the rear fuselage, the
two halves of the forward fuselage, the lower wing center section,
the two main wing spars and one of the internal floor sections.
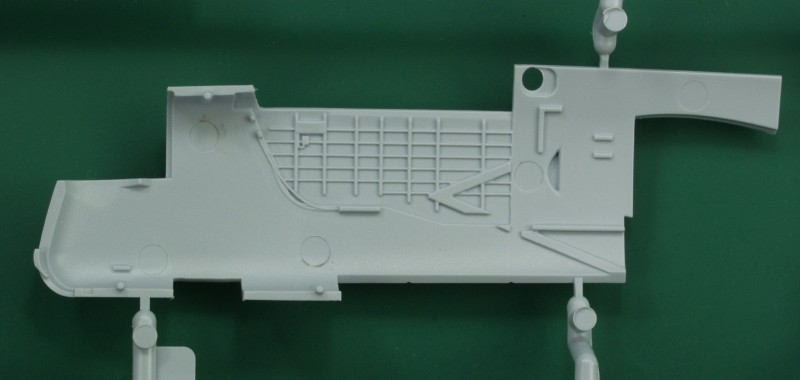
The
next photo shows the internal detail of forward fuselage
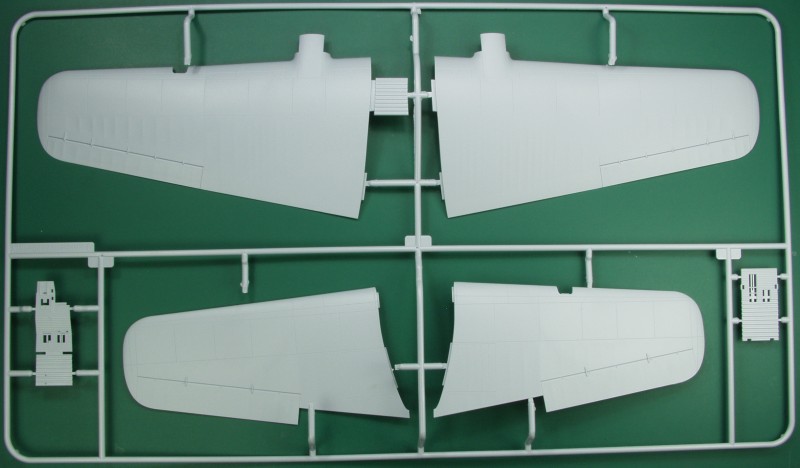
The
next sprue has the upper and lower wing halves and two of the interior
floor pieces.
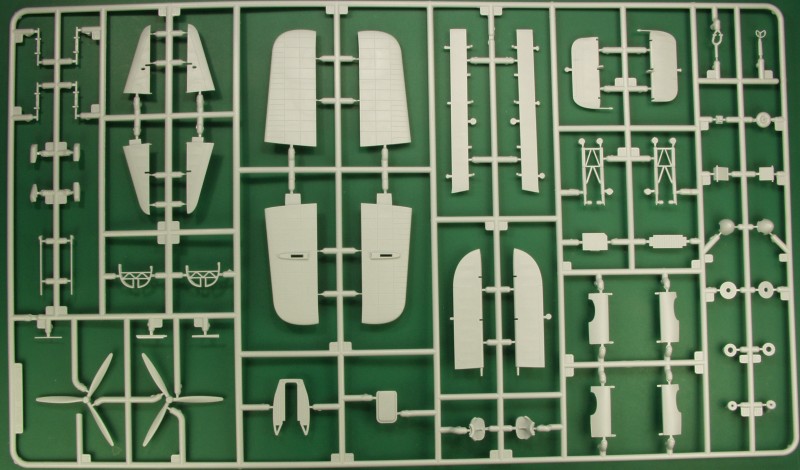
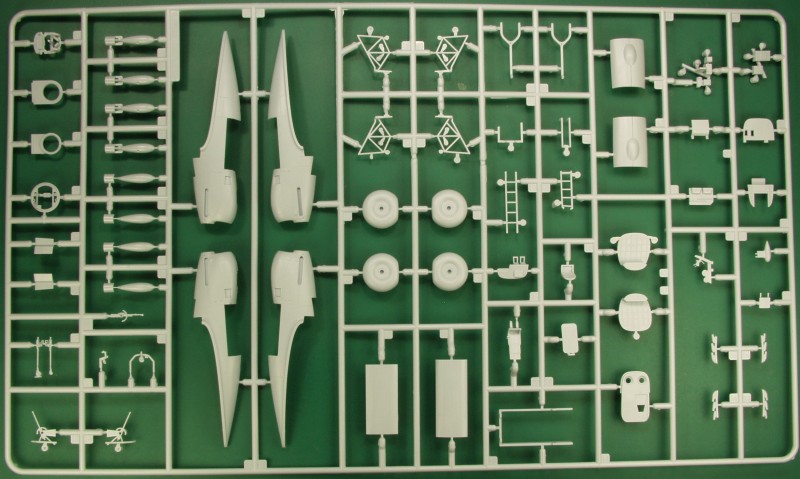
The
next sprue is quite busy with the horizontal stabilizers, all the
moveable control surfaces, props, landing gear parts and a variety of
other parts.
Like
wise this sprue is also busy with the engine nacelles, bombs, more
landing gear parts, internal details and others.
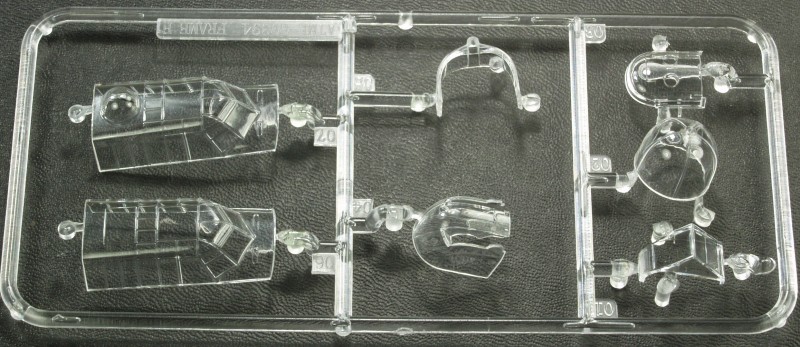
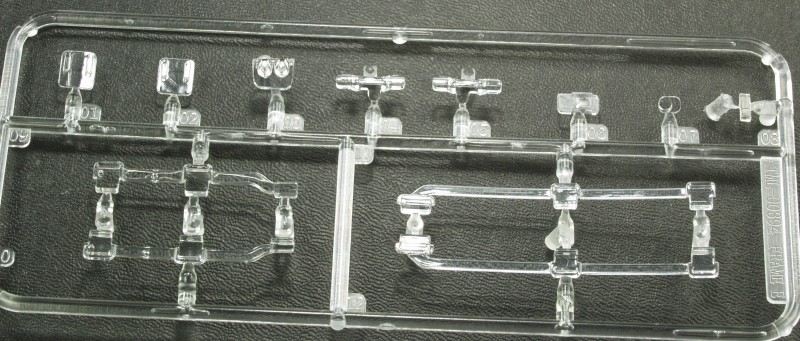
The clear parts are thin with
well defined frame lines but are not all that optically clear.
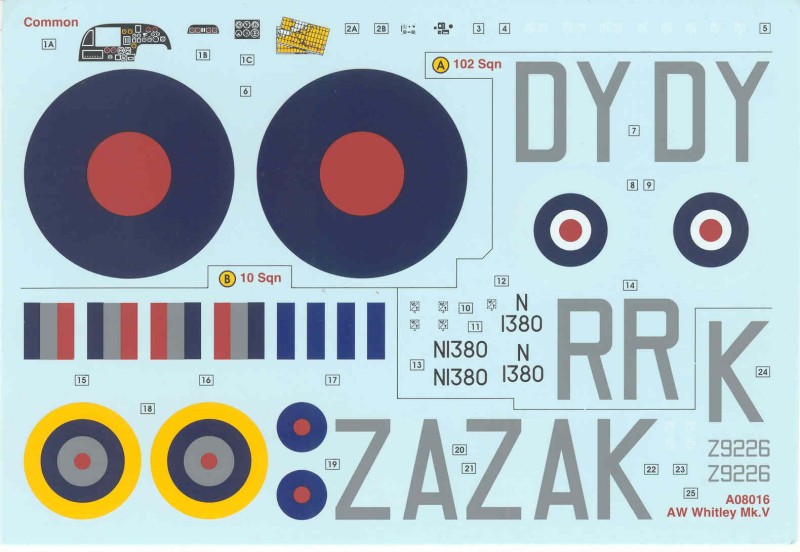
The
decals are thin and in register and appear to be sufficiently
opaque with a flat finish. All but two of the smaller roundels
have a very minimal amount of excess clear film. The sheet
provides markings for two aircraft, one in the traditional green
and brown over black from # 102 Squadron, #4 Group from March
1940 and an all black aircraft from #10 Squadron, #4 Group from
December 1941. The sheet provides instrument panel and radio
face decals, a map decal for the navigators table and a few
stencils.
The
instructions are the typical fare for the newer
Airfix kits, an A4 sized booklet 16 pages long and
stapled at the spine. The cover page has a brief
history and specifications in five languages. The
second page has some basic assembly instructions
and an icon chart. There is no parts map or color
chart. The color call outs are small circles
spread throughout the instructions with Humbrol
numbers only. Not very handy in my opinion, at
least color names would be helpful. The next
twelve pages have gray scale cad drawings with
colors used to show parts being installed. The
last two pages have the painting and marking
instructions. At least here color names are
supplied in addition to Humbrol numbers. Some of
the pages get fairly cluttered but the use of
color helps.
After
Market
Goodies
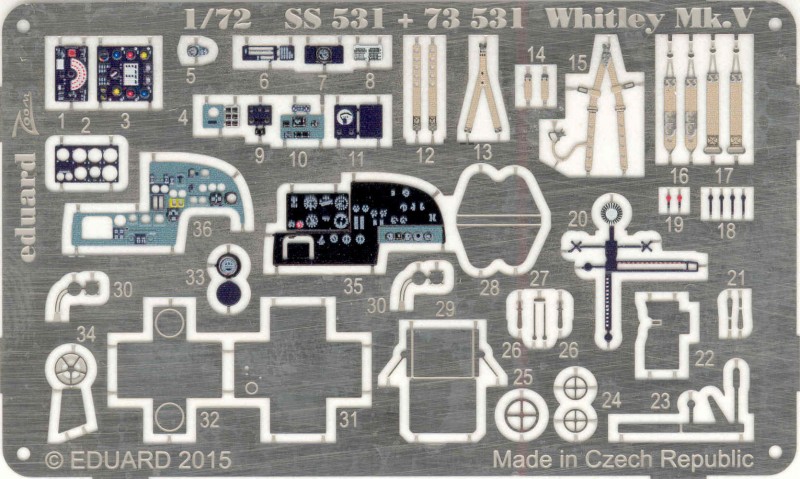
I
wasn't all that impressed with the decals for the
instrument panel so I got this Eduard Zoom set
mostly for the panels and seat harnesses. A few of
the other items may be useful as well, only time
will tell. I also got an Eduard Mask set [CX420].
Conclusions
This
kit certainly is way nicer than the previous
Airfix kit which I built many years ago and way
better than the Frog or Matchbox kits. It's well
detailed and molded and if its like their other
new releases should build up easily as well.
Recommended !
Links to kit build or reviews
A
Build/Review can be found here.
References
Famous Bombers of the Second World
War by William Green
Wikipedia
Back to the Miscellaneous 1/72
page
Updated 8/15/18