Gotha
Go P.60 A-1
The
Gotha P.60 came into being as a result of the Gotha Aircraft Company
receiving the order for series production of the Horten brother's all
wing fighter the HO 229. After they had received the plans and data
they felt there was some room for improvement. The Ho 229 was limited
in space to install new equipment or to add crew members. More
importantly the engines were enclosed in the wing making the fitting of
different engines difficult. The Gotha engineers proposed an
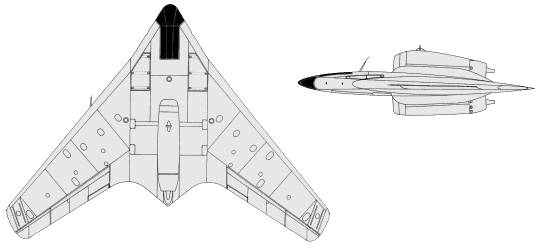
alternative all wing design. The basic construction was to be welded
steel tube covered by molded plywood. The P60A was a flying wing
powered by two jet engines near the rear of the wing center section one
above the wing and one below. two BMW 003A-1 engines were to be used.
Three fuel tanks were to be mounted in the wings. The pressurized and
armored cockpit, located in the extreme nose held two crew members in
the prone position. The prone position had the advantage of allowing
the crew members to withstand G-forces better. The wing leading edge
was equipped with split flaps and a pair of conventional flaps were
mounted at the read which could also be used as speed brakes. Armament
was to be four MK 108 30mm cannons. The end of the war prevented any of
these from being built, it remains as another interesting "what if"
aircraft.
The Kit
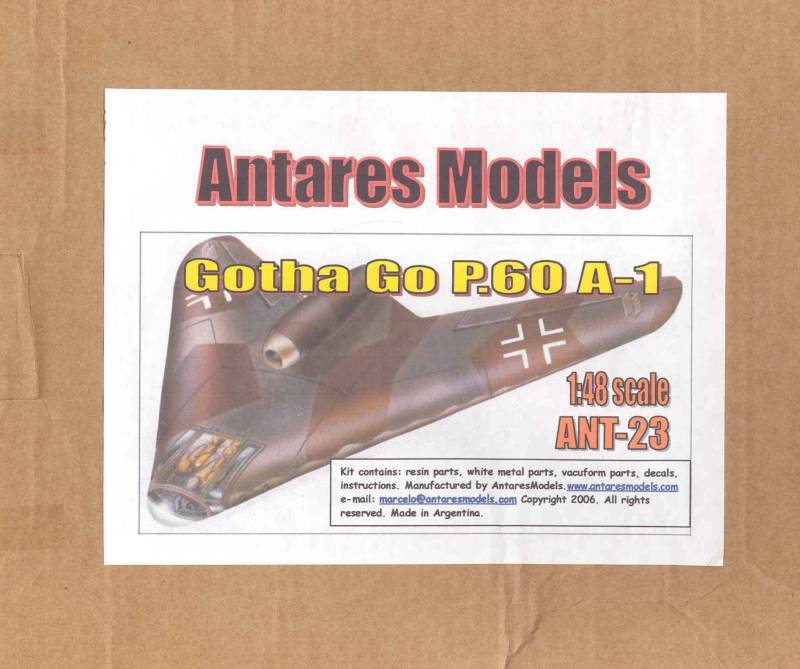
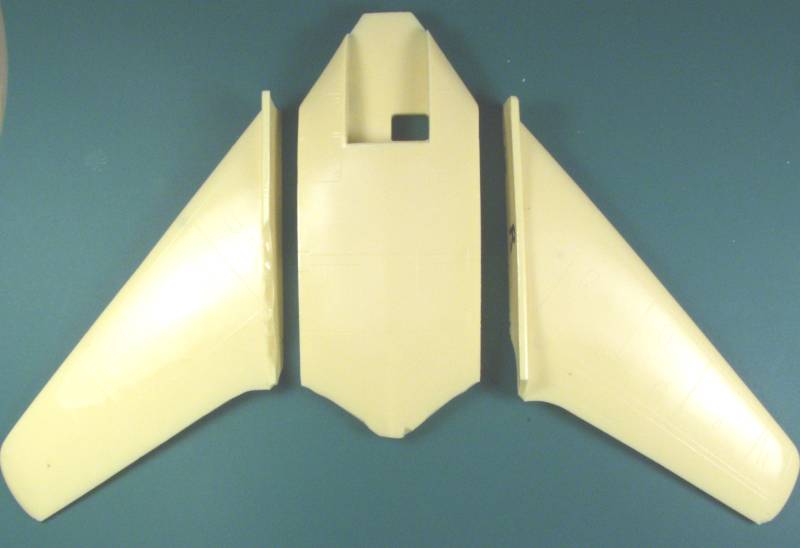
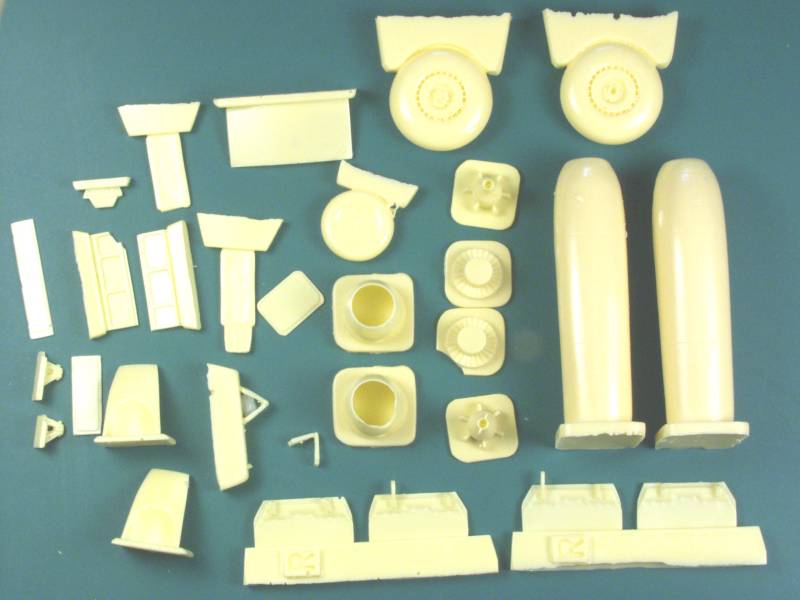
The Antaries kit is primarily a resin kit with some white metal castings, vacuformed canopies and photo etch parts. It comes in a sturdy corrugated cardboard box and the contents were well packed an they survived the journey from Argentina quite well. Unfortunately a some point after I had opened and inspected the contents the box took a tumble from a shelf and the rather heavy resin pieces did some damage to the small more delicate parts so if you see some damaged parts in the photos, they are my doing and not due to poor packing. The kit is molded in a light yellowish colored resin and typical of this maker it is quite brittle. Three large large solid casting make up the bulk of the kit, the center section and the two wings. The surface detail consists of recessed panel lines. These were nice and consistent on the center section and right wing but the not so on the left in which the lines were barely visible in some places. The left wing also had the worst surface finish which was mostly glossy but displayed some waviness to it and had some surface defects and will most likely require sanding and rescribing, a no fun task in brittle resin. The finish on the right wing and center section were much better and ranged from flat to glossy in spots. The wings have a large casting block that will need to be removed.
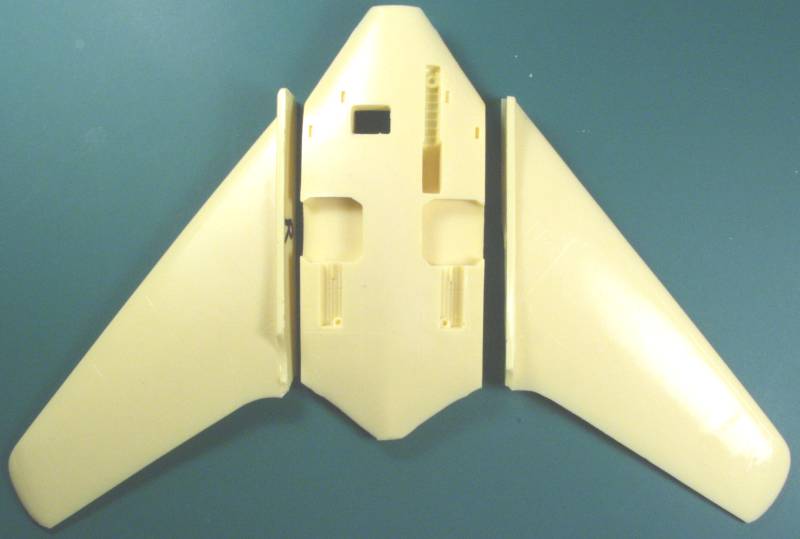
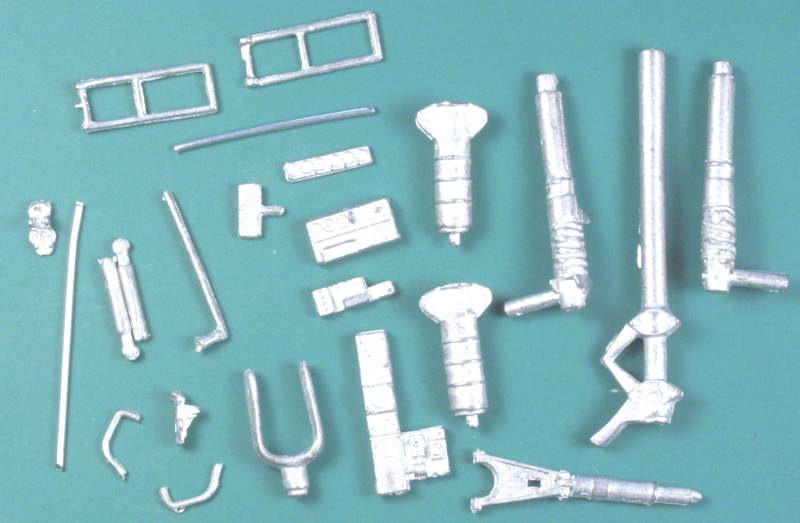
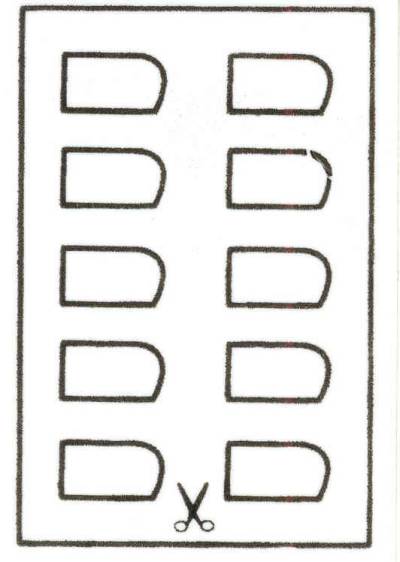
The center section has a large opening in the top for the cockpit and openings in the bottom for the gear bays which have some structural detail in them, there is also an opening from the bottom into the cockpit for the entrance hatch. The balance of the resin parts are for the engines, wheels, gear doors, torque scissors and a few cockpit parts. Overall the parts are well molded with minimal defects although some air bubbles could be seen under the surface which could be an issue if sanding is required.Some white metal parts are supplied for the gear struts, no doubt a good thing considering the weight of the finished aircraft, also included are the cockpit instrumentation, rudder pedals and some other details. A couple pieces of wire are included to complete the detail of the landing gear as well as a vacuformed fender for the nose gear of which I did not include a photo. A sheet of styrene with some shapes printed on it is supplied for what I believe are the end of wing drag rudders. I'm not sure if these were always deployed and moved to improve maneuverability or if they only deployed when needed. In any event they will need to be cut from the sheet and I doubt that scissors and shown on the sheet will work as the material is fairly thick.
Two small frets of photo etch are provided with seat belts and harnesses but only the belts are used due to the prone positions of the crew.
The clear parts are provided as vacuformed parts, two each for the main canopy and the nose glazing. Both are quite clear. If the main doesn't look that way in the photo it's because you are looking at two of them stacked together. See below.
![]()
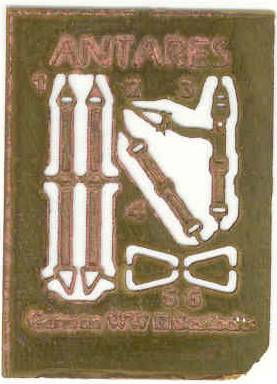
The decals include making for three fictitious aircraft. the decals have a mostly flat appearance and have a lot of excess film on them. registration looks good and swastikas are supplied as one piece affairs. I have no experience with these so can't comment on their quality or ease of use. see below

The instructions consist of five A4 size sheets printed one side in black and white and one A4 sheet printed on both sides in color. The front page has the history and information about the prototype, the second page starts out with some tips on cleaning and assembling the parts, with the balance starting the assembly steps, page three and part of page four complete the assembly steps with the second half of page four showing a general arrangement side view which is helpful in getting the angle of the gear installed correctly and page five containing a three view arrangement drawings. Most of the assembly steps are basically hand drawings but should be quite adequate for the task at hand. The last page has color and marking information for the decals supplied. Since the aircraft was never built marking are limited on to your imagination.
After Market Goodies
None that I know.
Conclusions
OK, for the most part I painted a rather bleak picture of this kit but it is pretty typical of many all resin kits and shouldn't be anymore difficult to assemble than most. I do wish that the resin was the less brittle kind used by many other casters. The kit should be doable by anyone with a couple of all resin kits under their belt.
Links to kit build or reviews
A build / review of the A-2 version by the same manufacturer can be found here, even though it has different details assembly would be similar.
References
Back to the Post WWII Jets page