
Mikoyan - Gurevich MiG-3
The MiG-3 was essentially an improved MiG-1, which was the first successful design carried out by former Polikarpov design team members Artem I. Mikoyan and Mikhail Y. Gurevich at the Experimental Design Bureau (OKB). MiG being the acronym assigned to their designs. The MiG-1 was known as the I-200 by the Soviet military and the first unarmed prototype reached a top speed of 403 mph in May of 1940 making it one of the fastest fighters in the world at that time.
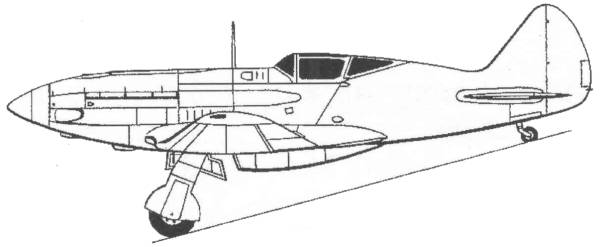
Following a flight test program production was begun on a batch of 100 in September of 1940. The testing program had revealed a number of flaws including longitudinal instability, control response issues and handling problems. Redesign was started even as the first production MiG-1's were being built. The MiG-3 was the end result of the redesign work. The engine was moved forward by 4" to change the center of gravity, the dihedral of the outer wing was increased by 1 degree to improve stability, the air frame was strengthened, the height of the rear fuselage was reduced for better pilot visibility, the radiator fairing was moved forward and the supercharger intakes enlarged. To increase operational flexibility a 55 gallon fuselage fuel tank was added along with four wing hard points. These allowed the MiG-3 to carry 440 pounds of bombs or six 3.2" RS-82 rockets. Pilot survivability was increased by the addition of 9mm seat armor and the fuel tanks were equipped with a system that used exhaust gases to purge the air from the fuel tanks to reduce the risk of fire or explosion from battle damage.
The MiG-3 was ordered into production in December of 1940. First deliveries to squadrons occurred in April of 1941 and it remained in production until the last week in December of 1941. It was discontinued due to the unavailability of the AM-35A engine. This was a result of Stalin's order to shift production to the low altitude engine (AM-38) for the Il-2. Total MiG-3 production amounted to some 3120 aircraft with 50 more being produced from available parts during the first half of 1942. The MiG-3 remained in service almost to the end of the war with wrecked aircraft being cannibalized to keep others flying.
The firepower of many MiG-3's was increased by the
addition of two 12,7 mm machine guns mounted below the wings. With this
upgrade it gave the MiG-3 approximate parity with the Bf 109F which was
a contemporary. The Luftwaffe was much surprised when they first
encountered the MiG-3 especially given the fact that it was not only
faster than the Bf 109F but could out maneuver them as well. Even though
it was an improvement over the MiG-1 it was still a demanding aircraft
to fly but in the hands of a competent pilot it was certainly up to the
task. By the time of the German invasion 1289 aircraft had been
delivered to th VVS and it was the most prolific of the three new
generation fighters at the outbreak of the hostilities, going from 10%
of the front line force in mid 1941 to 41.2% by year end. The first
MiG-3 victory of the war was a Do 215 claimed on the opening morning of
operation Barbarossa. A number
of Soviet aces got their first kills in the MiG-3.
The Kit
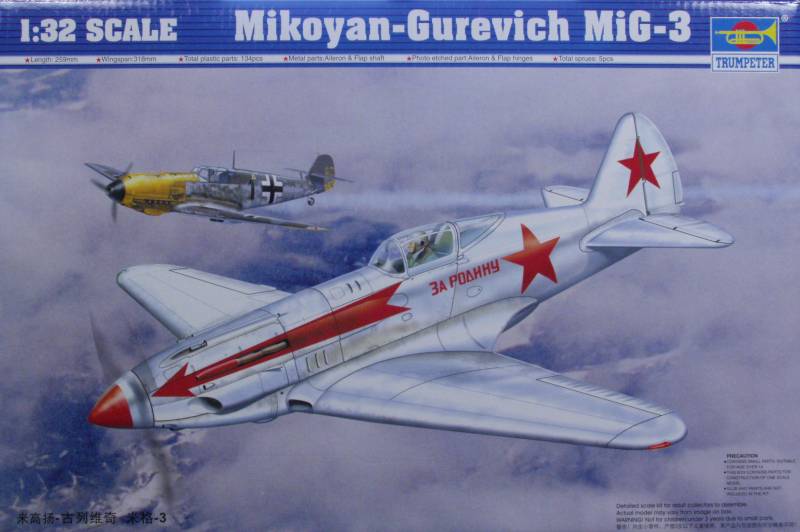
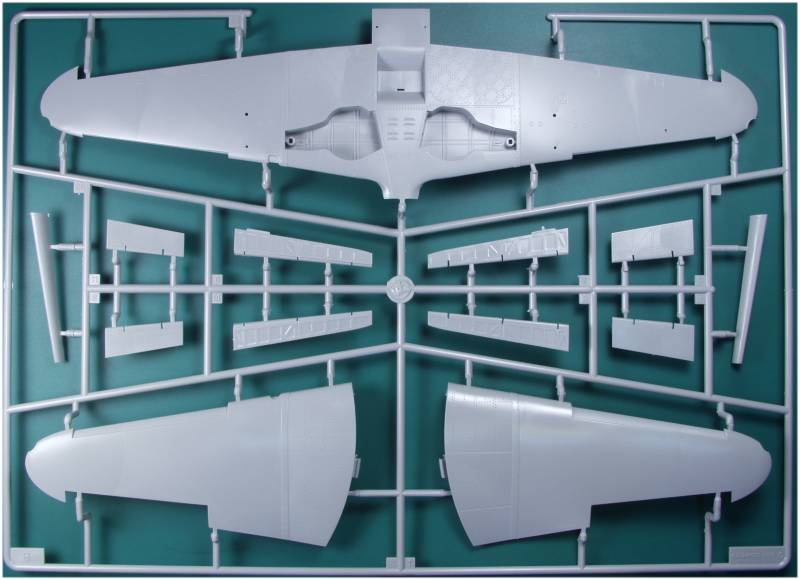
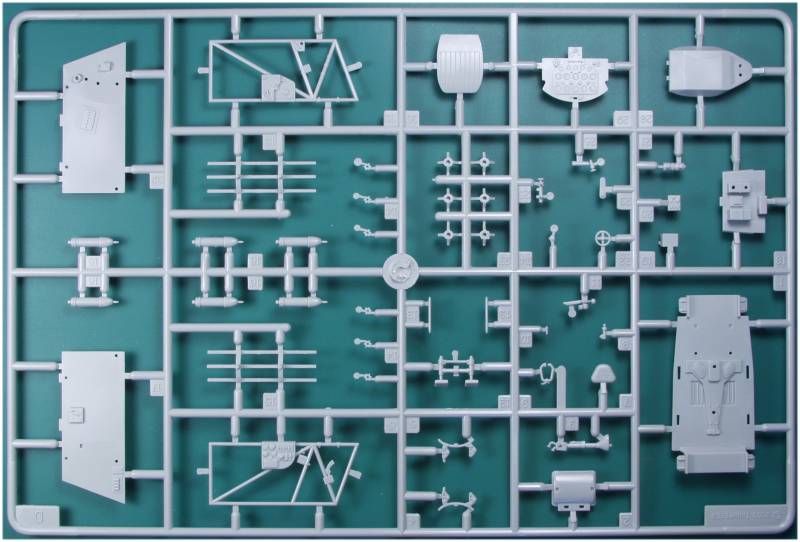
The Trumpeter kit comes in a top open tray type box with nice artwork on the top and both the top and bottom made from corrugated cardboard. Inside the box one finds four sprues molded in light gray and one sprue of clear parts. Each sprue is individually bagged. There is also a small bag with three different lengths of metal rod that are used as part of the control surface mounting system.The surface detail consists of recessed panel lines, rivets and fasteners with a few raised details and panels as applicable. The rivets for the most part look OK to me but on some areas, most notably the horizontal stabilizers they appeared larger. Most are not as large as on some other Trumpeter kits and they should look fine under a coat of paint. The surface finish is smooth and semi gloss. I found only a hint of flash on the parts. I found no surface defects on any of the airframe parts. There are some sink marks on the back side of the propeller blades. The rear fuselage and outer wing panels were wood on the prototype so there is not much detail on them. The control surfaces are all molded separate and include Trumpeter's taxing PE hinge method of mounting. The wing slats are provided as separate parts. The fabric areas of the control surfaces are way over done in my opinion and need filling to look more the part. There are ejector pin marks inside the flap areas should you choose to pose them open. There are also ejector pin marks on the inside of all the landing gear doors. Mold parting lines on parts that have them are minimal and should be easy to clean up
The cockpit is fairly well detailed built up as a tub with side walls to which tubular structure is added along with other side wall details. Over all the kit supplied detail should please most. The propeller is a single piece molding so no fussing with separate blades. The exhaust stacks are supplied as top and bottom halves so you will have a seam where one would normally find a weld bead. If you can get a bit of glue squeeze out it should make an effective weld bead. There is no engine supplied. The wheels are molded in halves are not weighted and feature separate wheel hubs which should make painting easier. The kit includes six under wing rockets and launching rails.
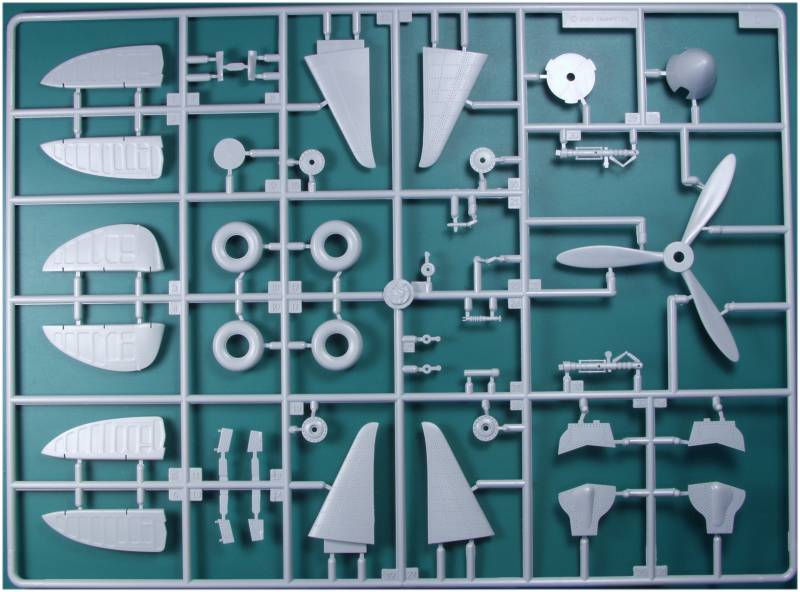
The clear parts are thin and quite clear with very little optical distortion. The canopy can be displayed open. In spite of being bagged separately my windscreen had some scuffing that will need to be buffed out.
![]()
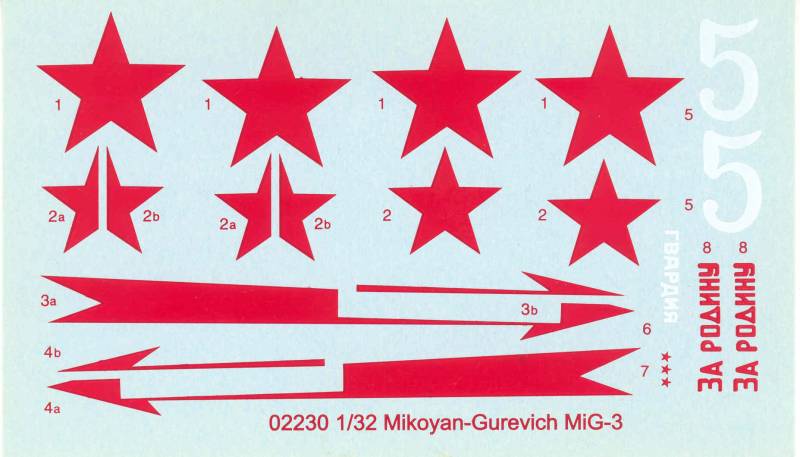
The decals appear thin but have a more excess clear film on them than I like to see. Also they don't look to be all that opaque. The sheet has markings for two aircraft, one all white and the other all green upper surfaces and gray underneath per the instructions but I suspect the bottom color is wrong. Neither choice is very inspiring. I have had mostly favorable luck with Trumpeter decals but have had some issues with them as well.
The instructions are a stapled booklet 12 pages long and in the landscape format. Page one has the usual safety warnings, an icon chart and decal application instructions. Page two has a parts map. Pages three through eleven have the assembly drawings in 19 steps and the last page is painting and marking instructions. Color call outs through the assembly stages are by generic names only. On the last page Model Master and Gunze numbers are given.
After Market Goodies
I did opt for a replacement seat with molded on seat belts by Quickboost. I find I have less of an issue painting the molded on belts than struggling with PE or other belt sets. The parts are nicely molded and my set had no defects. The Quickboost number is QB 32138.

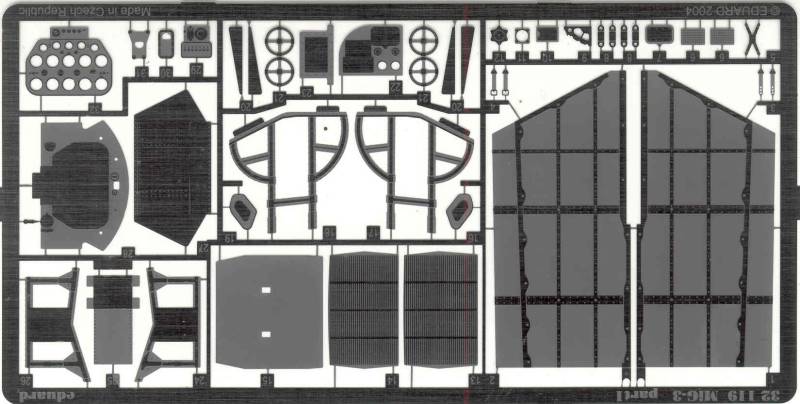
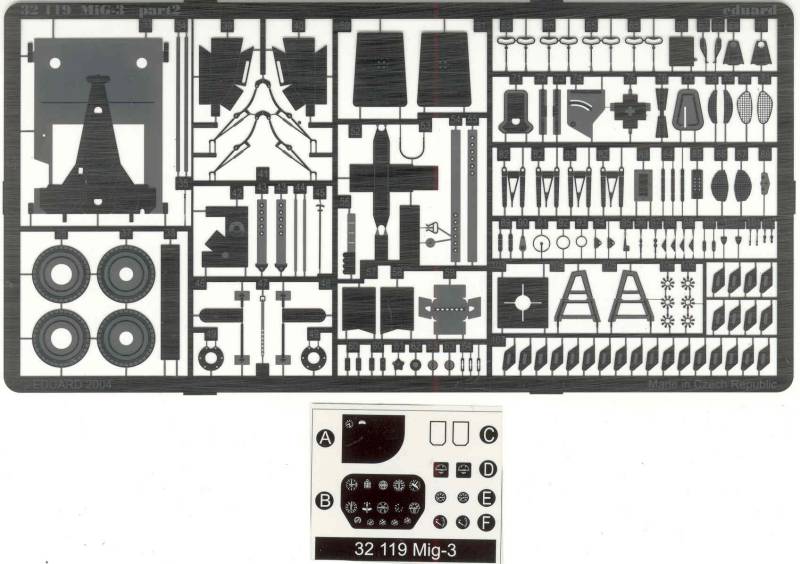
I also got the Eduard PE set 32119 This set is not a precolored set and uses the sandwich method for the instrument panel using either a clear film or one printed on glossy paper. It's a pretty comprehensive set which includes overlay side panels, radiator grills, gear door framing, trim wheels, seat belts and harness and a host of other items too numerous to mention.
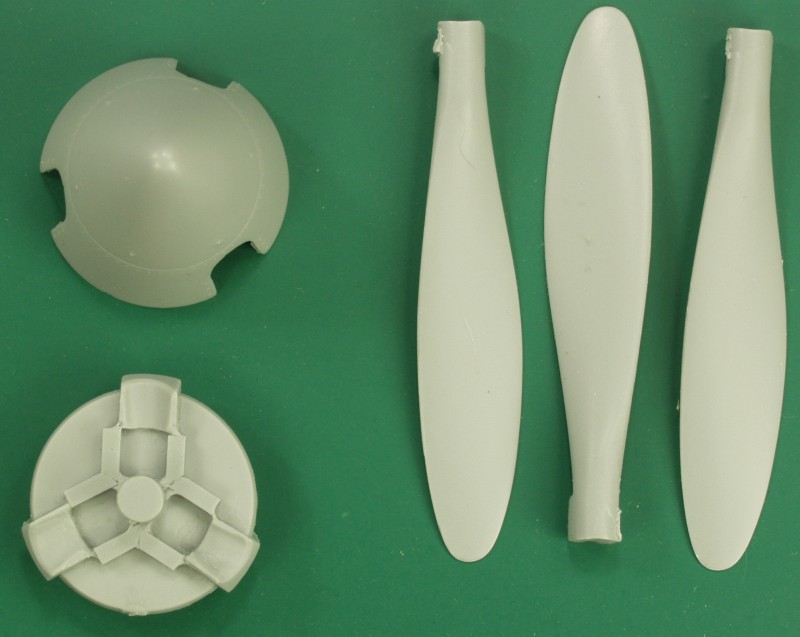
A late addition was this resin prop and
spinner by Fusion Models, the spinner has some really fine rivet
and fastener detail and the prop blades are much thinner and
better shaped than the kit blades, plus there are no sink marks
to fix. The blades are solidly keyed into the back plate. The
castings are excellent with no surface defects and only a small
bit of clean up is required.
Conclusions
It is interesting to note that prior to the release of this kit many complained that Trumpeter kits contained too many parts that will never be seen when the kit is completed. On this kit they took the simple route choosing not to model the engine or for that matter anything that wouldn't be seen and they got criticized for making it too simple. I guess there is no pleasing the masses. The kit does seem to be one of Trumpeter's "A" team productions with no major shape errors that they are known for and no mad riveter syndrome. From all reports the kit builds up fairly easily and looks nice right out of the box and for that I will recommend it for all but beginning level modelers.
Links to kit build or reviews
A build / reviews can be found here.
References
Soviet Aces of World War 2 by Hugh Morgan
A good online source of information on Soviet aircraft and markings can be found here.
Back to the 1/32 Scale Russian Aircraft Page
Updated 6/22/18