Mitsubishi
J2M3
'Jack'
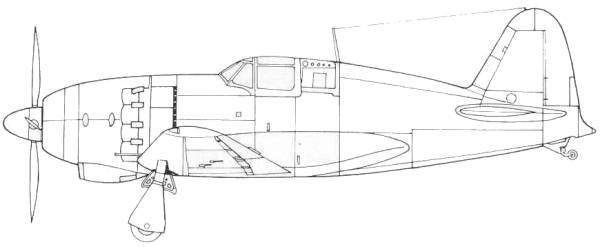
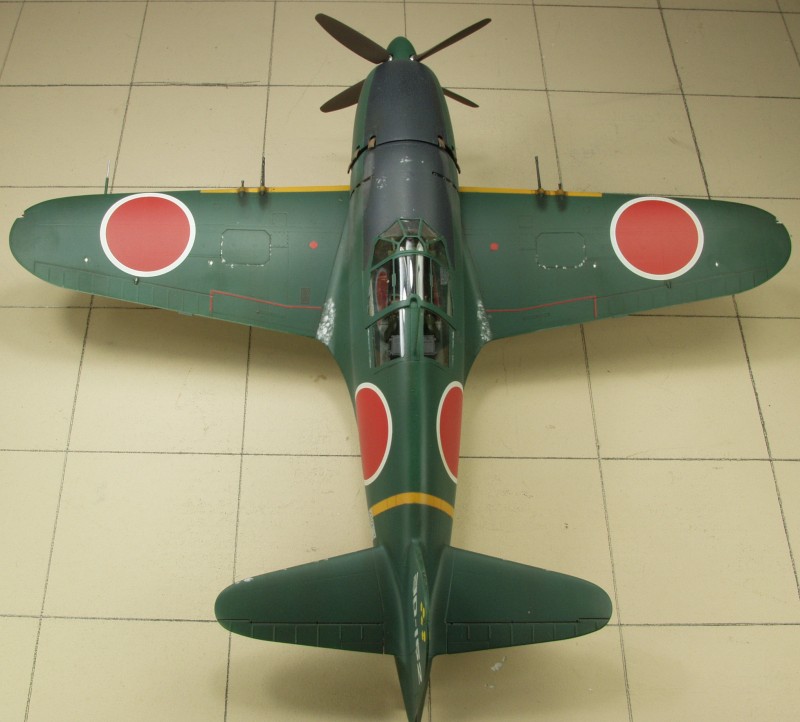
The J2M was designed by Jiro Horikoshi, creator of the A6M Zero, to meet the 14-Shi (14th year of the Showa reign, or 1939) official specification. It was to be a strictly local-defense interceptor, intended to counter the threat of high-altitude bomber raids, and thus relied on speed, climb performance, and armament at the expense of maneuverability. The J2M was a sleek, but stubby craft with its oversized Mitsubishi Kasei engine buried behind a long cowling, cooled by an intake fan and connected to the propeller with an extension shaft. Teething development problems stemming from the Kasei engine cooling system, and the main undercarriage members led to a slowdown in production.
The Raiden made its combat debut in June 1944 during the Battle of the Philippine Sea. Several J2Ms operated from Guam and Saipan and a small number of aircraft were deployed to the Philippines. Later, some J2Ms were based in Chosen airfields, Genzan (Wonsan), Ranan (Nanam), Funei (Nuren), Rashin (Najin) and Konan under Genzan Ku, for defence of these areas and fighting against Soviet Naval Aviation units.
Primarily designed to defend against the Boeing B-29 Superfortress, the type was handicapped at high altitude by the lack of a turbocharger. However, its four-cannon armament supplied effective firepower and the use of dive and zoom tactics allowed it to score occasionally.
Insufficient numbers and the American switch to night bombing in March 1945 limited its effectiveness.
The Kit
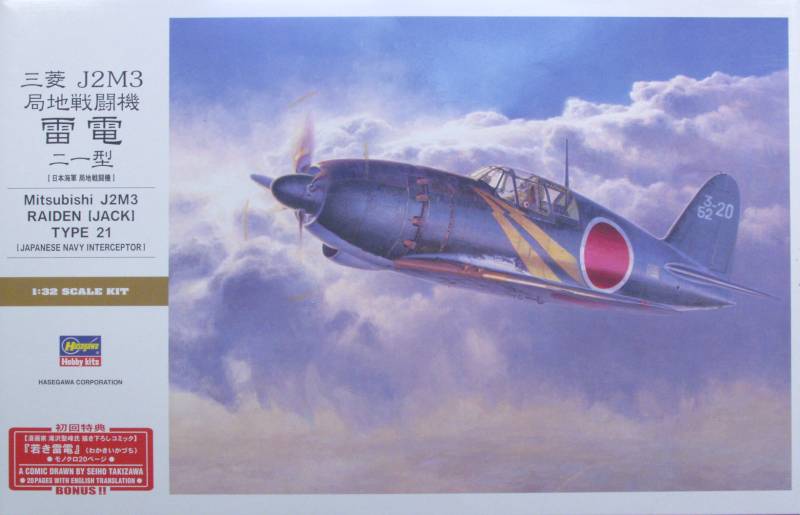
Released in 2011 the Hasegawa kit comes
in a large top open box with the usual nice artwork on the top. Inside
the box there are five bags. One large one contains most of the sprues
molded in a light gray color. There are two small bags, one with a
small sprue of gray parts and one with the large cowling. the clear
parts are in a separate bag and as a bonus this kit includes a white
metal standing pilot figure. As one might expect with a kit this new
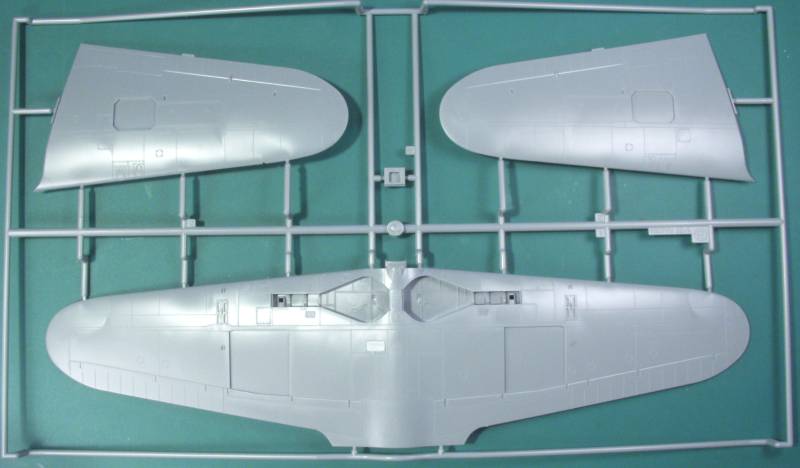
the molding and detail is state of the art. The surface detail
consists of fine recessed panel lines and fastener detail. There are
some raised detail where appropriate. There are some separate panels
to be installed on the upper and lower wings. The finish is smooth and
glossy and I could find no surface defects on any of the main airframe
parts.
The control surfaces are all molded in
the neutral positions. The fabric surfaces are represented by rib
tapes only, no sagging fabric effects. Parts with detail on both sides
have only minimal parting lines to clean up. The only ejector pin
marks that I found that will show are on the insides of the gear
doors. These are light, will be partially covered and not all that
easy to see and cleaning them up may damage raised detail in that
area. The cockpit is well detailed and will suit most just needing
some seat belts. As with many of their later kits a nicely detailed
pilot figure is supplied. This one includes three heads, one with an
oxygen mast, one without but with chin straps fastened and one with
the chin straps loose.
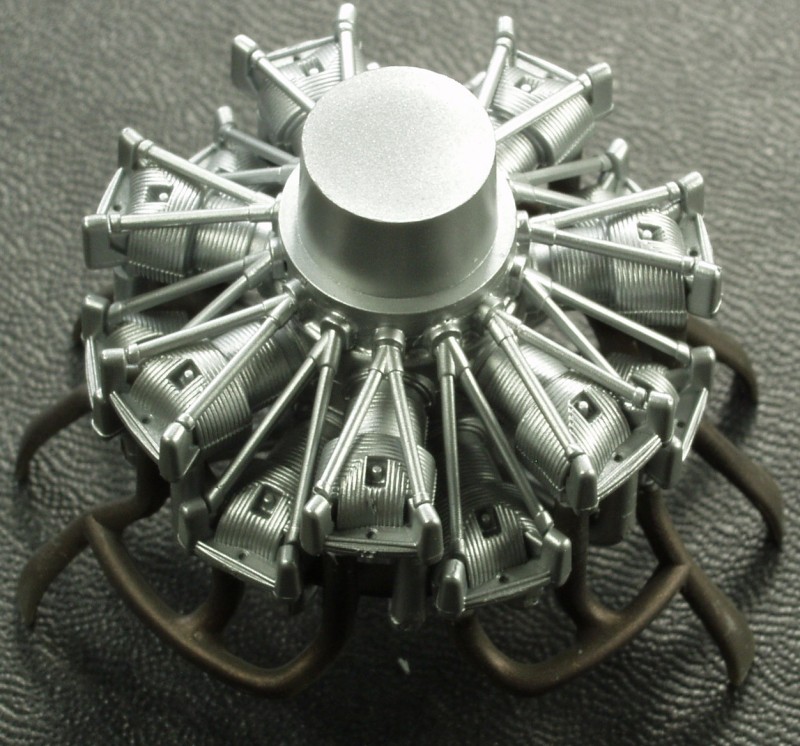
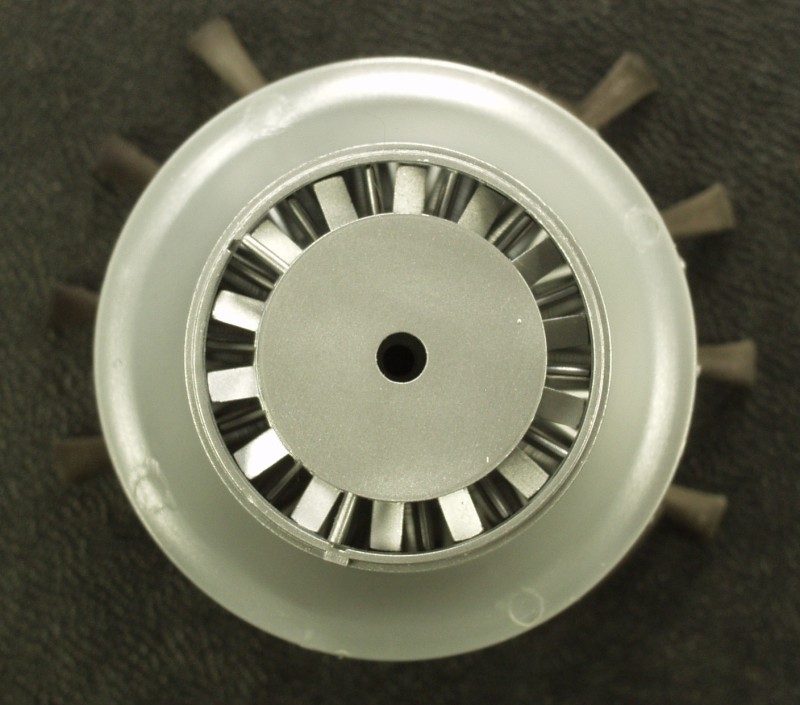
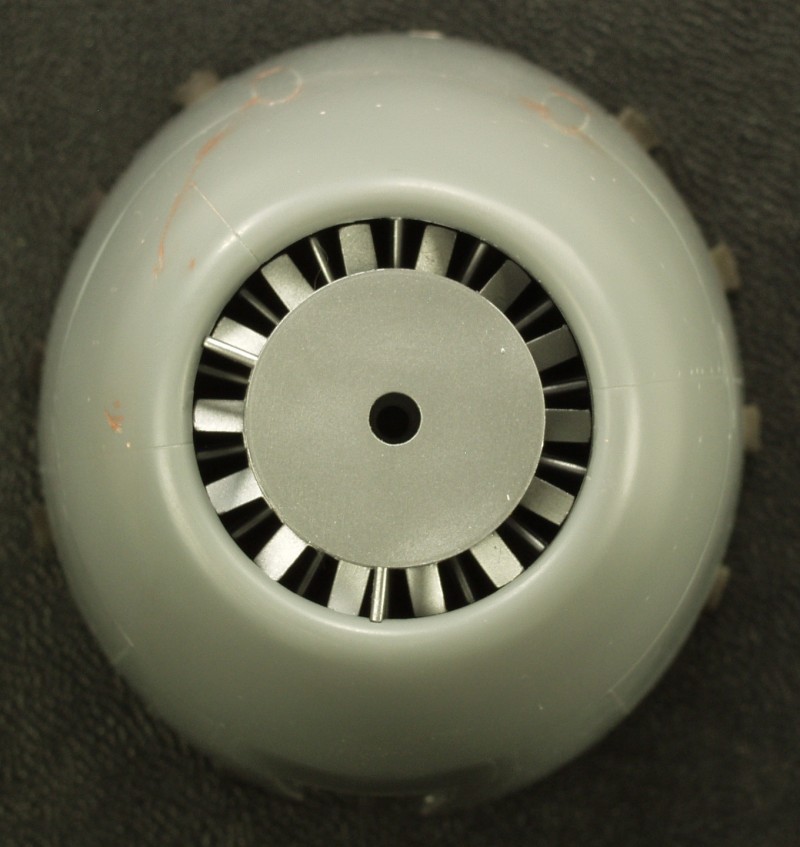
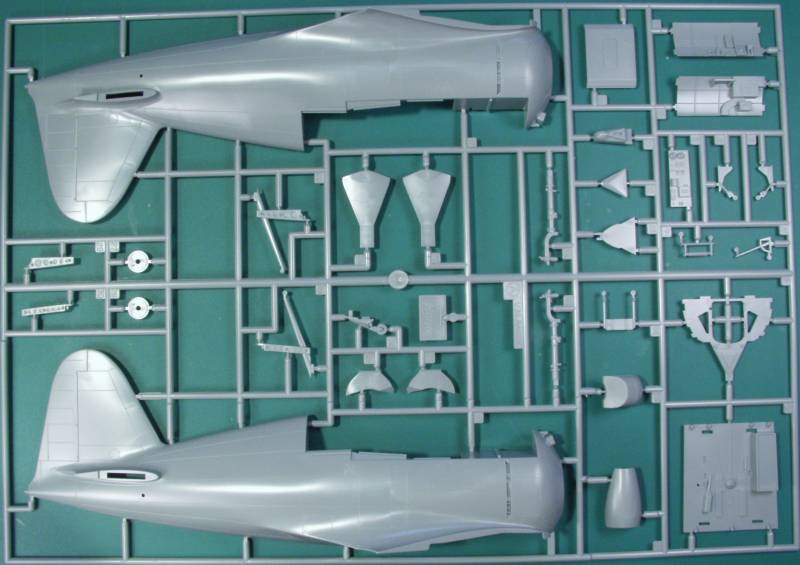
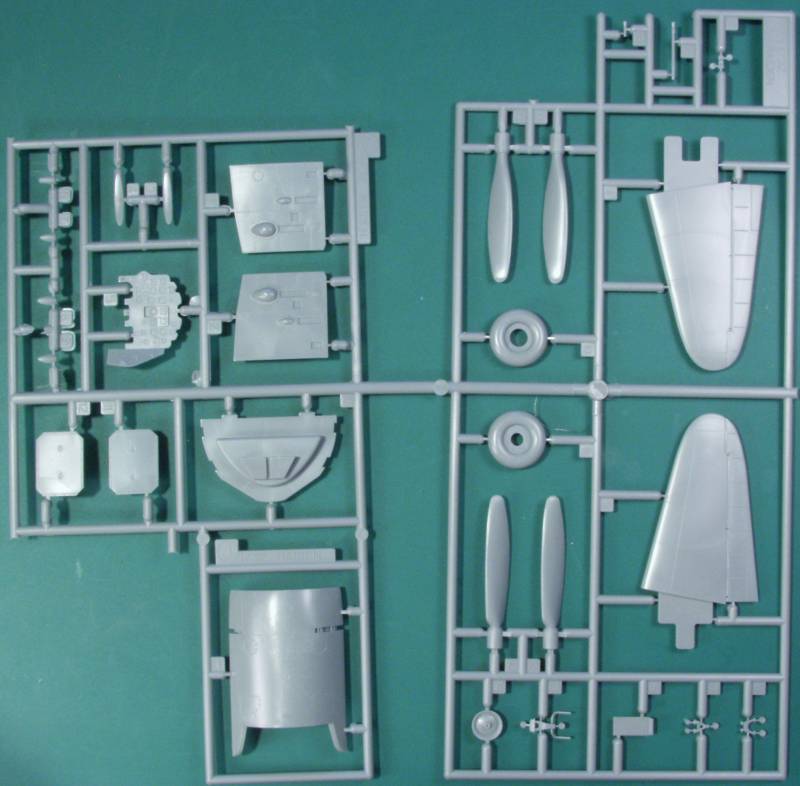
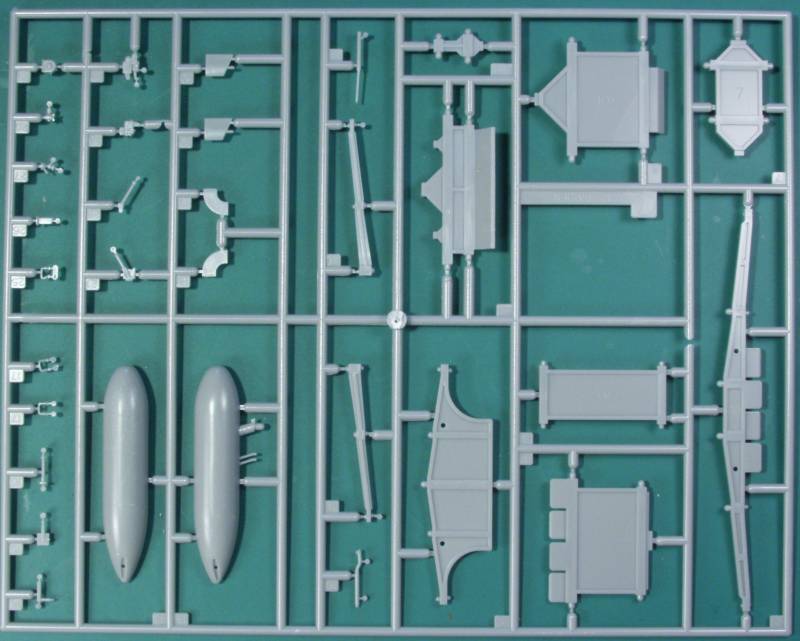
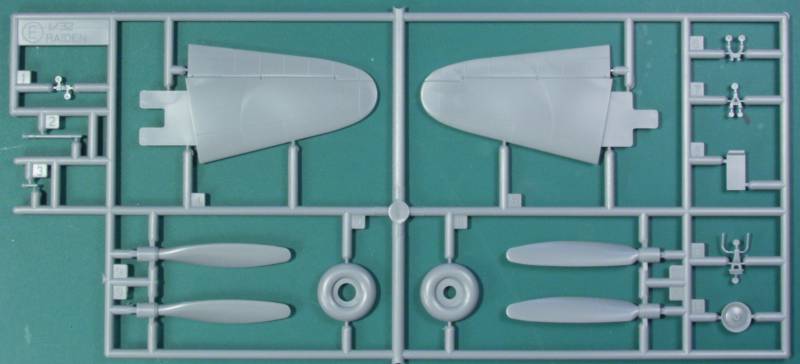
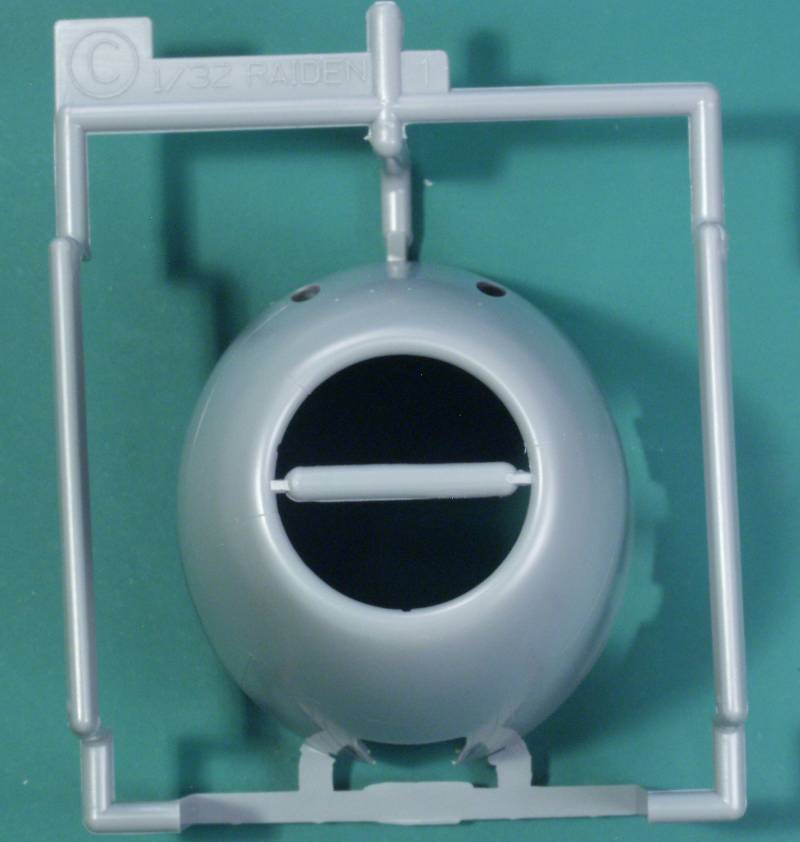
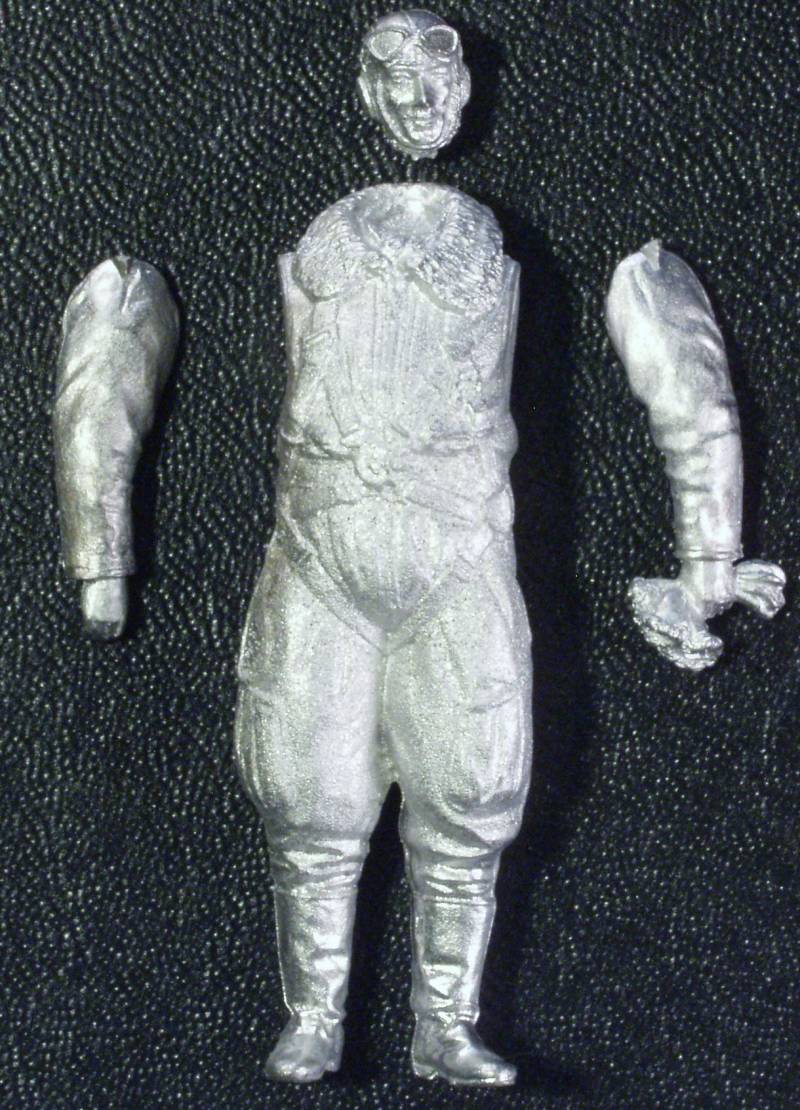
The engine is very detailed with push rods, exhaust stacks, intake manifold, engine fan and ducting but with the tight fitting cowling and the engine fan, very little of it will be seen. The kit will obviously be released in other versions and for this one the cowl machine gun ports must be filled. Pieces are supplied to do this but some seam filler will no doubt be needed in this area. The propeller blades are separate but keyed so they produce the correct angle. Two different styles of blades are provided but you are on your to decide which to use. The tires are not weighted. A wing spar is provided to provide a proper dihedral as well as provide some strength to the thick wing. Due to the large diameter of the fuselage there are bulkheads supplied to maintain the fuselage shape and add strength as well. There is some cutting required on the leading edge of the wings for the gun installation. Poly caps are supplied for the propeller and mounting the wheels as well. As mentioned earlier some kits included a cast white metal figure of a standing pilot and that is shown below the sprue parts. See below.
The clear parts are thin and clear and free of distortions and the canopy can be displayed open or closed. Two windscreens are supplied and the differences between them are very slight but one is specifically called out for this kit. Also included are gun sight parts, what appears to be an armored glass and wing tip light lenses. see below.
![]()
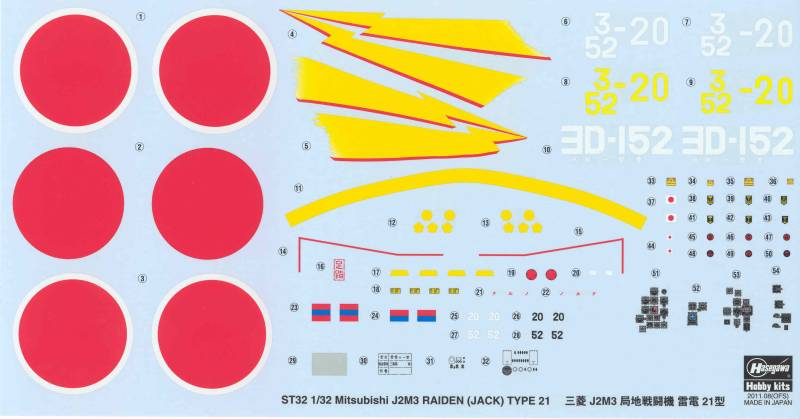
The decals are the new Hasegawa style which features white that is white and not cream colored. They appear thinner than some Hasegawa decals but still look thick when compared to many of today's better decals. some stenciling is provided as well as instrument panel decals. The sheet provides marking for two aircraft. See below.
The instructions are a 12 page A4 sized booklet stapled together. page one has history and specifications in Japanese and English. Page two has a parts map and paint chart giving Gunze numbers and generic color names. Pages three through nine are assembly steps, pages ten and eleven are painting and marking diagrams and page twelve has decal instructions and the usual health and safety warnings. The kit with the bonus pilot figure also has a small sheet of painting instructions for the pilot.
After Market Goodies
The only thing I acquired for this kit is the Eduard Zoom PE set. While I feel that at this scale the IP is a bit one dimensional my shaky hands don't allow me to paint up raised detail to my satisfaction anymore and the lap belts and a few other items are useful as well.

Eduard makes several photo etched sets, an exterior detail set (32313) an interior detail set (32736) a color Zoom set (33105) and a big Ed set (Big3316) They also have a canopy mask set (JX137) and G-Factor makes a cast brass gear set (32023).
Conclusions
This is an excellent well detailed yet simple kit. By all accounts it an easy build but due to some of the cutting involved I would recommend it to modelers with a moderate and above level of experience.
Links to kit build or reviews
A build/review can be found here.
References
Japanese Aircraft of the Pacific War by R.J. Francillon
History from Wikipedia
Back to the 1/32 Scale Japanese Aircraft page
The
Build
Like most builds assembly
starts with the cockpit. It was my intent to use this kit to
help recover from a bit of a slump I was in and wanted
something with a good level of detail out of the box, a low
parts count and an easy paint scheme. This kit seemed to fit
the bill. If you read the review above you know that I
acquired an Eduard photo etch set for it but after comparing
it to the kit supplied instrument panel I found the Eduard
panel to be too one dimensional for the scale and as often
happens Eduard's choice of color did not match my choice of
cockpit color. As it turned out I only ended up using a
couple items off of the Eduard fret on the kit.
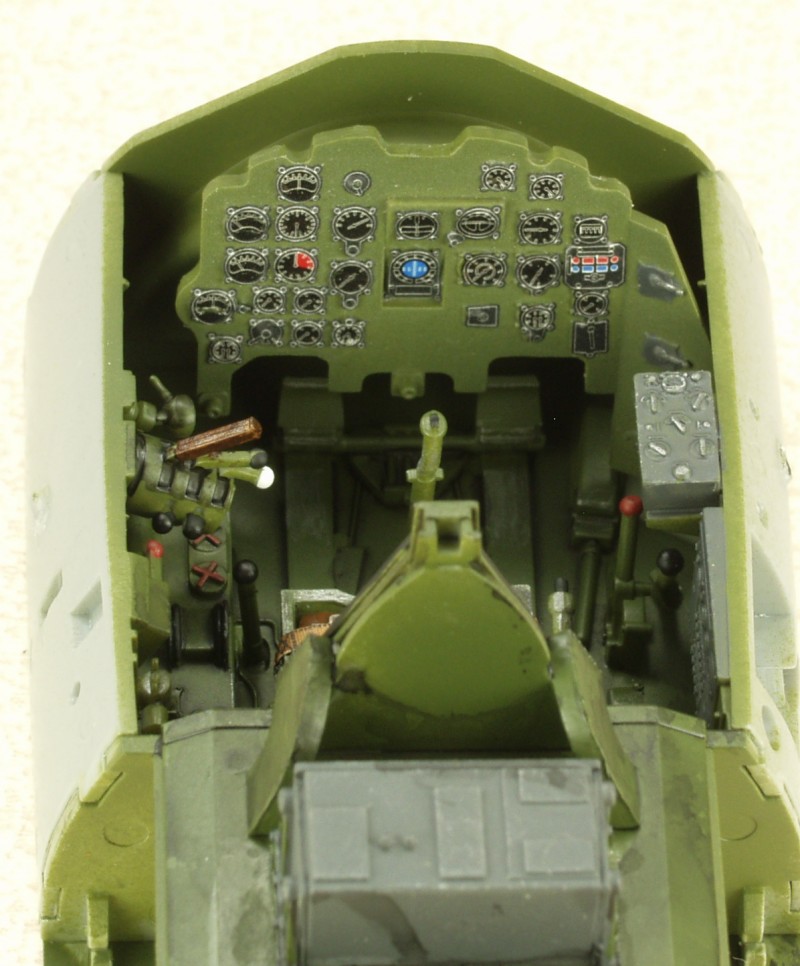
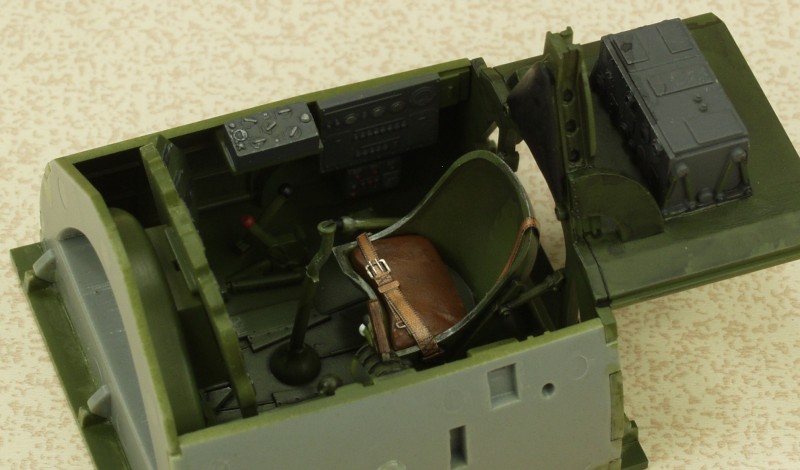
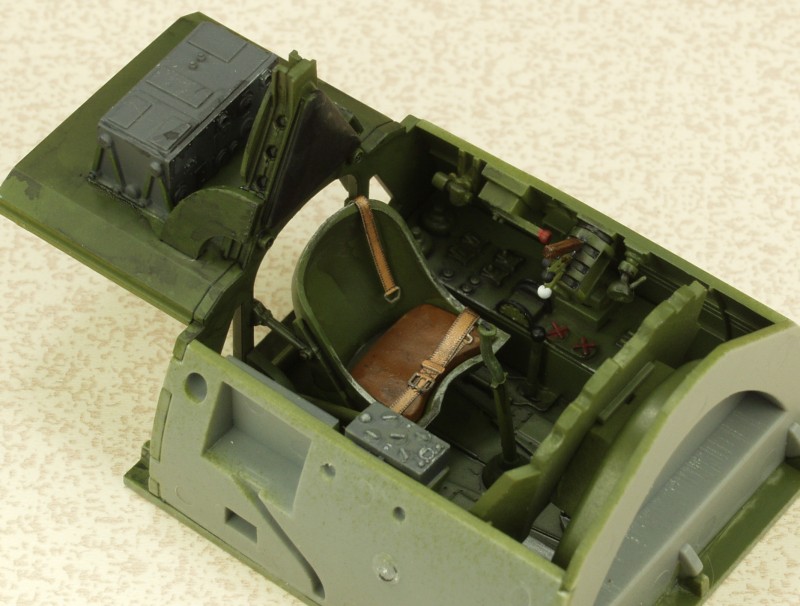
The kit supplied decals were used on the panel after it was painted and gloss coated. It required multiple coats of various decal softeners over a period of several days before I was finally able to get the decal to settle over the raised detail to my satisfaction. The balance of the cockpit was painted up and assembled during this time and everything fit together very nicely. When the instrument panel was done it was added to the cockpit and it was given a light sludge wash to pop out the detail and some wear marks applied with a silver Prisma color pencil. The next three photos show the end result.