
Ju 87G
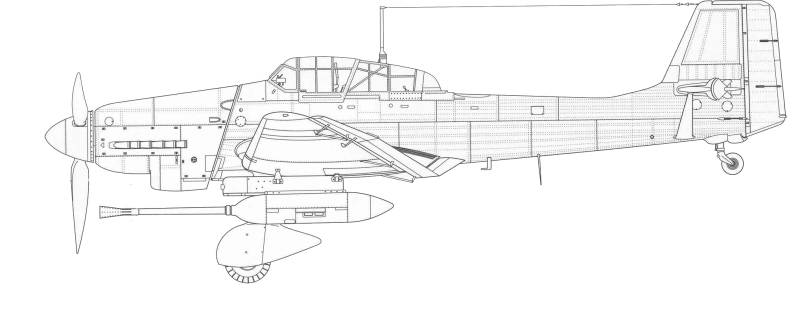
During 1942, the inadequacy of the use of bombs against tank became increasingly obviously to the Stukagruppen. This inadequacy had been revealed, in fact, on the forth day of the invasion of the Soviet Union when the whole of St.G.2 attacked a concentration of 60 Soviet tanks 50 miles south of Grodno and later discovering that only one tank had been knocked out. It was not until the beginning of 1943 that a reasonably satisfactory weapon would become available in the form of tank busting Ju 87G's. The Ju 87G-1 was actually a conversion of the Ju 87D-5 to carry a pair of 37-mm Flak 18 cannon which together with their magazine were slung beneath the wing immediately outboard of the landing gear. The cannon mountings were detachable and could be replaced with bomb racks when there were no tank targets. This installation was first tested on a ju 87D-3 in the summer of 1942. It was flown by several pilots including Oberleutnant Hans-Ulrich Rudel of 1./St.G.2 who was later to become the Luftwaffe's leading exponent of the art of tank busting and to be credited with knocking out a total of 519 Soviet tanks while flying the Ju 87G-1. the brilliant success enjoyed by the Panzerjager Staffel formed when the first aircraft reached the Eastern Front resulted in a Ju 87G equipped Panzerjager Staffel be added to each of the Schlachtgeschwader. The Ju 87G-1 suffered the major disadvantage of being extremely slow and unwieldy and relatively easy prey for fighters and by the autumn of 1944 only one Gruppe, Rudel's III/SG 2, was still on daylight operations with the Ju 87D and G together with two anti-tank Staffeln, 10.(Pz)/SG 2 an 10.(Pz)/sg 77.
The Kit

The Hasagawa kit comes in a large tray type top open box that is pretty well filled with parts. Inside the box are are two large bags, one with three large sprues consisting of primarily of the air frame components and a second bag with most of the rest of the parts. A small bag contains four parts needed for the G-1 version which is one of the kit options. Another small bag has the clear parts. The parts are molded in a medium gray color and are crisply molded with no sign of flash. The parts have a glossy finish. Mold alignment is good and mold parting lines are light. Ejector pin marks appear to have been kept out of visible areas. There are some in the cockpit area but I think they will be covered by the cockpit side walls. Surface detail consists of very fine recessed panel lines and rivet and fastener detail. Much of it is so fine it could be lost under a heavy coat of paint. Some surface detail is raised where appropriate.
Detail wise the kit should make most modelers happy. The cockpit is pretty well appointed although no seat belts or harnesses are supplied. The side walls are separate and have structure and other details molded in and there are other details like a throttle quadrant and trim wheels to add. The radios are a but weak detail wise. No engine is supplied. The propeller blades look a bit narrow but most will not notice. The wings begin with a lower center section that a large sturdy spar is mounted to and they two upper sections that are the down swept portion of the gull wings are added. The outer wings then mount to the spar. There are different wing tips depending on whether you are building a G-1 or G-2 variant. The tail control surfaces are molded in the neutral position. The wheels are molded in halves and are not weighted The tail wheel is separate. The under wing cannons are molded in halves and the end is open although the side vent holes on the brake are not. These could be drilled out. The canopy is designed to be posed open or closed however if opened a slot will need to cut in one part to clear the antenna. Lets look at the parts.
The first sprue besides the fuselage halves has the stout spar for the wings, tail planes and the side panels and other details for the cockpit.

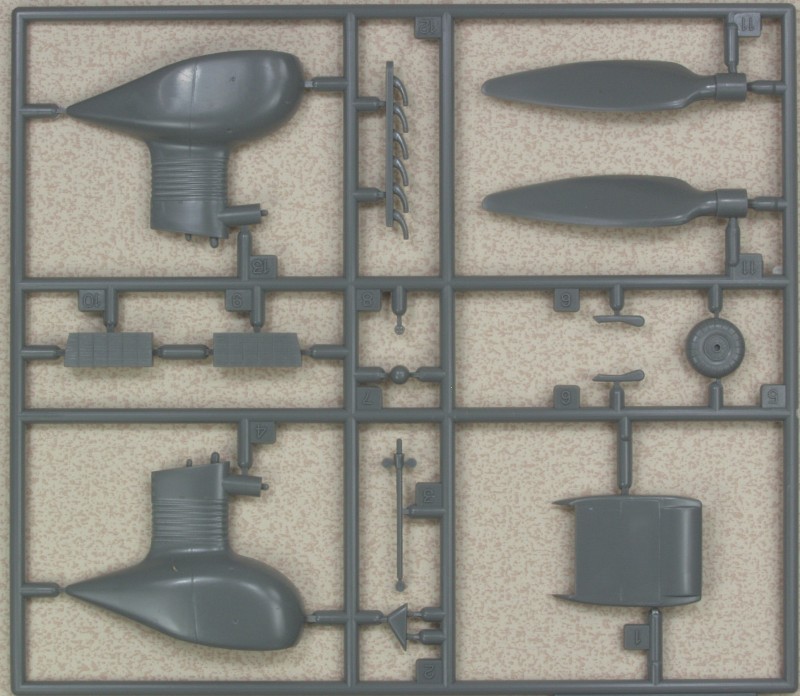
The next sprue has the nose sections, the propeller spinner and back plate and a variety of other parts. The small frame to the left are parts not used on this variant.
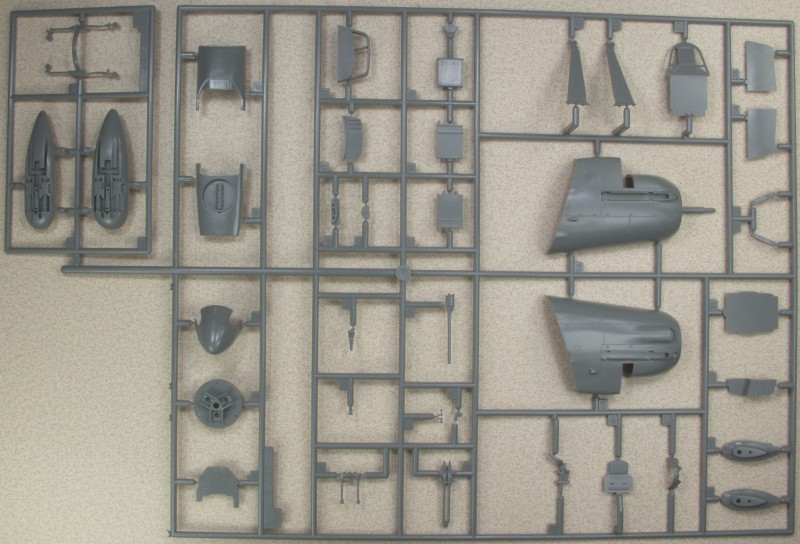
Although it looks like one sprue this is called out as two on the parts maps, the square panels set into the openings on the wing and vary depending on the G-1 or G-2 variants.
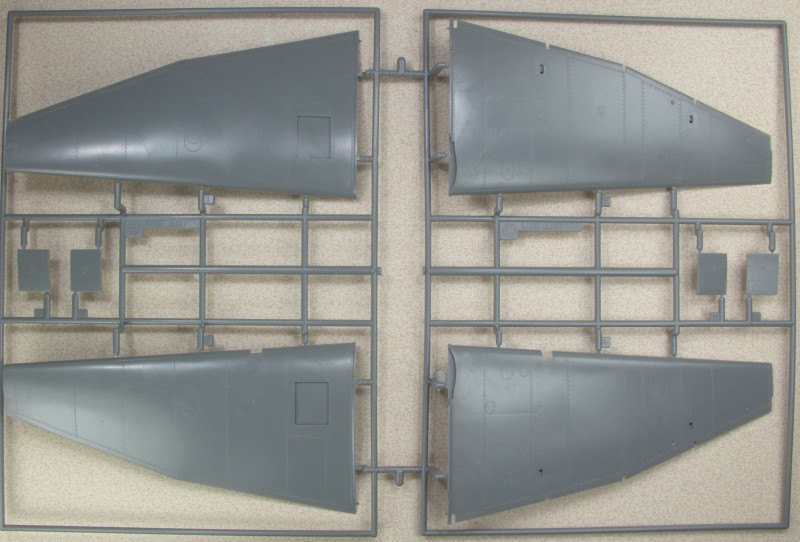
The next sprue has the center wing section and some of the wing control surfaces. The small frame to the left has wing tips and control surfaces for the G-2 variant.
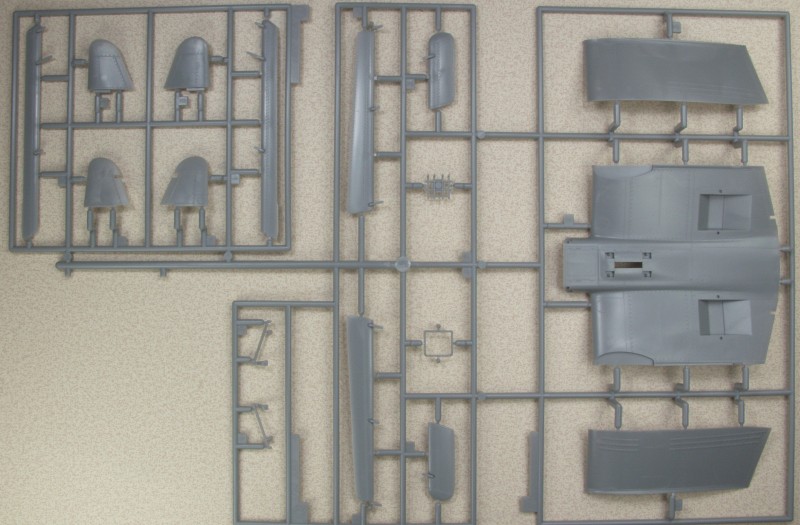
There are two of the following and on the frame on the right only the wheels, control surface linkages and a couple other small parts are used the rest are for other variants.
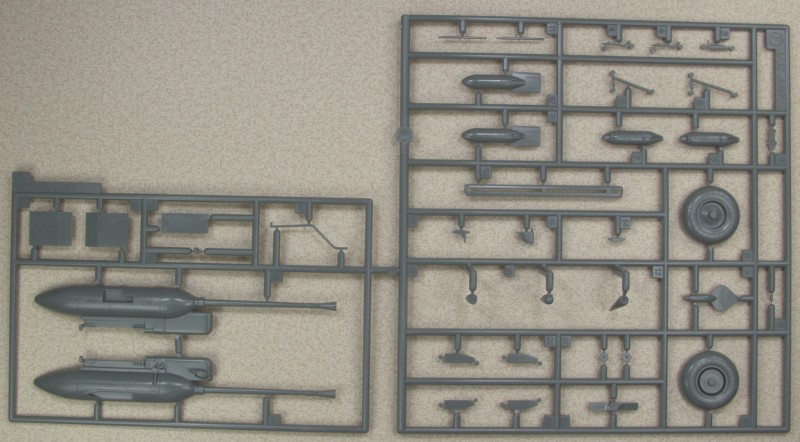
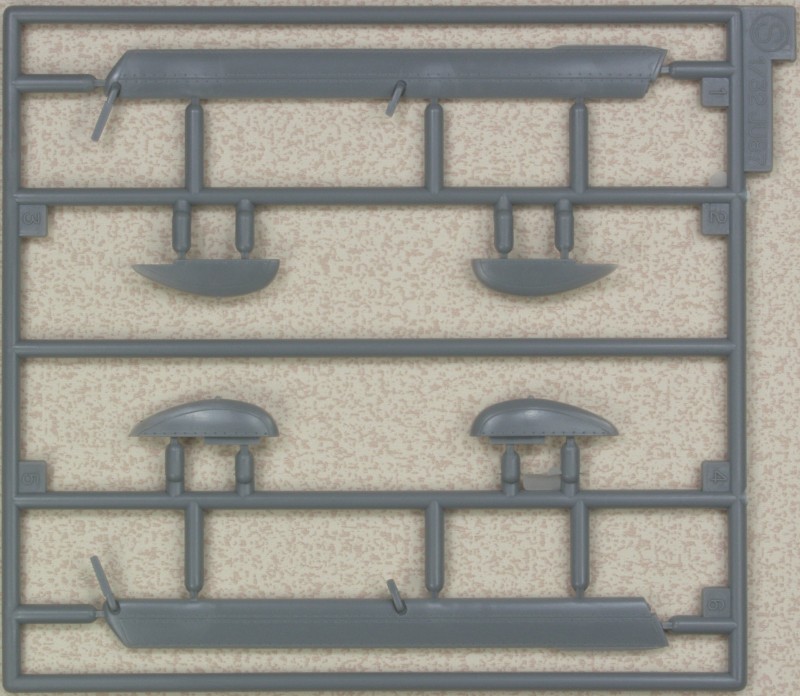
And two of the following here as well with the wheel pants, propeller blades, exhaust stacks, tail wheel and under wing radiator housing. Since only three propeller blades are required you get an extra. The exhaust stacks are not open on the ends.
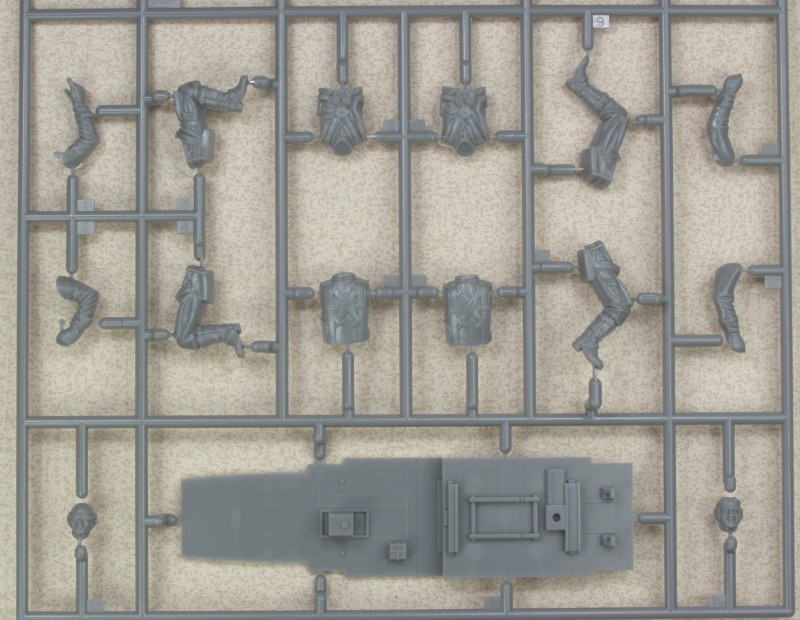
this one has the cockpit floor and the pilot and gunner figures which seem to be nicely done.
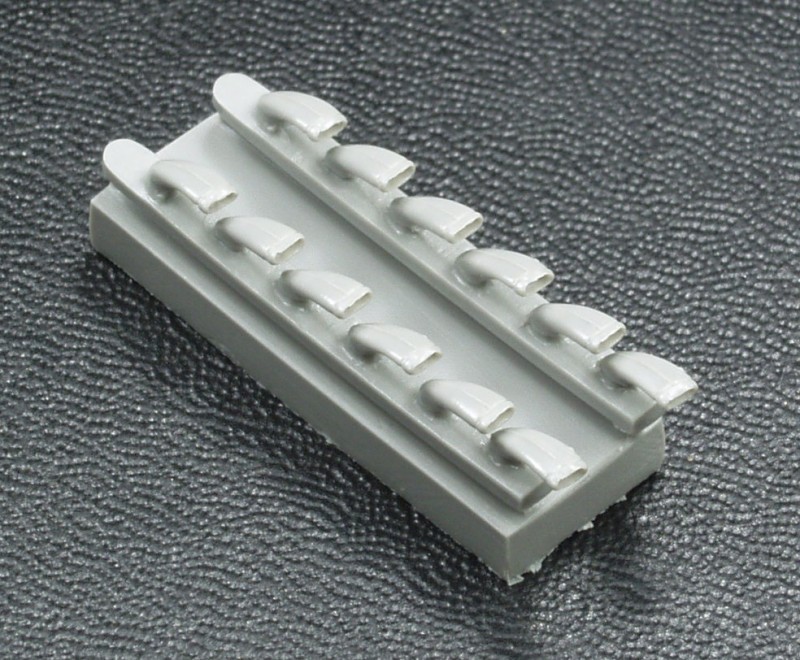
These are the mounts for the under wing cannons.
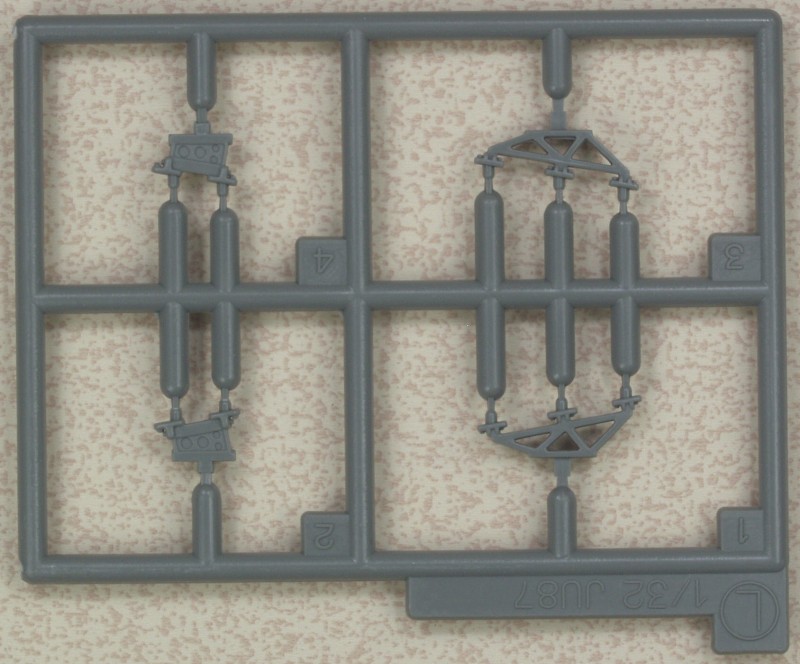
These are the wing tips and wing control surfaces for the G-1 variant.
The clear parts are thin and crystal clear with very little optical distortion.
![]()
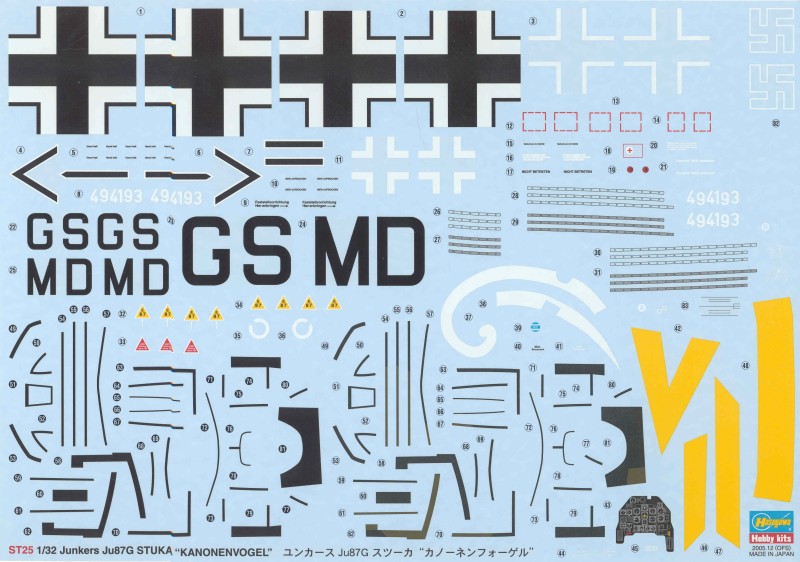
The decals are on a huge sheet. The decals are not as thin as I would like to see but not as thick as Tamiya decals. The decals are in register and appear plenty opaque. The white is actually white instead of the cream color Hasegawa used for years. The sheet includes the framing for the interior of the cockpit glass, an instrument panel decal, some stencils and swastikas. Markings are provided for two aircraft; Hans-Ulrich Rudel, autumn 1944; and one from Versuchsverband fur Panzerkampfung.
The instructions are a 12 page A4 sized booklet, stapled at the spine. The first two pages include history, parts map and color chart with Gunze numbers. This is followed by 6 pages of assembly diagrams in 16 steps, 2 pages of painting and marking diagrams, a page with full sized patterns for masking sheets and the last page has generic assembly instructions and safety warnings.
After Market Goodies
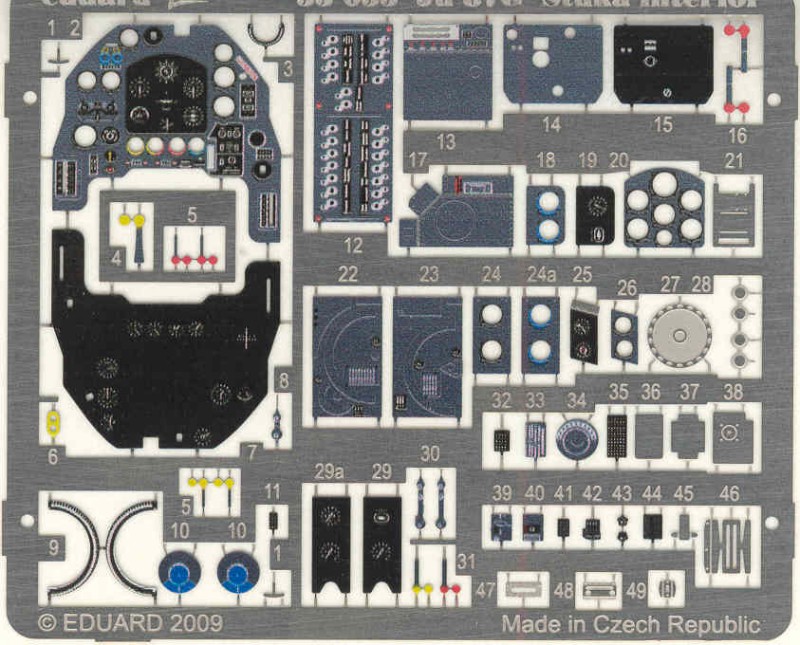
OK, I went a little nuts here, first up is the Eduard Zoom set (33055) which is usually all I but for most kits as I'm primarily only interested in the instrument panels. It also dresses up those radios which I mentioned early are a little plain and provides a few other gizmos and levers to add more detail.
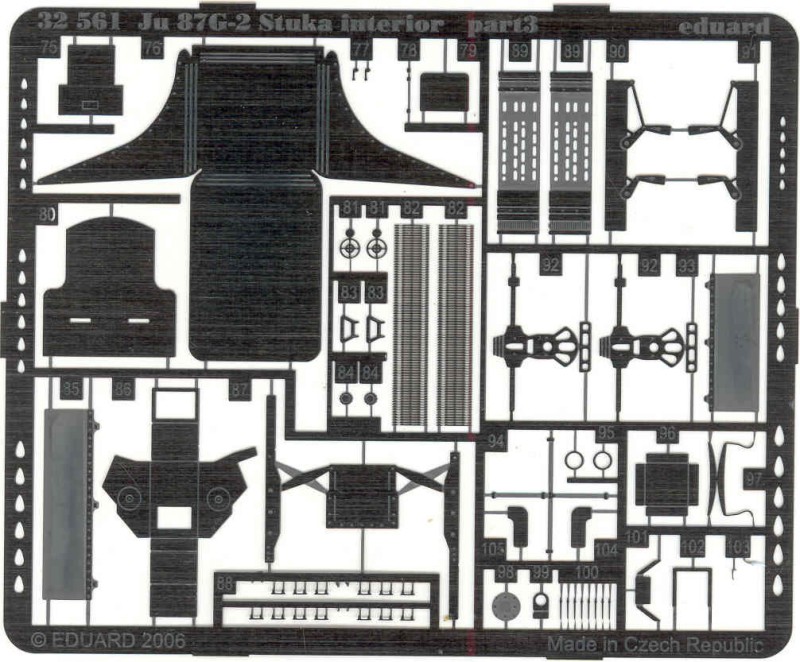
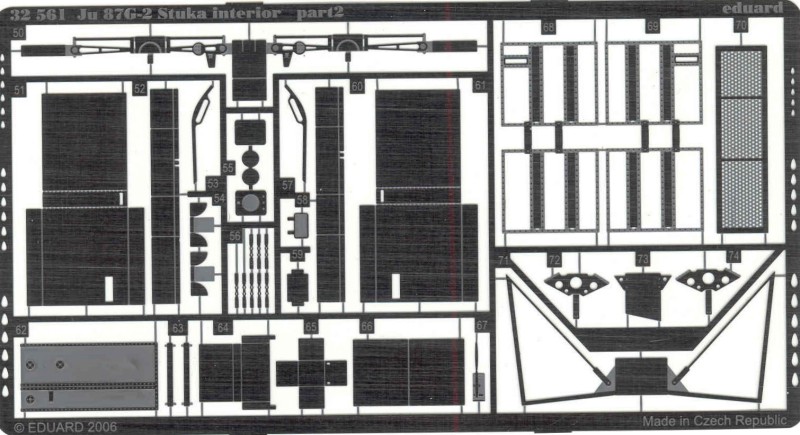
For reasons I don't remember I also bought the full detail set (32561) which gives you the same color fret as the Zoom set plus two other frets.
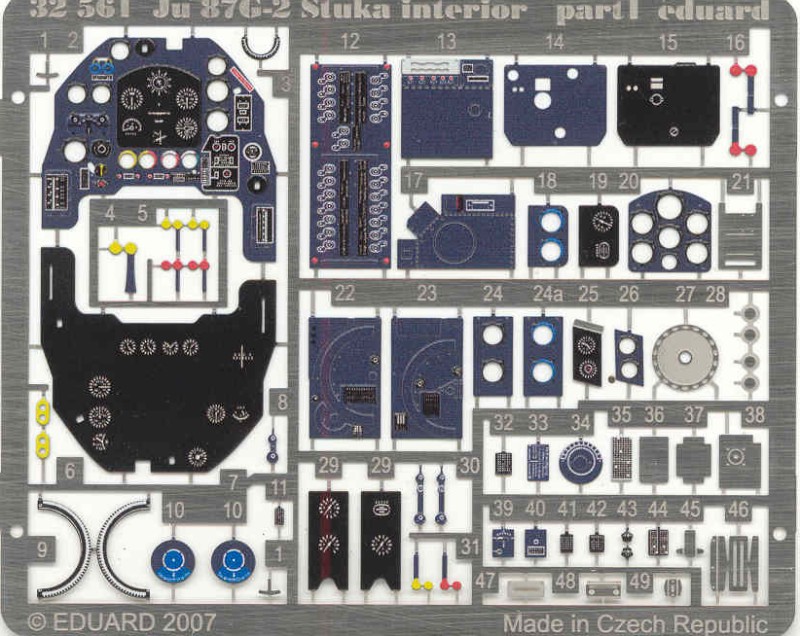
The second fret provides a pilots seat, rudder pedals, ammo belts and who knows what all. Probably more than I'll want to use but I have if I in any case.
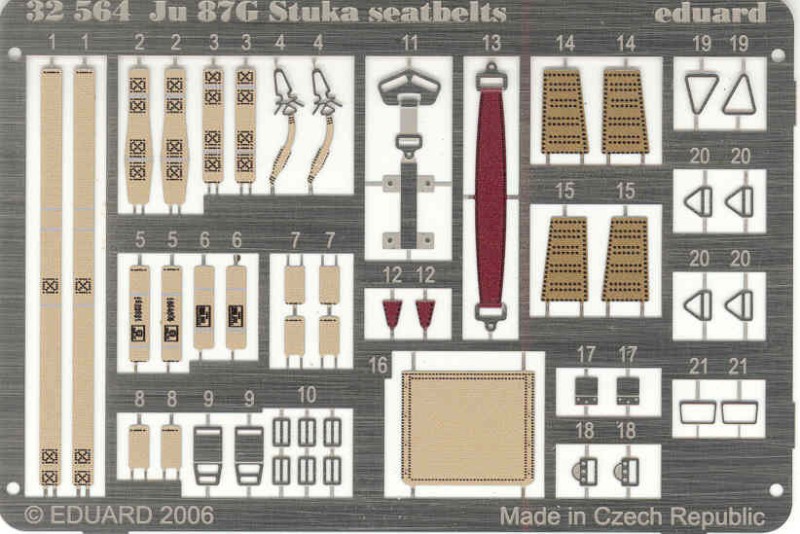
And of course if you want belts and harnesses you need to but yet another set. I guess the theory is that if all you want are the belts you can get them that way.
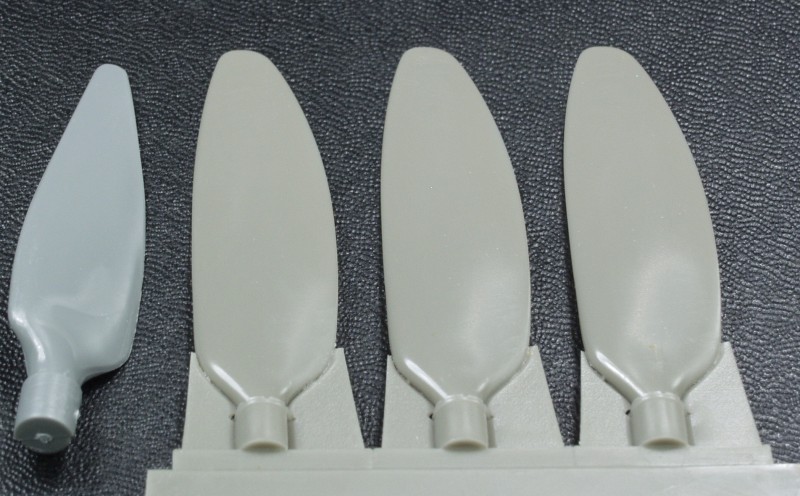
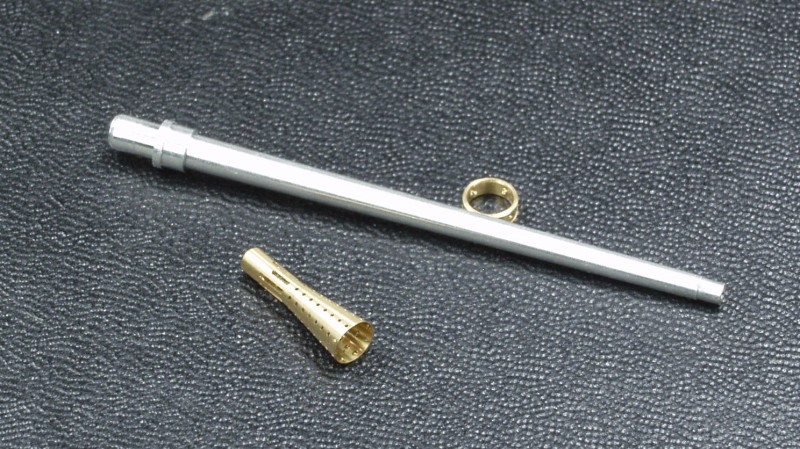
Next up I mentioned earlier that the propeller blades were a little wimpy so I picked up a set from Quickboost (32063) They are drop in replacements and as you can see below they are a bit bigger than the kit blades. Typical Quickboost quality with no defects found.
Next up is a set of replacement barrels for the under wing cannons from Master Model (AM-32-014). These things are real jewels and help the kit look that much more stunning.
A set of Quickboost (32015) exhaust stacks with open ends.
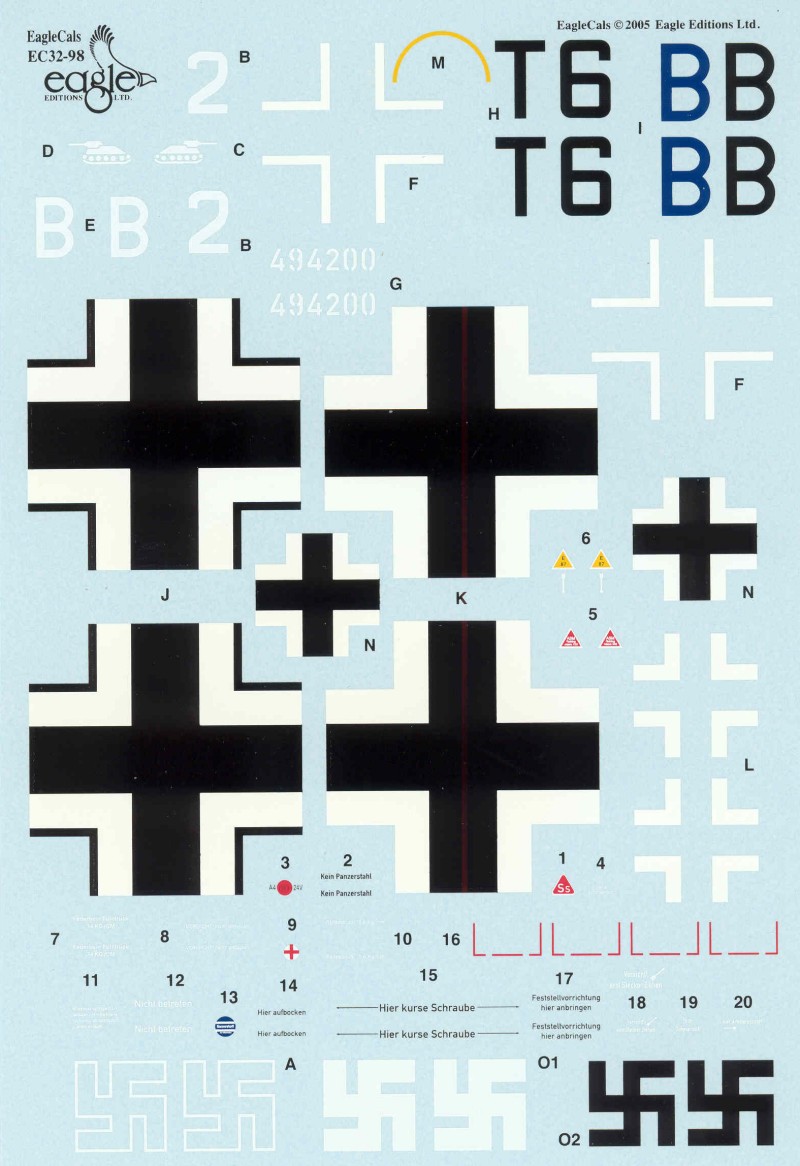
And lastly, in case I decided not to use the kit decals, an after market set from EagleCals with markings for two aircraft; a G-2 from Luftflotte 4, 1945 in Pilsen Czechoslovakia; and a G-1 from I./SG2. EagleCals is a quality printer of decals, they are thin, in register and opaque. Swastikas and some stencils are supplied.
Conclusions
This is a very nicely detailed and complete kit and even built without the after market items would be quite nice. Hasegawa's philosophy has been to build accurate but simple kits without a lot of bells and whistles and they have succeeded very well with this kit. While relatively easy to build I would not recommended it to beginners but those with some experience should have few difficulties.
Links to kit build or reviews
A build review can be found here and another in box review here.
References
Junkers Ju 87 Stuka by Robert Michulec and Mathew Willis