
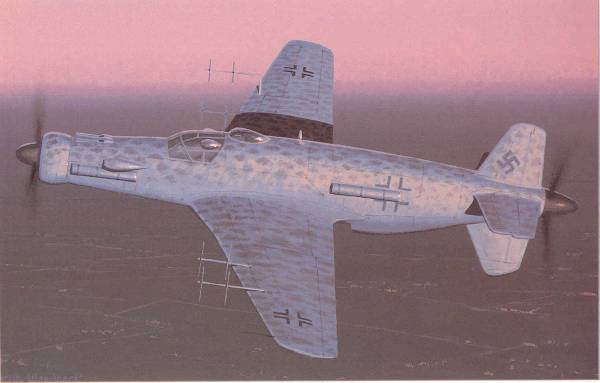
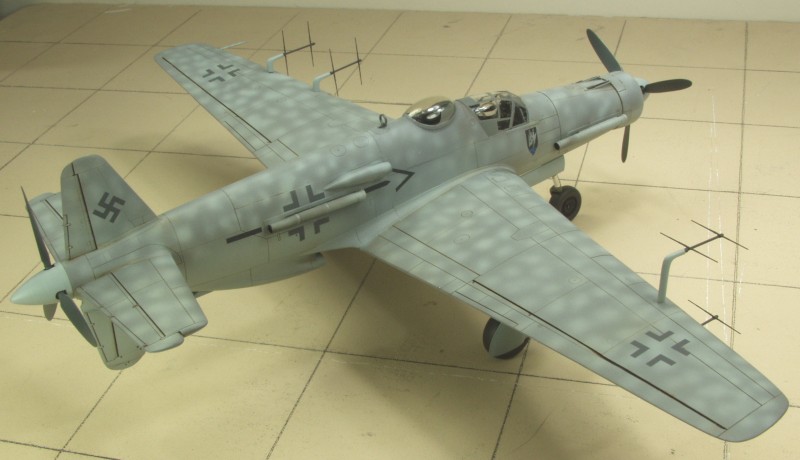
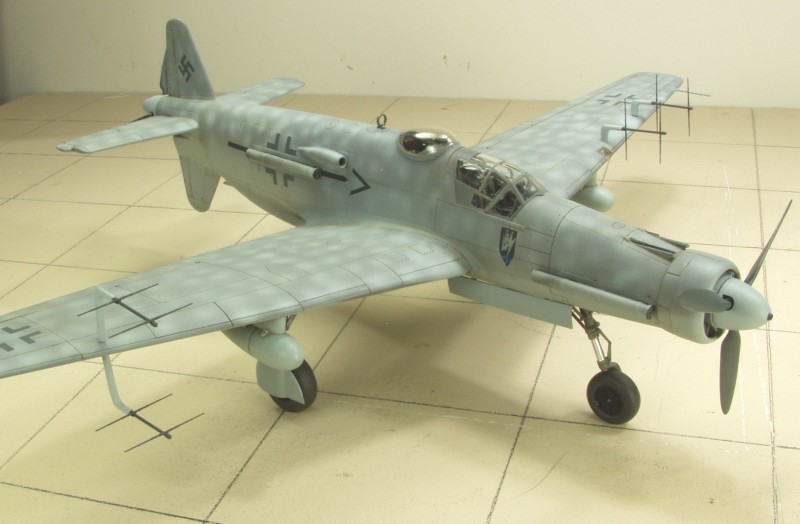
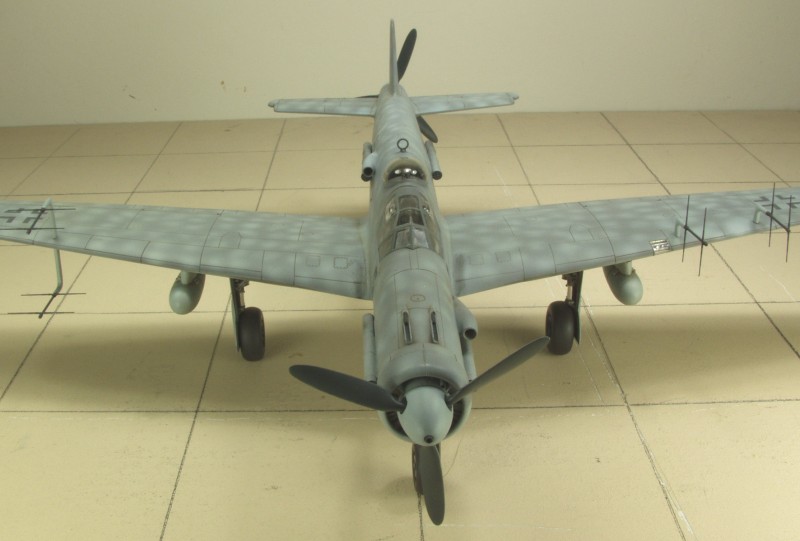
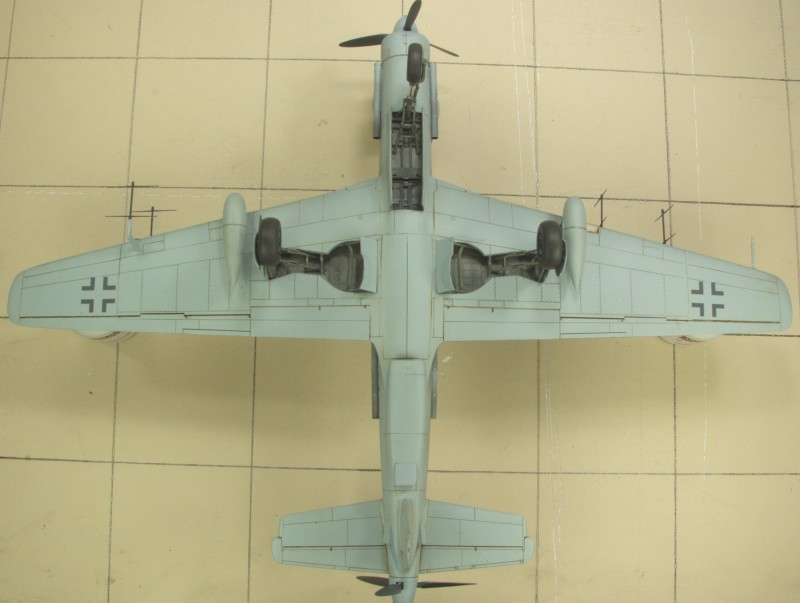
Do 335B-8
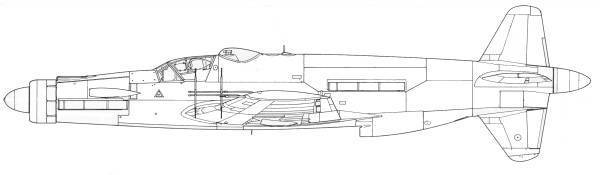
The B-8, the final B-series variant, was to be a two seat night fighter for which the M23 was the designated development prototype. The B-6 night fighter was to be based on the A-6 airframe. The B-7 was also to be a night fighter with an enlarged laminar flow wing with 441 square feet of surface area and 2000 hp DB 603 engines for which the M22 would have been the development prototype. The B-8 was to have been a high altitude night fighter which incorporated the Heinkel designed high aspect ratio long span wings with 463 square feet of surface area and powered by the DB 603 LA engines of 2000 hp. It would have carried the standard armament of 1 x MK 103 and 2 x MG 151/20 cannon. There is no evidence that any of these night fighter variants were ever built. Below shows an artist's rendition of how this aircraft might have looked. The artwork is taken from the book referenced near the end of the review.
The Kit
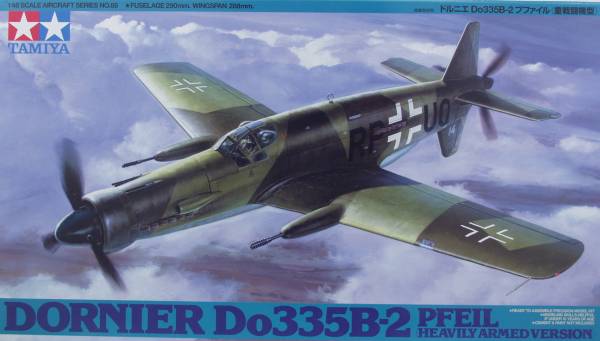
To
create a B-8 night fighter requires the
Tamiya B-2 kit shown above (For
a review of the B-2 kit check here) plus two conversion
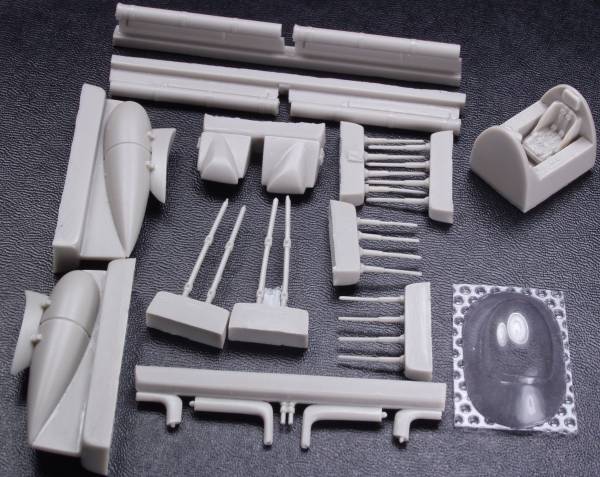
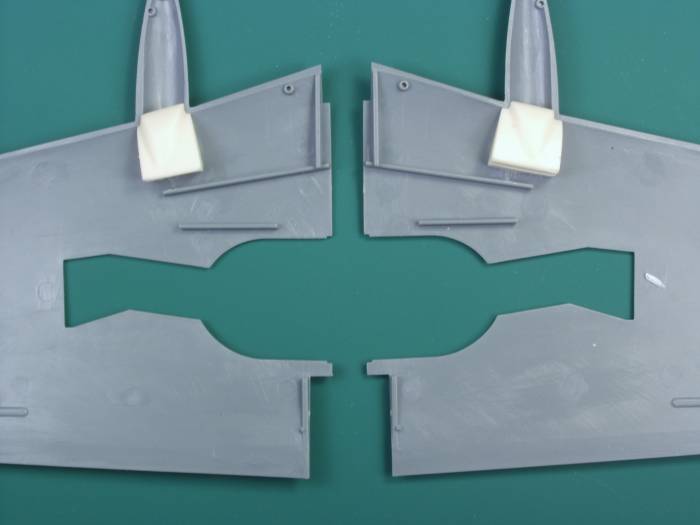
kits from Paragon Designs. The first is their 48065, night fighter
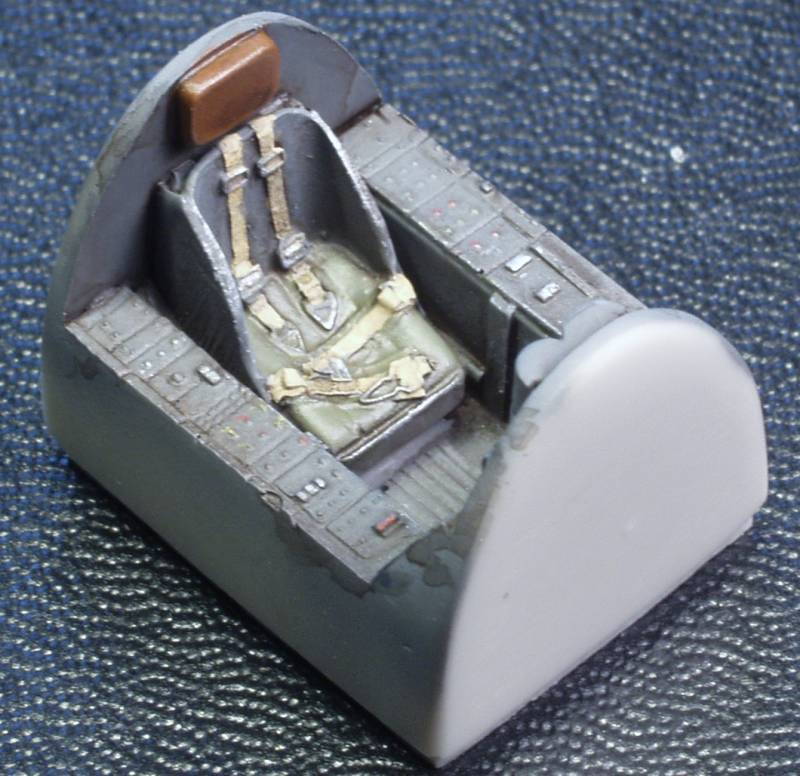
conversion kit . It contains the following parts; flame dampers for
both engines, two under wing fuel tanks, a complete set of radar
antenna, a vacuformed canopy for the radar operator, the radar
operators tub and two inserts for the wings to blank off the wing
guns. The parts are molded in tan resin and display sharply defined
detail. No air bubbles or short shots were found. The radar
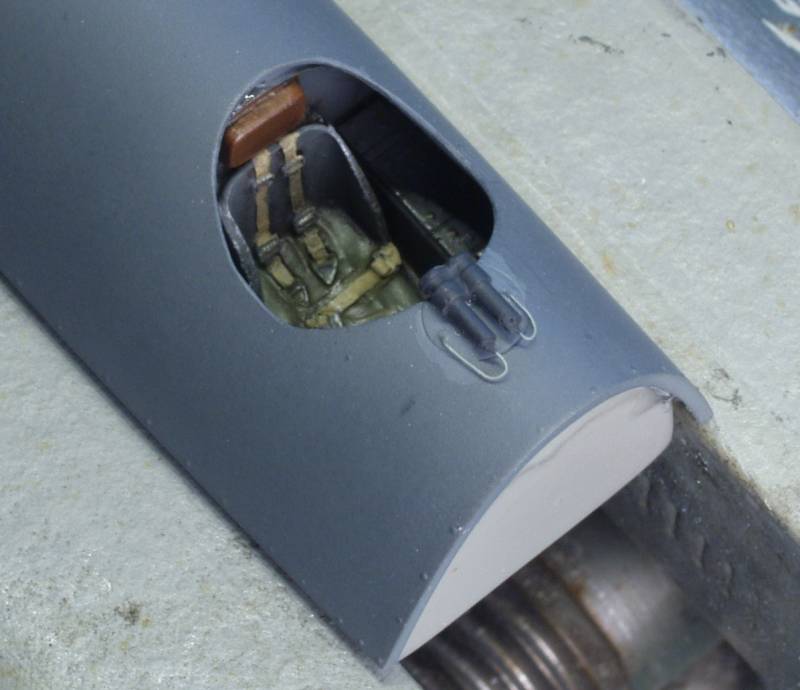
operators seat has a harness and seat belts molded in and the only
thing that needs to be added is a combing over the radar operators
panel which could be made from a thin piece of styrene. The canopy
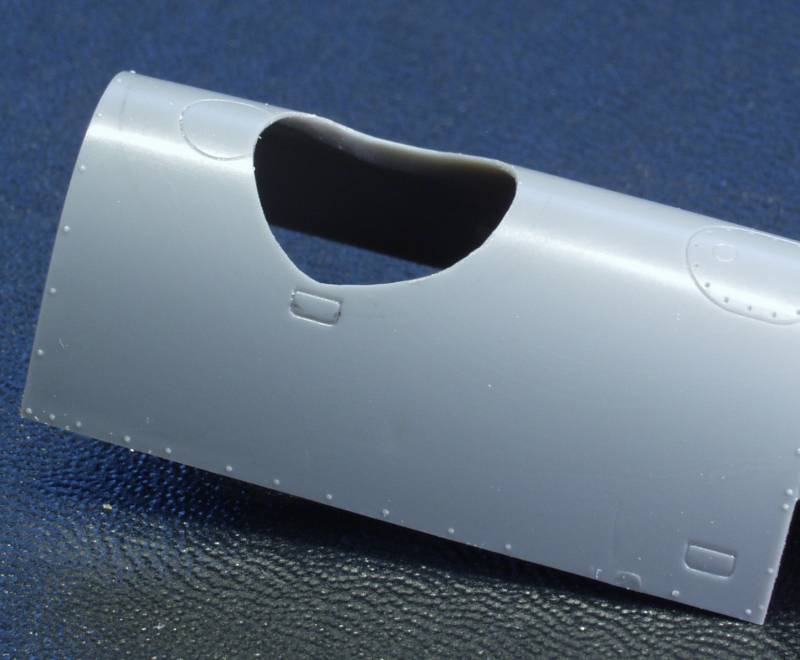
for the radar operator is thin and clear. An opening will need to be
cut in the top of the fuselage and the wing guns will need to be cut
off and the inserts faired into the leading edge of the wings. The
parts are molded in tan resin, are nicely molded and did not exhibit
any pin holes that will show or short shots. See photo below
Paragon [48065] Night fighter conversion kit
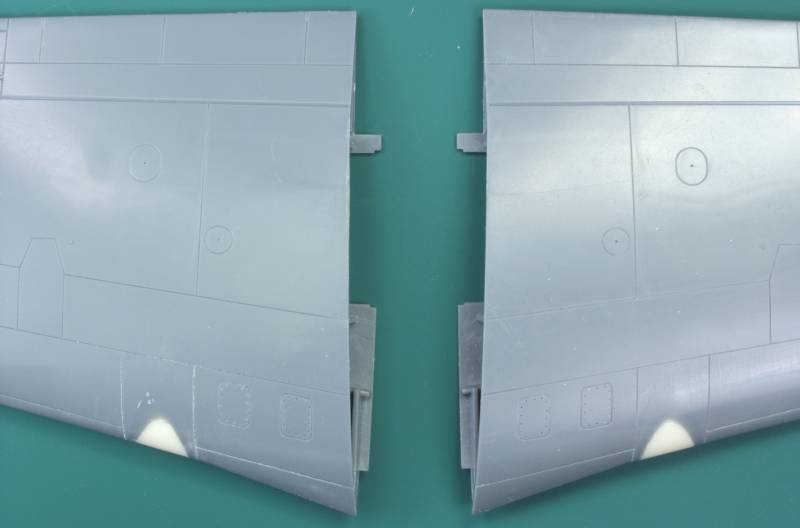
The other is their 48064, Do.335B-4 w/ Extended 'Heinkel' Wing Tips set. While designed to create a B-4 reconnaissance version it will also work for the B-8 as well. It consists of two wing tip extensions, two drop tanks, two inserts to blank off the wing guns and camera ports. For the B-8 variant only the wing tips will be needed so the rest of the pieces can go into your spare parts box. The parts like the other set are molded in tan resin, are nicely molded and exhibited no pin holes that will show and no short shots. See photo below for this set.

Since none of these were actually built you are on your for decals. The markings provided with the B-2 can be used for the national markings and stenciling.
Other than the Eduard Photoetch mentioned in the A-0 review and an Eduard mask set no other after market items are planned for my version.
Conclusions
The Tamiya Do 335 series of kits are well engineered and
and feature excellent fit and detail. The conversion sets are of high
quality and will allow you to build yet another version of this
interesting aircraft.
Links to kit build or reviews
A review / build using the Tamiya B2 kit with the Paragon 48065 kit may be found here
References
"Dornier 335 Arrow" by J. Richard Smith, Eddie J. Creek and Thomas H. Hitchcock
Back to the Do 335 Series page
The Build
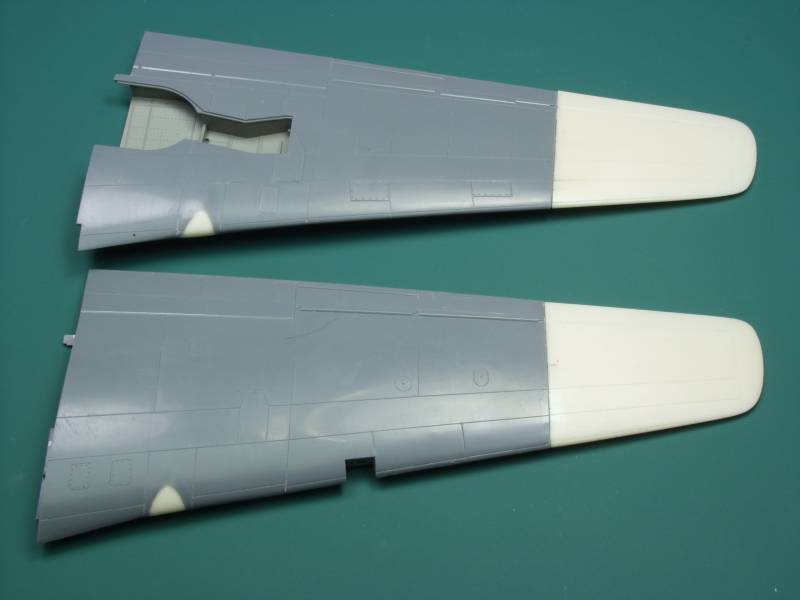
Since the hardest part of this build will involve modifying and adding parts to the basic kit, I decided to get the hard stuff out of the way first. The wings need to have the housings for the wing mounted cannon removed and the wing tips cut off and extensions added. I started by installing fillers supplied in the conversion kits. These are placed inside the wing and are held in place with five minute epoxy and fill the hole that would be left when the cannon housings are removed.
Following that the wings were glued together and when set up the cannon housings were cut off using a razor saw then the balance was removed using and x-acto knife for the heavyist areas and finishing off with various grades of sanding sticks until the wing and plugs matched the profile of the wing on either side of the housings.
Next the wing tips were carefully sawed off staying just outside the panel line where the wing tip started which allowed a bit of material that could be removed to square up and even out the mating surface. Then the casting blocks were removed from the new wing tips.

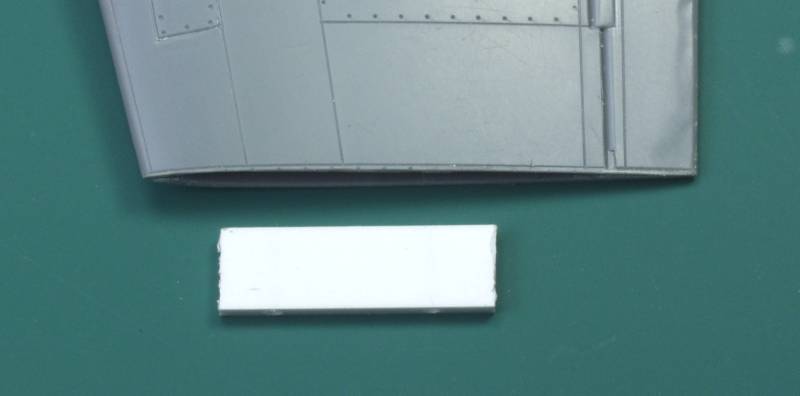
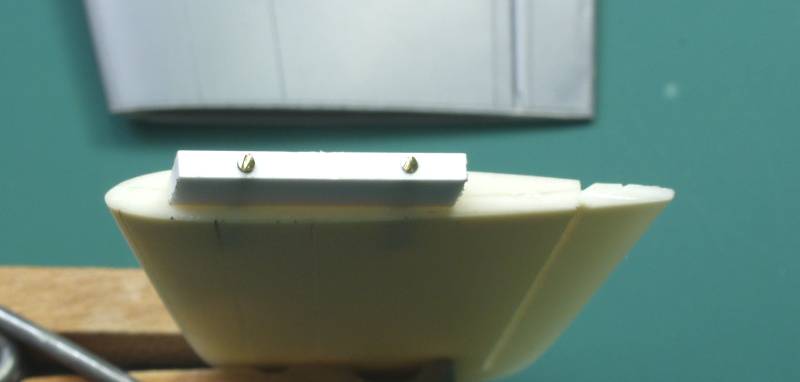
Once the mating surfaces were cleaned up and squared up I used a piece or .080" x .250" styrene strip stock to make a tongue that would strengthen the joint between the resin part and the kit wing.
This was drilled so it could be pinned to the resin part.
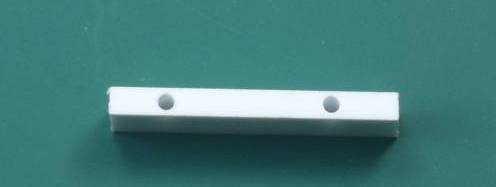
The tongue was then use to located holes in the resin part which were then drilled and pieces of brass wire were inserted and the pins and the styrene were super glued in place.
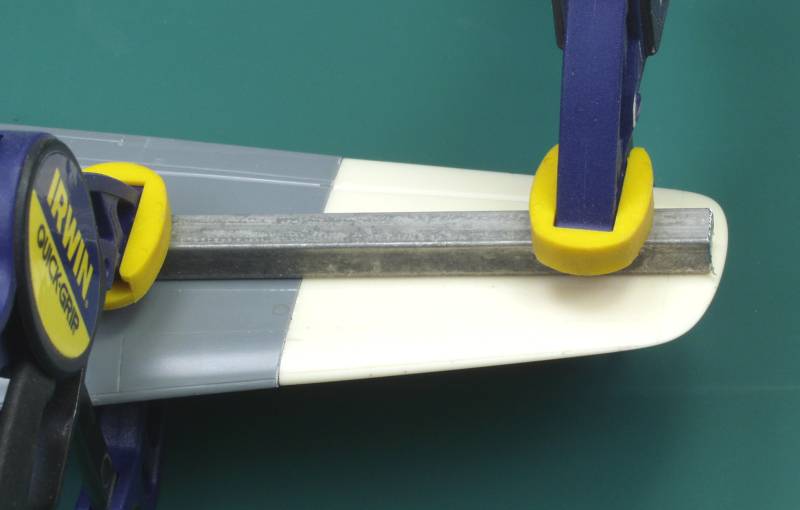
Once this was done and alignment was checked the two parts were mated with 5 minute epoxy. I felt this would provide a stronger joint than super glue. A piece of 1/4" square bar was used with clamps to keep the wing surfaces aligned till the glue dried.
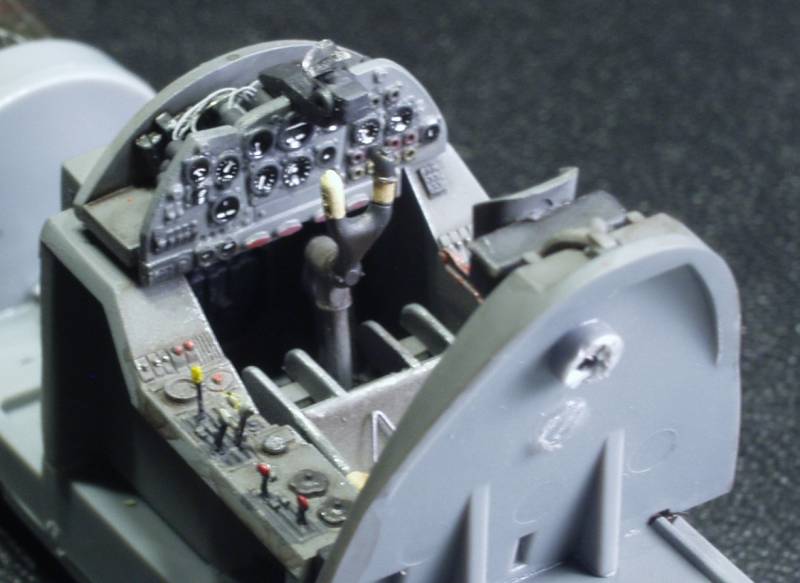
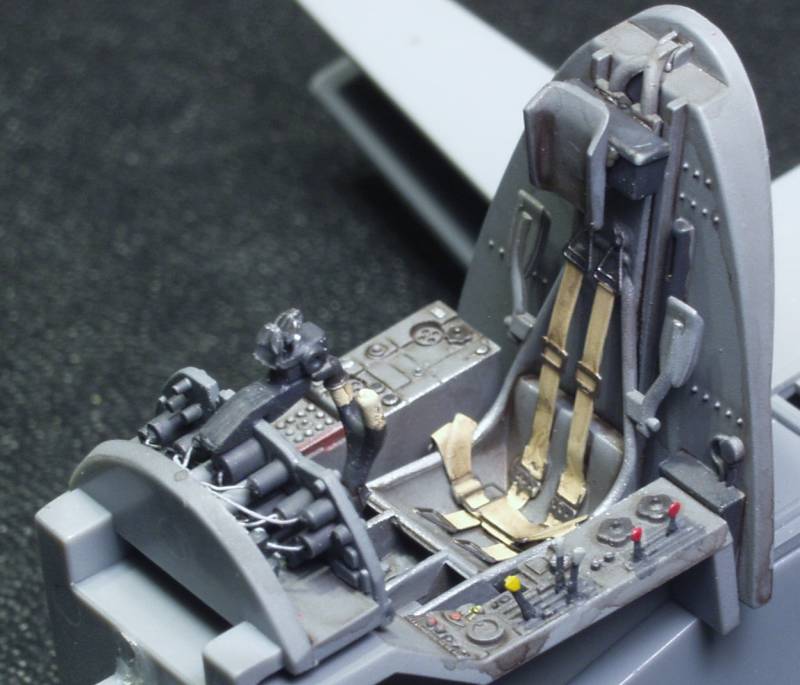
A small amount of filler will be needed but that will wait till later. With the wings modified it's on to adding the radar operators to the fuselage.

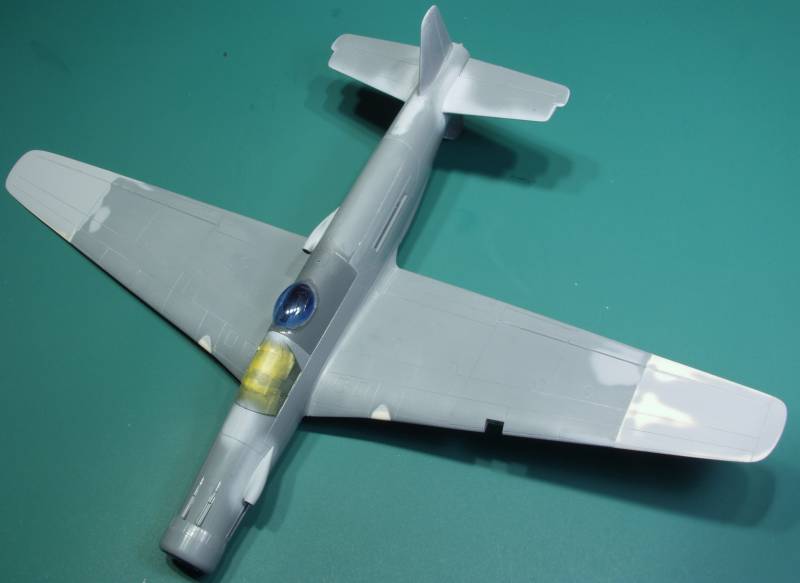
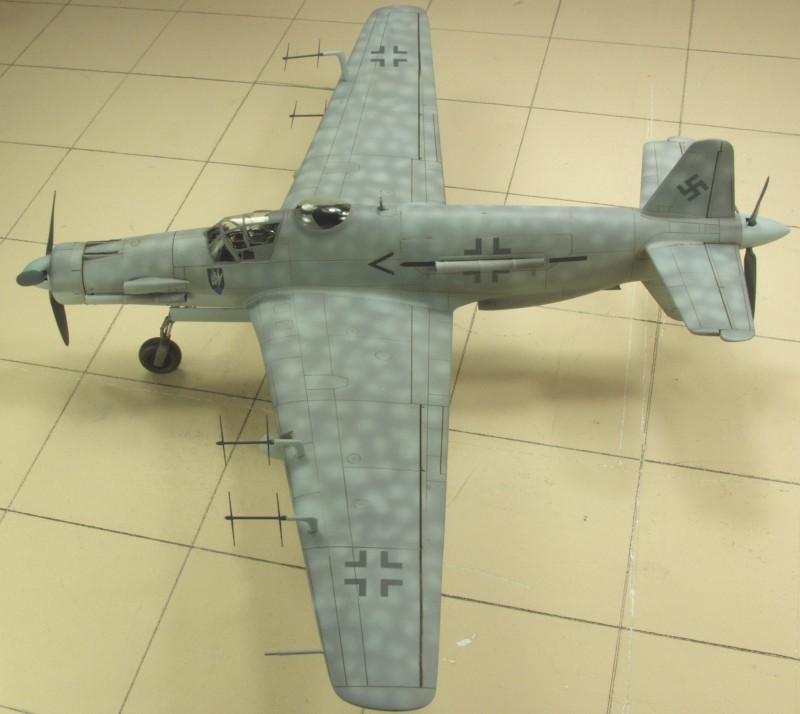
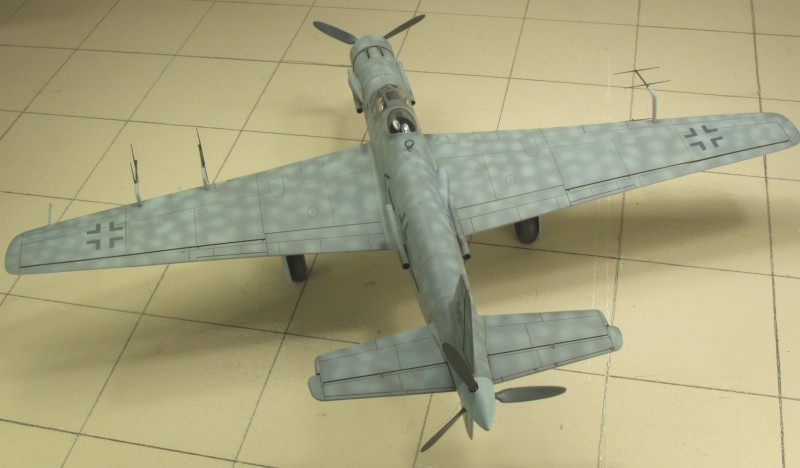
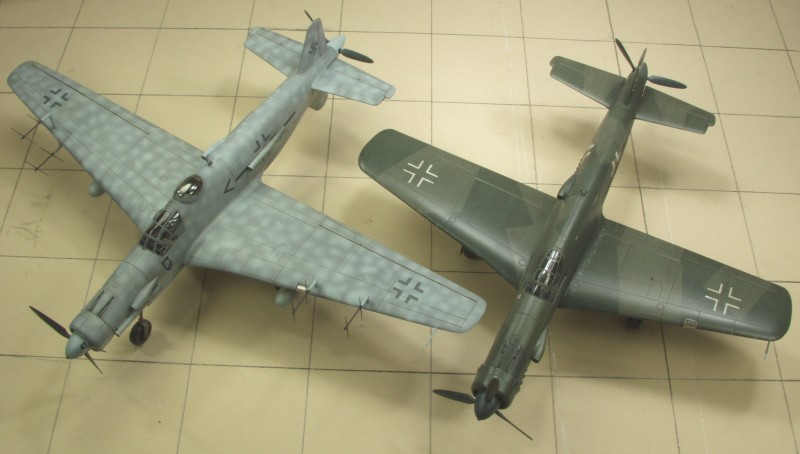
Fast forward from 2009 most of the finishing work was pretty much similar to the other versions with the exception of the wing tanks and radar antenna. I took me a long time to get up the nerve to tackle the paint scheme and I took some what of a reverse process as I found I was better at painting blobs than outlining them so the upper surface was painted the darker color and then the lighter color blobs were added. Since none of these aircraft were built the color they might have been painted is pure speculation. For the same reason the markings were kept simple and the chevrons seemed to cry out "Arrow".
The final completion photos are below...


Back
to the Do 335 Series page
Updated 1/24/21