Ar-232B
The Arado Ar 232 was the Luftwaffe's only specifically designed combat zone transport. It was Arado's response to a specification issued by the RLM in 1939 for a general-purpose transport to replace the Ju 52. The design was the first truly modern transport designed and built during World War II. It embodied almost all of the features now considered to be standard for transports including a low slung box like fuselage, rear loading ramp, a high tail to allow easy access to the cargo compartment and features to allow it to operate from rough fields. It was capable of short field takeoffs utilizing Arado's own "traveling flap" design These full span flaps effectively increased the the wing surface area by 25% when fully extended. The take off distance could be further shortened using RATO. It was originally designed to use two BMW 801 series engines, but this became problematic when the Fw 190 series began large-scale production. Ten preproduction machines were built in the two-engine configuration. To solve the engine problem it was decided to use four BMW-Bramo 323R-2 engines of 1200 h.p. The four engine versions were designated Ar 232B's and featured lengthened wings to accommodate the additional engines and a longer fuselage to compensate for the shift in center of gravity caused by the additional engines. Eight pre-production machines are known to have been built although 10 were thought to have been ordered. It is also believed that between twenty and twenty-two additional machines were built however very little reliable data exists on these. Five of these are believed to have been delivered to KG 200 for secret missions.
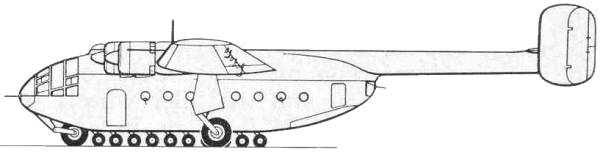
The 232 was uniquely equipped for field operations. Its set of small bogey wheels under the fuselage allowed landing on unimproved airstrips and were capable of spanning trenches up to 5 feet wide. It could carry nearly 10,000 pounds of cargo. The main gear was extended to raise the smaller wheels off the ground for takeoff. The high mounted tail assembly provided clearance for loading through the real cargo door which could be lowered for a ramp to allow vehicles to drive on board. A turret with a MG 151 20mm cannon was located aft of the cockpit and and a MG 131 13mm gun was located in the nose and could be fired by the pilot. Another MG 131 was located in a position above the rear cargo door.
The Kit
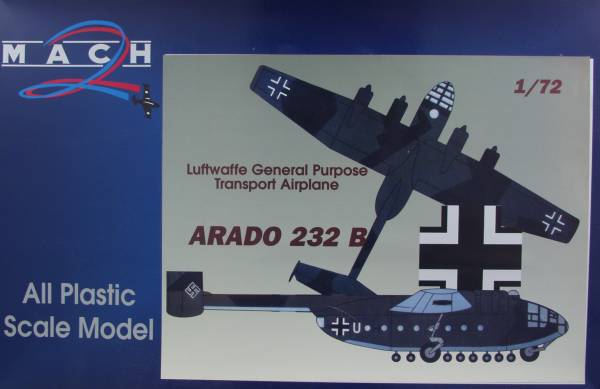
Lets see what you get for your money. The box is a typical Mach 2 two part box of thin card board. The parts were sealed in a single plastic bag. Inside the bag were two large sprues of light green styrene and one sprue of clear parts, shown below. Total count of the parts is 118 parts in light green and 20 clear parts.
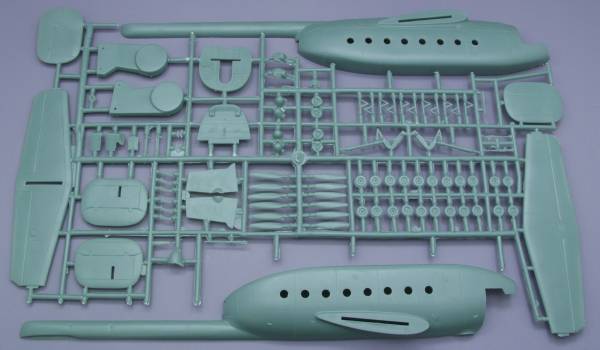
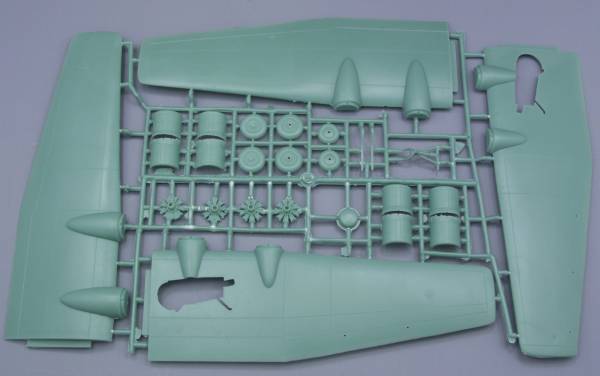
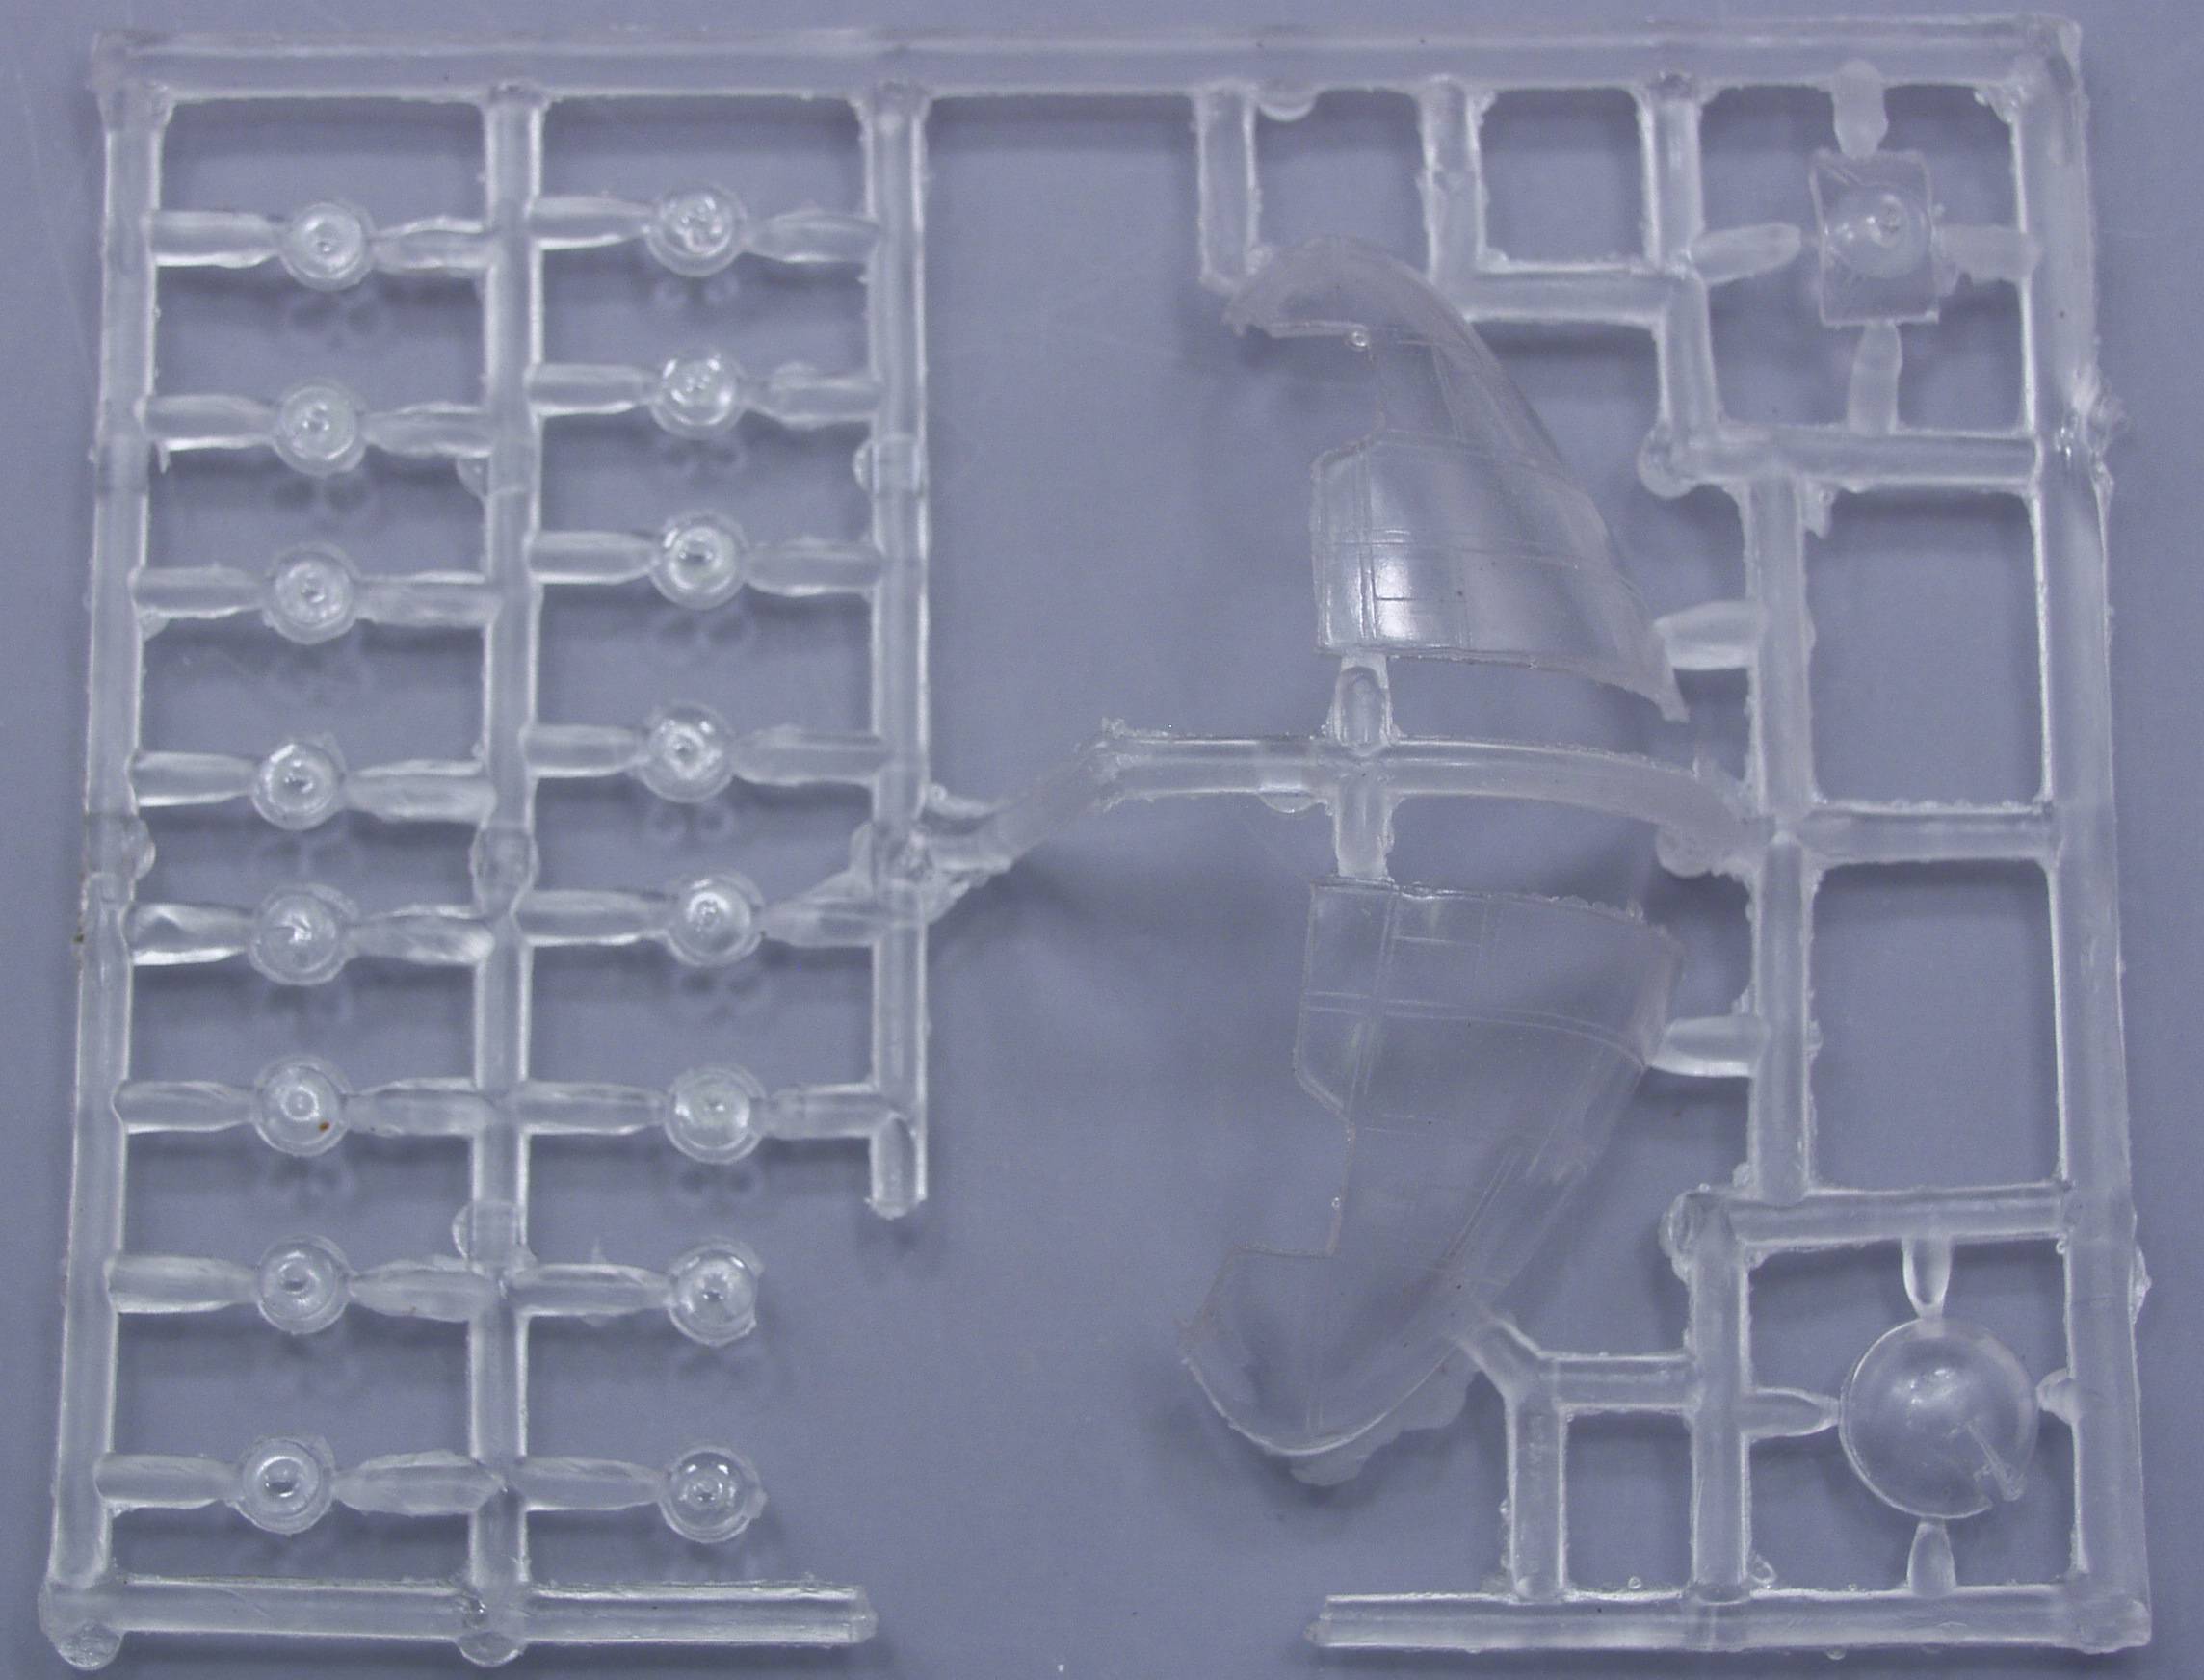
The surface has a rough finish similar to all the other Mach 2 kits I have seen. The surface detail is recessed and uniform and the level of flash, though greater on the small parts seems to be a little less on the larger parts. The wings and tail are reasonably free of sink marks and other surface irregularities as seen on other Mach 2 kits. The fuselage halves seemed to be a bit worse than normal having several sink marks as well as carried through deformities from the ejector pin stubs on the inside. Cockpit details are sparse with a floor, rear bulkhead, seats and a couple pathetic crew figures. There are parts to box in the main wheel wells with some structural details inside. One of the engines on my kit had a broken cylinder that, from the looks of things, happened when the sprue was ejected from the molding machine as the box showed no external damage and the part was located near the center of the sprue and the surrounding parts were not damaged. The clear parts are normal for Mach 2, abysmal ! One would think the least Squadron could do since they import and distribute this line would be to supply some vacuformed clear parts ! As with all Mach 2 kits and most other limited run kits there are no alignment pins to aid assembly and there will no doubt be fit issues.
Links to kit build or reviews
None that I could find.
References
"Arado Ar 232" by David Myhra
Back to the MISCELLANEOUS 1/72 page
The Build
Mach
2 kits, if nothing else tend to wear you down. There is so
much clean
up work involved and many of the parts are so poorly formed
that no
amount of clean up will make them look good. I decided early
on to just
discard the kit engines. I initially ordered some replacements
from
Engines and Things and to me they weren't much better than the
kit
parts, see below. Although they were more expensive I ended up
getting
engines from Vector.
They will be quite visible so I was willing to go that
route.
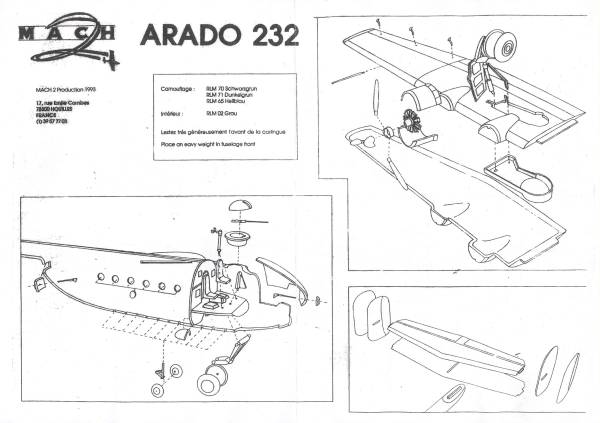
Since the time the review was written I have at various times done some some work on this kit. Early on I assembled the wings and tail parts and cleaned up all of the little wheels. From that point on things really dragged. The cockpit supplied is purely fiction. While I have no photos of the 'B' model there are several 'A' model cockpit photos in the above mentioned reference and I can't imagine the additional engines would have resulted in a total cockpit redesign. The main issue is that most everything will need to be scratch built and while there is plenty of glass area in the nose it is none too clear so I not certain how much scratch work would be worth the effort. I came real close to just using the kit parts but it just kept bugging me so I finally decided I would give it a go. Here is what the kit supplies structure wise...
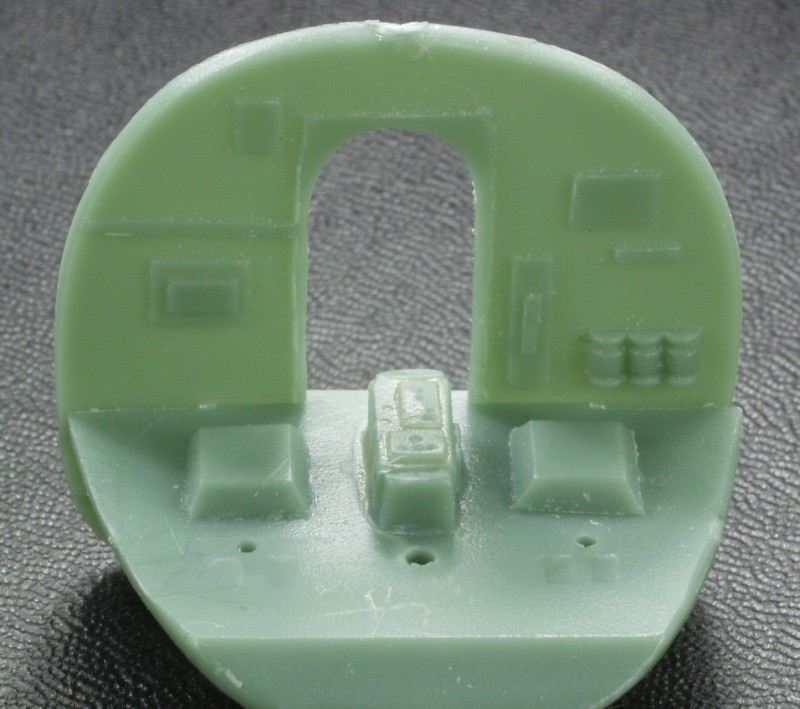
The bulkhead should not be right behind the seats. The center console should not be there. The locations for the seats and control columns are OK, the large hole in the center is for a kit supplied instrument panel, again, purely fiction.
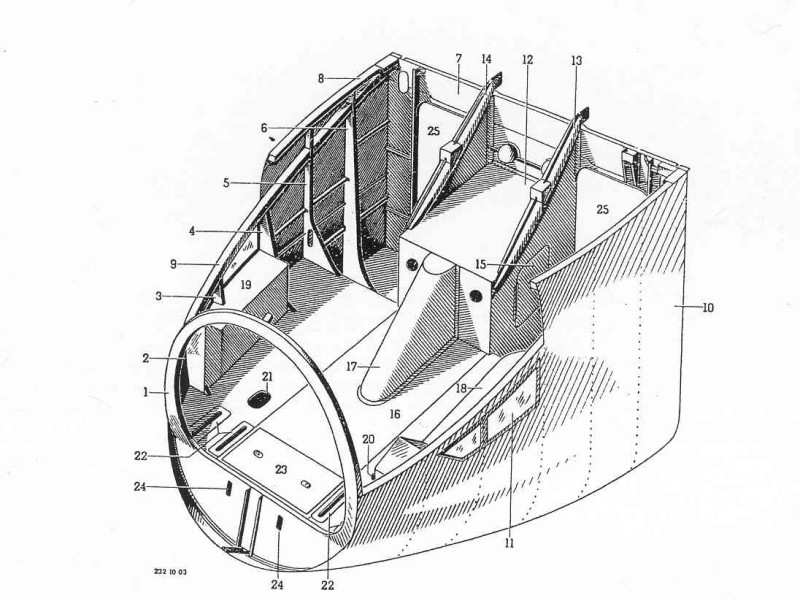
Note that the cockpit floor drops to the cargo bay level behind where the seats would be, The bulk head is back even with where the side entry door is located. The tapered housing labeled 17 on the drawing encloses the actuating strut for the nose gear. The platform labeled 12 is where the turret gunner stands. Areas marked 25 are openings to the cargo area. The next photo shows the cockpit from a large scale model of the 232A.
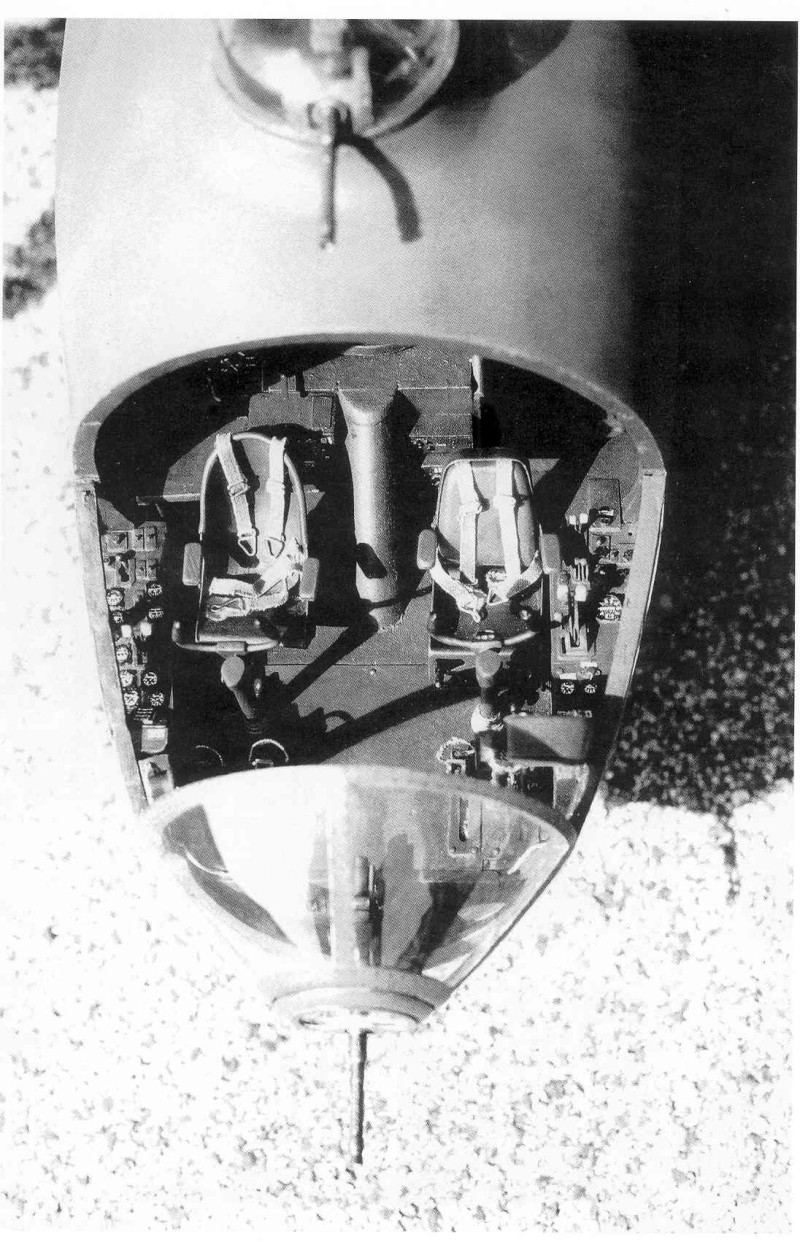
I won't be able to come close to providing this level of detail in 1/72 but hope to at least get something closer to reality than what the kit provides. The kit also exhibits numerous other errors. The turret appears to be set too close to the cockpit for one which will have some impact on my cockpit attempts. The struts for the small fuselage wheels are not at all correct and they should set into openings in the bottom of the fuselage , not just attached to the bottom of the fuselage. I am going to leave the turret where it is. I will not be opening up the bottom of the fuselage for the small wheels but probably will modify the struts so that the wheels set closer to the bottom of the fuselage. It should be an adventure.
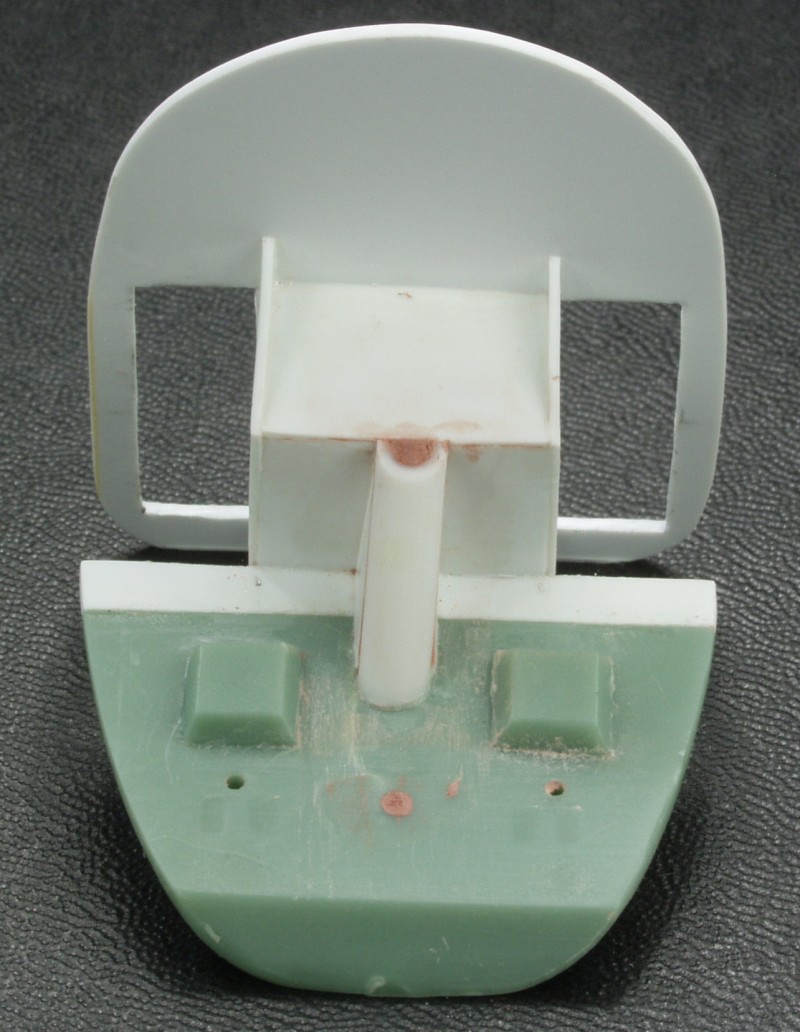
Here is a rough start on the cockpit structure, I used the forward section as the underneath side has the mounting structure for the nose gear. It still needs seats for which I will modify the kit parts, control columns, the kit parts were not salvageable, rudder pedals, Eduard to the rescue and a few other details like side consoles, navigator table and anything else I can cobble up.
Updated 6/1/08