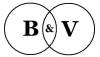
BV 222 V2
The BV 222 was designed to meet a Lufthansa requirement for a transatlantic flying boat. The design by the Hamberger Flugzeugbau (later to become Blohm und Voss) was chosen over designs from Dornier and Heinkle. An order was placed for 3 aircraft in September of 1937. With the beginning of the hostilities in September of 1939 some of the manpower on the 222 project was diverted to the BV 138. The first example was completed in August of 1940 and flew for the first time in September of that year. After successful flight testing the aircraft was put to work flying long range supply missions from Hamburg to Kirkenes on the Barents Sea. For this purpose a cargo door was cut into the side of the hull and the interior rearranged to handle bulky cargo. The V2 began its flight trials in August of 1941. The V2 was to be placed at the disposal of the Fliegerfuhrer Atlantik. Following the loss of several of the subsequently built 222's during operations in the Mediterranean theater where the flying boats operating in the transport role had carried 1,453 tons of supplies, 19,750 fully equipped troops and 2,491 casualties, the surviving boats were returned to Germany for rearming and other modifications. Following completion of the modifications they were transferred to the control of the Fliegerfuhrer Atlantik. Two of the boats, the V3 and V5 were sunk at their moorings by RAF fighters leaving the V2 and V4 as the sole survivors. These were augmented by the BV 222C-09, the V7 and the BV 222C-010. Flying far out over the Atlantic on U-boat co-operation tasks the five aircraft continued flying sorties from Biscarosse, France until shortly before the evacuation of the port. As the war situation continued to deteriorate the remaining aircraft progressively returned to transport tasks. In 1944 the V2 drew attention to itself with operation "Schatzgräber" or "Treasure Seeker", which was the code name of a German weather station at Alexandra Land in the Arctic, whose sick crew needed to be evacuated.
The Kit
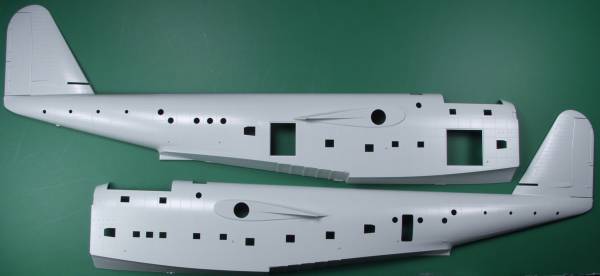
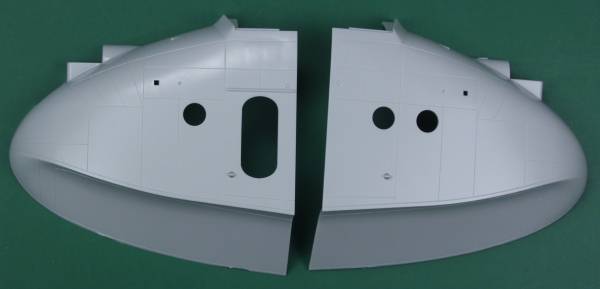
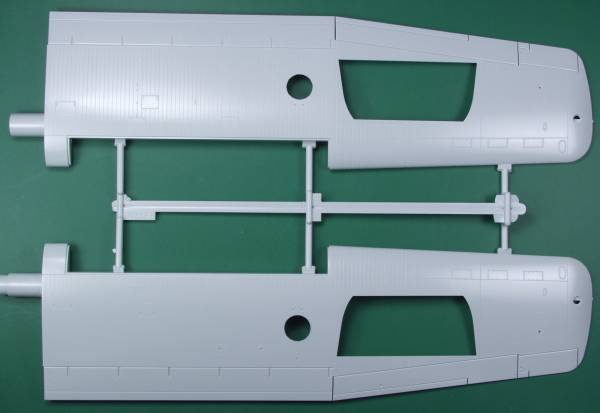
The Revell BV 222 is a massive kit even in 1/72 scale. With a wing span of 25" and a length of 20" it's quite a shelf full. It was in fact what determined the shelf size when I built my display cabinet. The kit comes in an impressive sized box as well and though the cardboard is thin and rather flimsy it at least is a two part top opening box. The kit is molded in a light greenish gray plastic that almost reminds one of RLM 02 in color. In spite of the box size the fuselage was still divided into two pieces, with the area from the cockpit forward being separate. Whether this was a mold size issue, a box size issue or just done to facilitate the cockpit assembly, I'm not sure. I am always wary of multi part fuselages but test fitting indicates that the parts fit well and should assemble without a step or other issues.
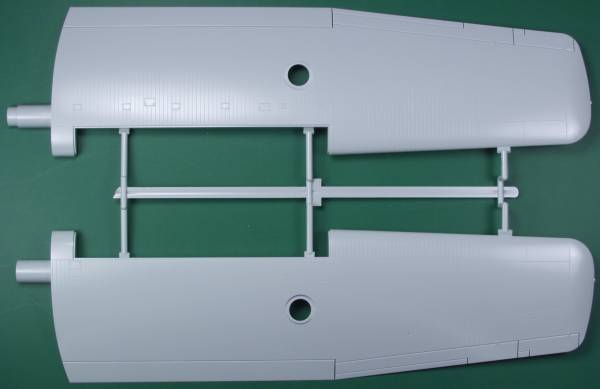
By the time I got around to writing this I had already unbagged some of the parts and removed the fuselage parts from their sprues. In addition to the main fuselage, there are three sets of bagged parts. Three large sprues with the majority of the small parts were in one bag, The wing halves were in a second and the clear parts in a third. The surface detail features recessed panel lines that are uniform and consistent and the finish was smooth but some panels had what appeared to be very fine scratches as if the molds weren't polished. I doubt they will be noticeable under a coat of paint. The wings feature very large alignment pins which should provide a strong wing to fuselage joint. I could find no other surface imperfections other than ejector pin marks and they were all in internal areas. Speaking of the internal areas, this kit has quite a detailed interior both the flight deck and rear portions as well including floors and bulkheads in the main fuselage. Unfortunately most will not be seen once the fuselage is closed up. There are a number of ejector pin marks on the interior walls that would be difficult to fix due to being mixed in with the molded in detail on the fuselage side walls. Shown below are the kit parts. Some parts had come off the sprues in shipment and one of the window strips had broken but it was just the carrier between the windows.

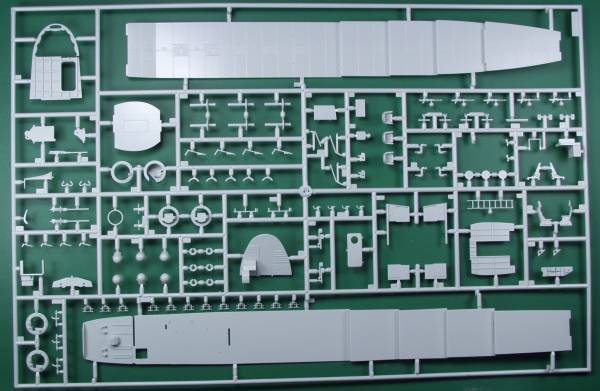
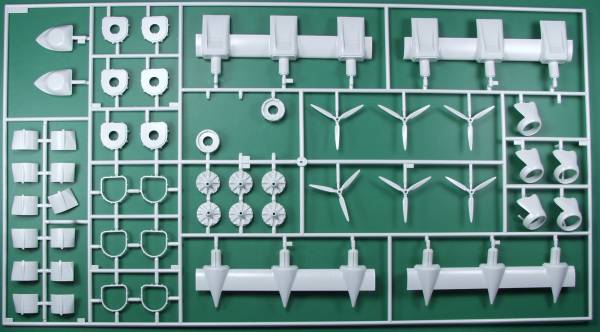
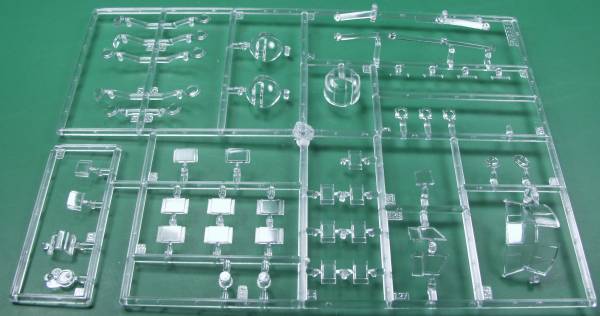
Unless I mis-counted there are 226 gray parts. The clear parts were thin and reasonably clear with good raised frame detail and they should look fine with a coat of Future. due to the large number of windows in the prototype the count for clear parts is 50. These are shown below.
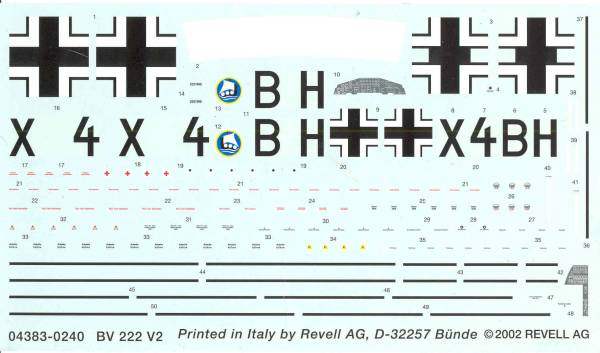
The decals look reasonably thin but have a flat finish and some have more carrier film than I would like to see which means a lot of trimming. Two instrument panels are included on the sheet. How well they will mesh with the raised detail on the plastic parts remains to be seen. There is a lot of stenciling and even though its very small it's all readable under a magnifier and seems to be very well registered. It may be a test of patience to install all of them. The two Balkenkruz for the fuselage sides look strange but it's due to them be applied between two windows and the missing parts are where the windows are located. See below...
The instructions are a 20 page booklet with A4 size pages. The first four cover history, general instructions, symbols and paint colors in more languages than I care to mention here. There is a page and a third of part maps, eleven and two-thirds pages of assembly instructions and three pages showing decal and painting instructions. Two paint schemes are shown, the standard from 1943 and a later version from 1944 with the addition of white that was added for the Arctic rescue mission.
After Market Goodies
One of the shortcomings of the kit is that there is no display base or beaching gear to set the plane on once it has been completed or for that matter during assembly to prevent damage. While I probably could have done something from scratch I tend to be both lazy and short of time to spend at the modeling bench and if I can find something made for the job I usually go for it. In this case I found the CMK Dockwagen which apparently is what the Germans called their beaching gear for this aircraft. I have experience with other CMK products and was generally pleased with them, so I purchased one of these. The kit comes in a small corrugated box about 5" x 7" x 2". The kit is entirely resin save for a fret of photoetch for the safety railings. The resin is tan in color, smooth in surface, with crisply molded details and the only pin holes I found were in places they won't be seen when assembled. That's the good news. The bad news is that all of the large pieces were warped. The large "V" shaped section was warped down the long dimension and the two side tank assemblies were warped in two directions. While the hot water treatment may work, these large thick pieces may not respond like a thinner piece might. Only time will tell. I'm also dubious about the supports for the wheels being able to support the weight of the completed model without bending over time. Fortunately these are simple tubular affairs that should be easy to replace with some telescopic tubing. I also wasn't impressed with the photoetch as it's a bit one dimensional to represent posts and ropes so it will probably be replaced as well. Bottom line by the time all the problems are fixed there may not be much advantage over scratch building but I've already invested the money in this thing so I guess I'll see it though. See below for photos
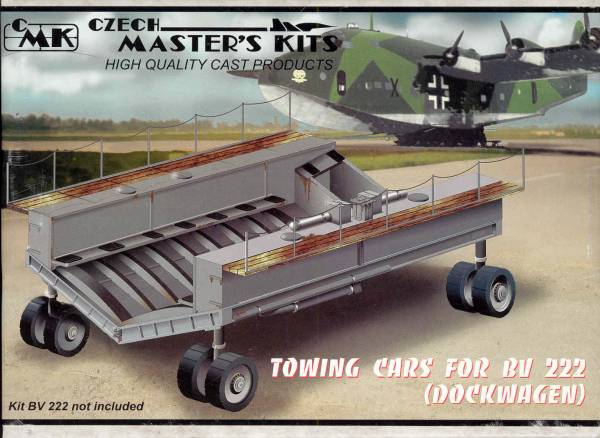
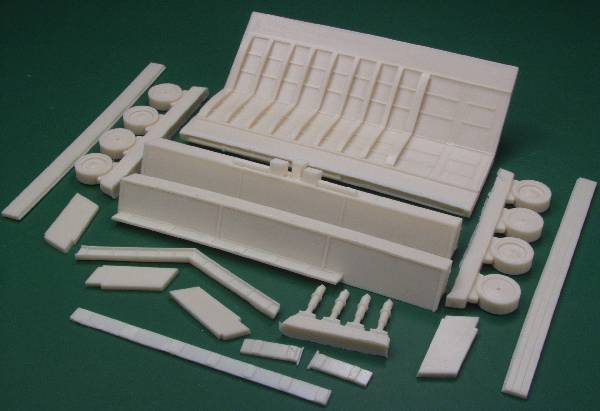
The instructions were printed on an A4 size sheet folded in quarters and printed on both sides. Painting call outs were in Humbrol numbers. A couple of photos of a scratch built dockwagen can be found here.
The only other aftermarket product that I'm aware of for this kit is an Eduard photoetch kit for the ignition harnesses for the engines. [72417]
Conclusions
Though large, this is a very nicely detailed and
engineered kit. Due to its size it may be a challenge to handle during
assembly. The radar antenna supplied are a bit out of scale but if
molded any smaller they would be too delicate. Depending on how things
go I may take a stab at scratch building some from fine wire. I suspect
the kit will take a bunch of paint ! I'm looking forward to starting
this one.
Links to kit build or reviews
References
Last updated 5/10/08