
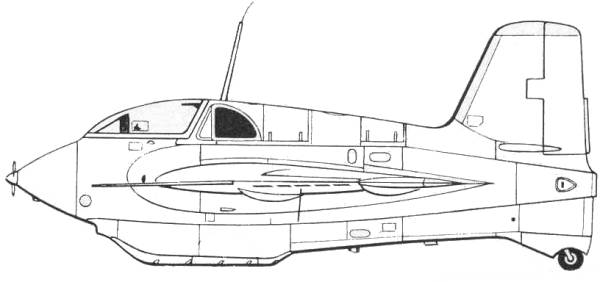
Me 163B
The
Me
163B
Komet was for all intents and purposes a complete redesign
of the
163A which was a proof of concept aircraft. It retained the
basic
configuration, that of a swept wing tailless airframe
powered by a
rocket motor. Messerschmitt was given a contract for 70
preproduction
aircraft plus six prototypes. Construction began in December
of 1941
with the first example being rolled out in April of 1942.
Unfortunately
problems with the rocket motor delayed delivery of
production units.
The second prototype was delivered to Peenemunde where it
was joined
during the summer month by further prototypes. An extensive
flight test
program was conducted with the unpowered aircraft even
including
gunnery trials. More than two-thirds of the 70 preproduction
aircraft
had been delivered before the first flight cleared rocket
motor arrived
at Peenemunde in July of 1943. The first powered flight was
made in
August. Messerschmitt was responsible for the preproduction
aircraft
only and those not allocated "V" numbers received the
designation Me
163Ba-1 and were assigned to service evaluation tasks. The
first
production Me 163B-1a was accepted by the Luftwaffe in May
of 1944.
Even at this late date the rocket motors were still
experiencing
problems and the touchy rocket fuels were prone to exploding
if the
aircraft suffered a hard landing. By this time bombing, lack
of rocket
fuels and trained pilots severely limited the use of the
fighter and
although some success were had in the end it would prove far
more
dangerous to those who flew it than those it flew against.
The Kit
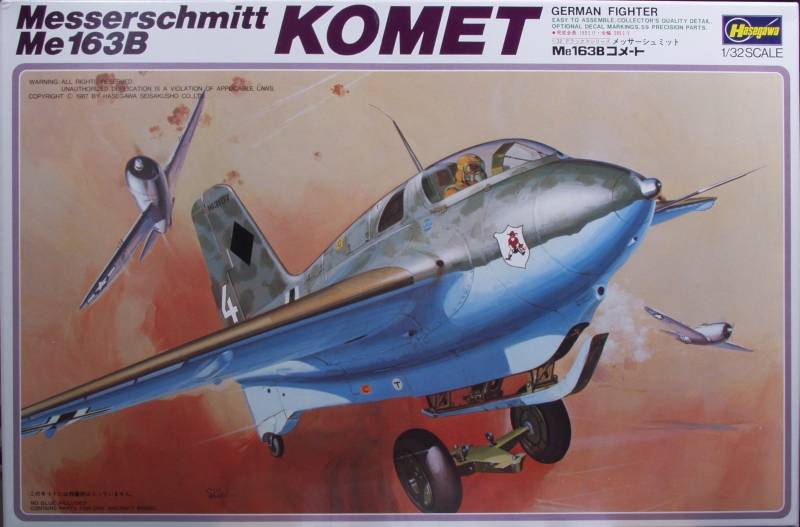
The
Hasegawa
kit
comes it a top open tray type box with their usual nice
looking
artwork on the top cover. Inside the box one finds a large bag
with all
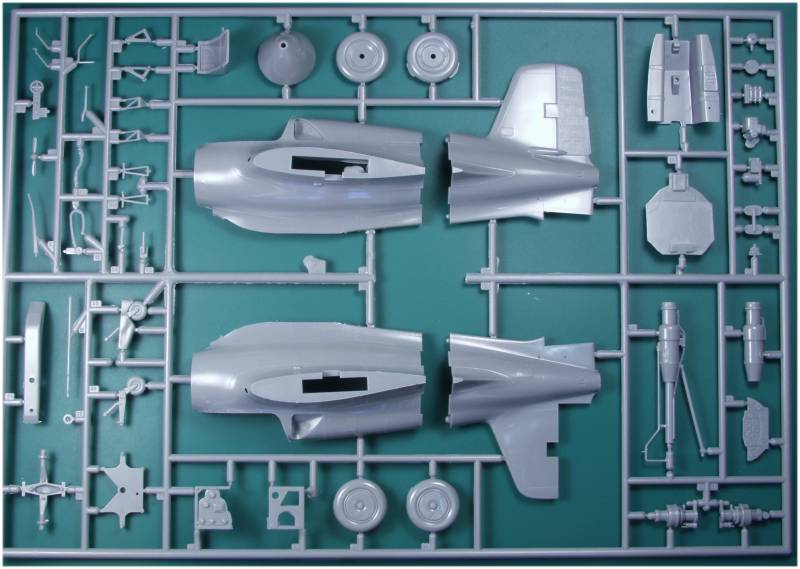
the parts inside. The parts are molded in a light gray color
and are
presented on two sprues. This is a kit from 1973 although my
kit was a
later release from 1987 and as a result has raised panel lines
and
rivet detail. Both the lines are the rivets are quite fine,
smaller
than those found on many 1/48 scale kits from the same time
frame. I
know this puts some folks off but having grown up with raised
panel
lines I don't find them objectionable.
The
kit is accurate shape wise
and if the surface detail puts you off there is another choice
in this
scale now that Meng has released their kit. Since much of the
aircraft
was wooden in construction there are not that many panel lines
and
those so inclined could rescribe them. In spite of it's age
there is
only a hint of flash here and there. I found no surface
defects on any
of the air frame parts except for scuffing from other parts in
the bag
during transit.
The control surfaces are all molded in the neutral position.
All but
the flaps, which weren't fabric covered, have a texture on
them that is
a bit much for the scale but a good heavy coat of primer or a
bit of
sanding should fix that. Each fuselage half is molded in two
parts so
that the tail may be removed to display the engine. This is
done on
panel lines. Some of the smaller parts have a fairly heavy
mold parting
line to remove. The tail wheel is molded integral with the
strut which
makes painting tough at times. Two are supplied in the kit,
one with a
fairing and one without. The dolly wheels are molded in
halves
and
are not weighted. The cockpit is fairly sparse on detail being
a tub
with a seat, stick, rudder pedals and a few add on details but
then the
prototype wasn't all that complex either. The seat has molded
on lap
belts and harness but to me they look a bit wimpy. The engine
has a
fair amount of detail but could use more if you decide to
leave it
open. A jack stand is supplied to support the rear of the
engine should
you decide to leave the rear of the fuselage off. The fixed
wing slats
are open at the top and bottom. OK, lets look at the plastic.

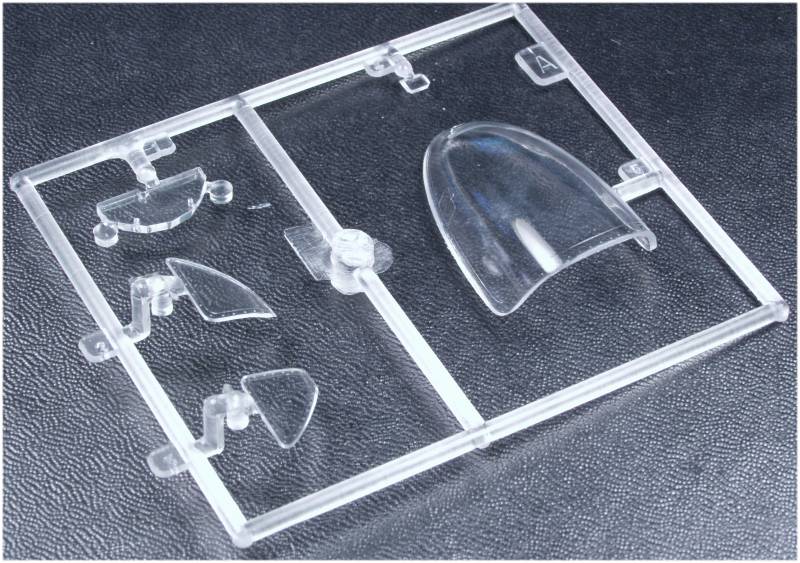
The
clear
parts are are thin and reasonably clear but would benefit
from a
dip in Future. The frame lines are a little light.
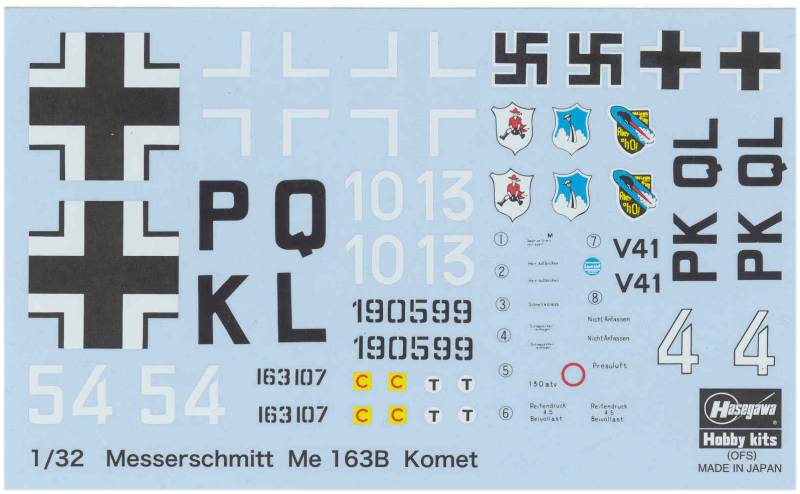
The
decals
look a bit thick and have a semi gloss finish. They are in
register and include the swastikas, markings are supplied
for 4
aircraft including the B-0 version in red.
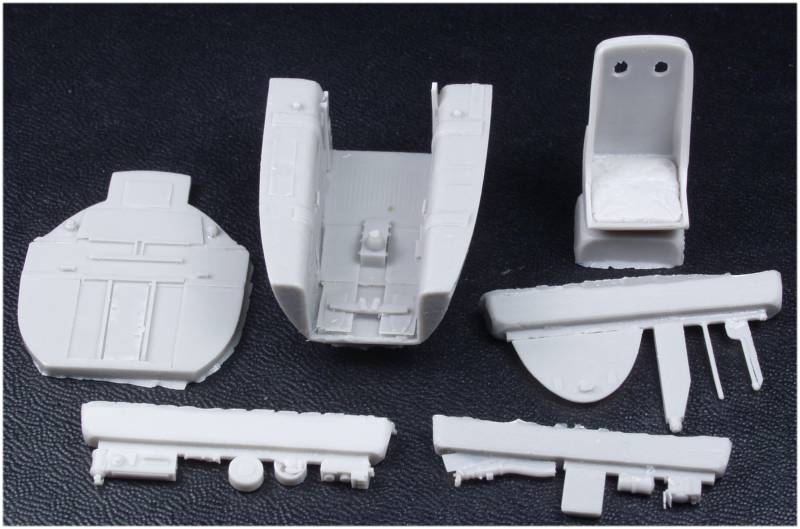
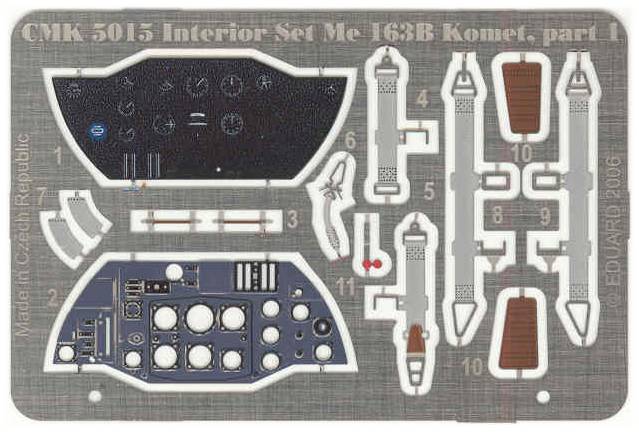
After
Market Goodies
I decided to go
with
an after market cockpit, this one from CMK (5015)in resin.
The parts
are nicely molded with no pin holes or other defects found,
the tub has
a lot of material to remove from the bottom. The seat has a
nicely
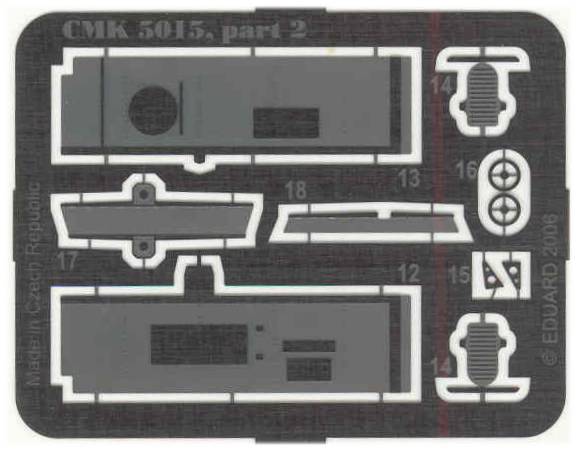
molded pad in the bottom. The set also has color photo etch
fret from
Eduard for the instrument panel, lap belts and harness and a
second
fret for side panels, rudder pedals and trim wheels.
The instructions are a
large sheet folded in thirds to create
six panels. Included are history, the assembly in 13
steps and a parts
map. There are drawings and prototype photos
interspersed with the
instructions which is a nice touch. The kit predates the
use of
assembly icons. It does have a parts list keyed to the
parts map giving
the names of the parts. There was a separate sheet in my
kit with a
corrected parts map. The painting and marking
instructions were
provided on a separate glossy A4 size sheet printed in
color. One side
having profiles and the other a line drawing and color
chart with Gunze
numbers. RLM colors are called out in English the
generic colors are in
Japanese. There is also a black and white photo of the
actual engine.
Conclusions
While
dated
the kit is still accurate in outline and detail and unless
the
raised surface detail is a deal killer for you it will build
into a
nice looking kit and can be found for much less money than
the Meng kit
which is not without some fit issues.
Links to kit
build or reviews
A review / build can be
found
here.
References
"War Planes of the Third
Reich" by William Green
Back
to
the 1/32 German Aircraft Page
The
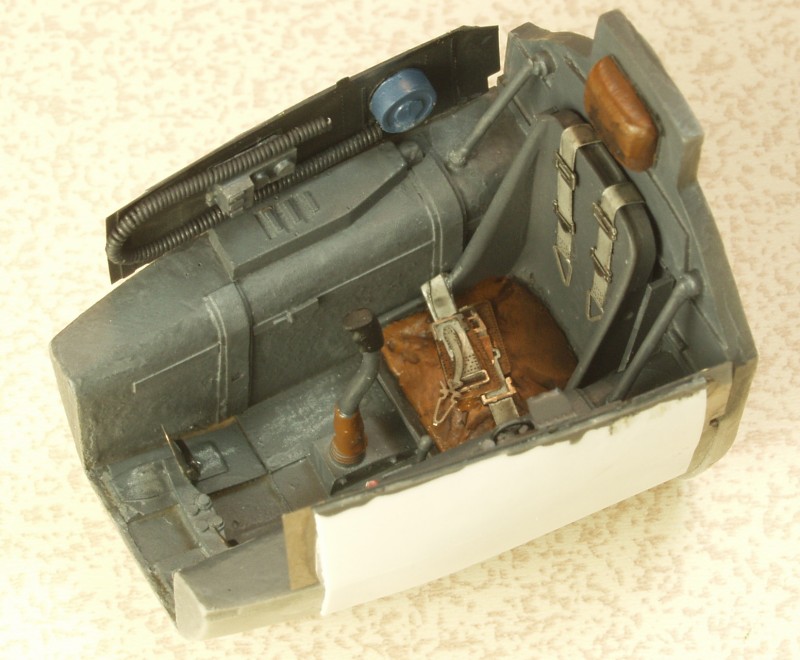
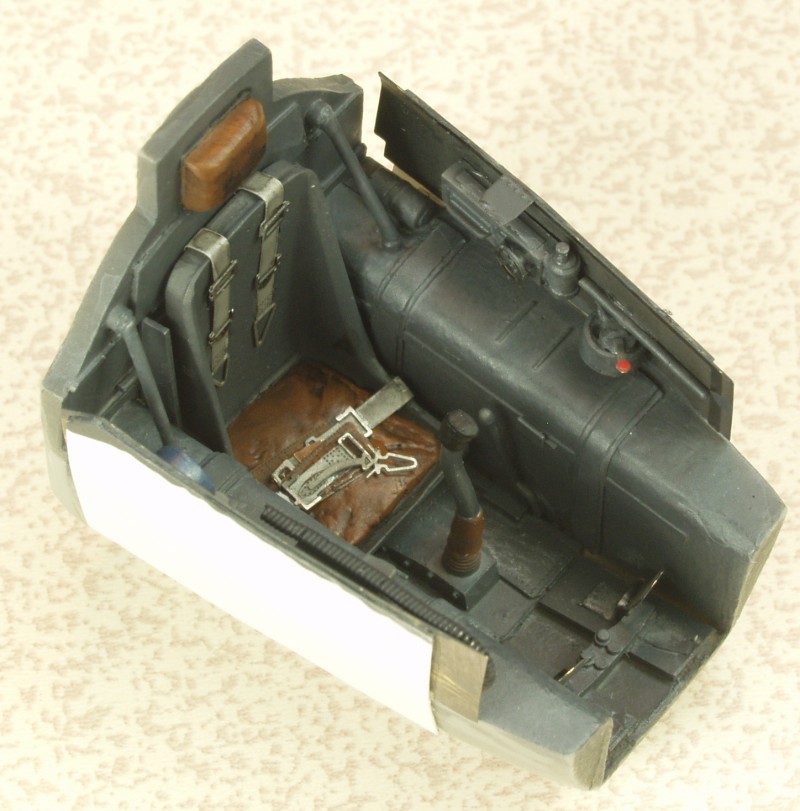
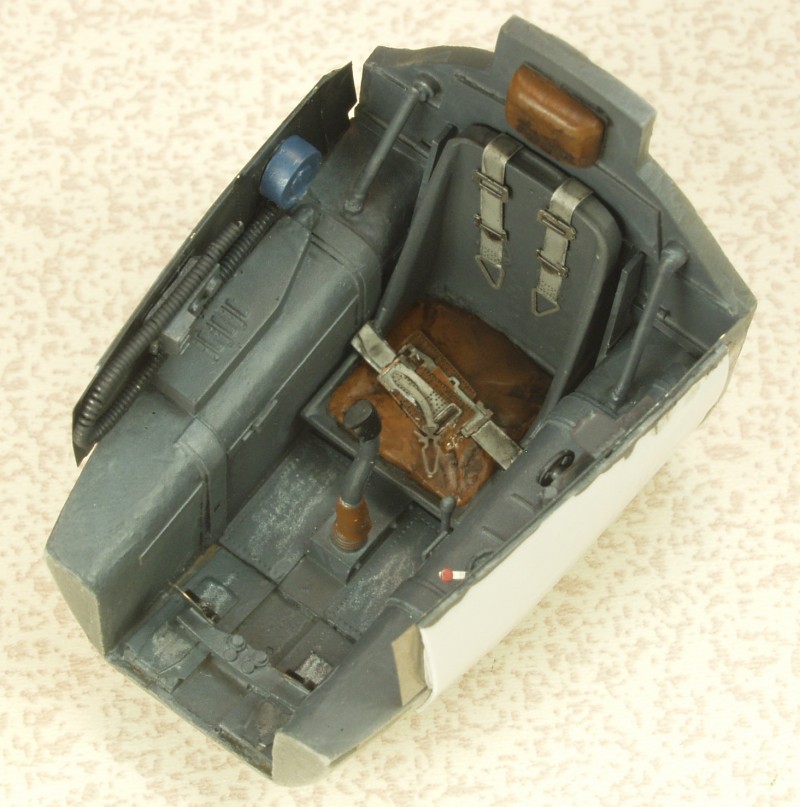
Build
Like
most aircraft the build
begins with the cockpit. This kit being rather old was a little sparse
on cockpit details so I decided to use the CMK set reviewed above. When
I test fit the main pit piece in the fuselage I found that the fit was
actually a little loose side to side and decided to add some .010"
thick styrene to each side to provide a firm mounting point for the PE
side panels. The placement of the tub was a little vague so I assembled
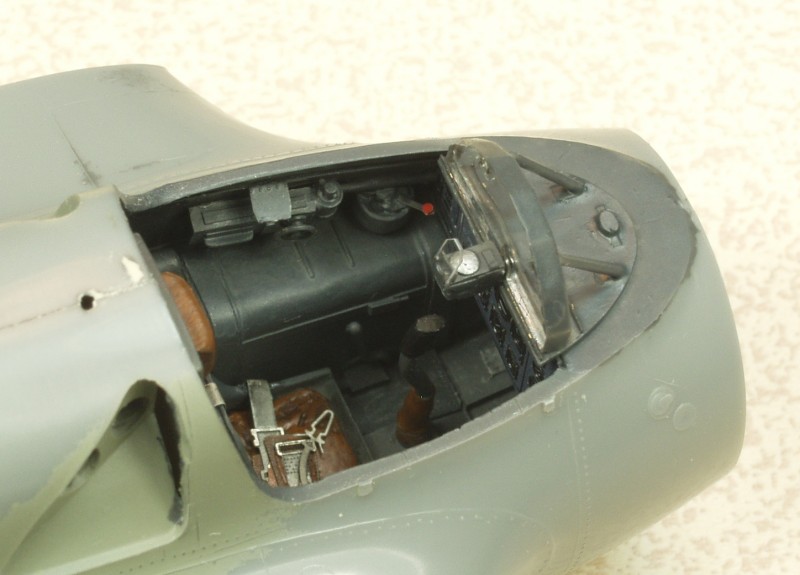
the kit part with the rear bulkhead to determine placement. The first
three photos below show the completed pit. All parts were included
except the oxygen hose which was fabricated from some fine solder and a
piece of copper wire. Unfortunately when I test fit the final assembly
in the fuselage I found that the side panels interfered with the
instrument panel. In the end I shortened the two side panels so they
ended just short of the instrument panel. Nothing was lost as the
portion forward of the panel would not be seen. It did require me to
reposition the oxygen hose.
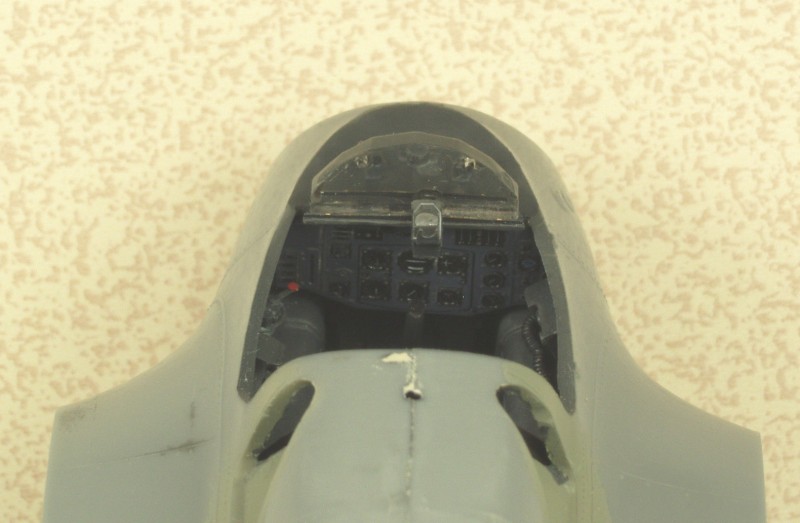
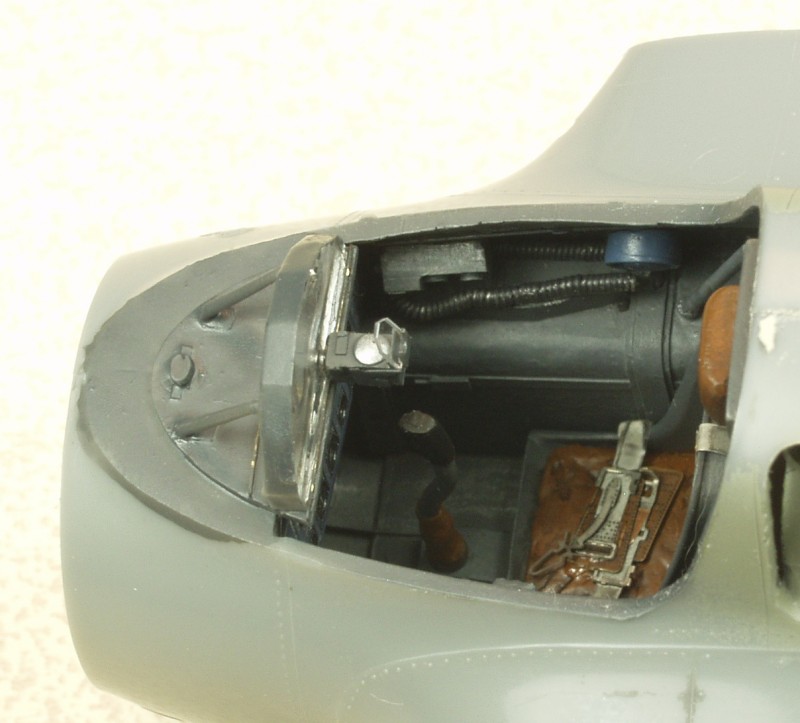
The
next three photos show
what can be seen of the pit once the fuselage has been assembled. It's
a very small space.
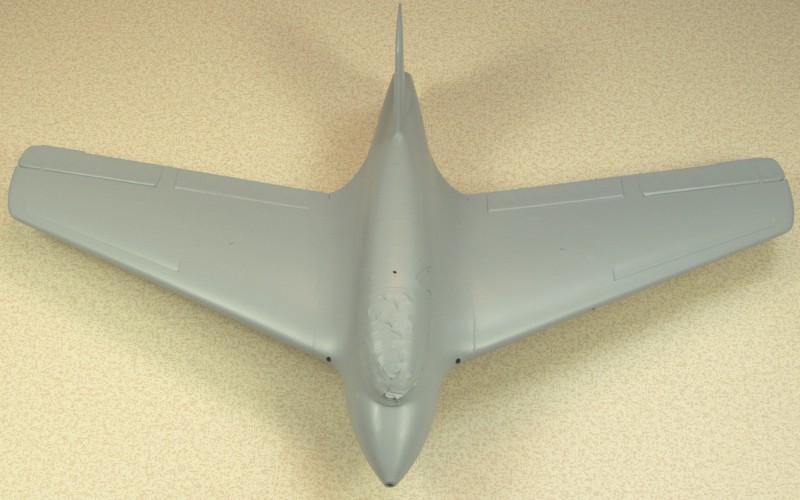
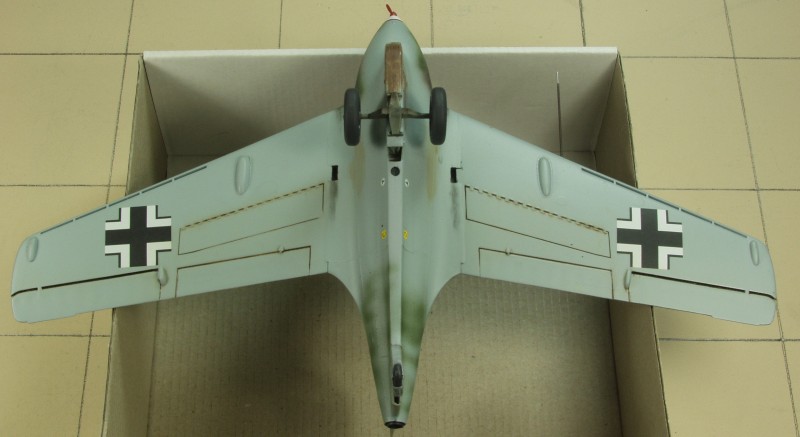
Primer applied. Mr. Surfacer 1000
Finish colors. White Ensign
Models RLM 80 and RLM 81 over Model Master RLM 76.
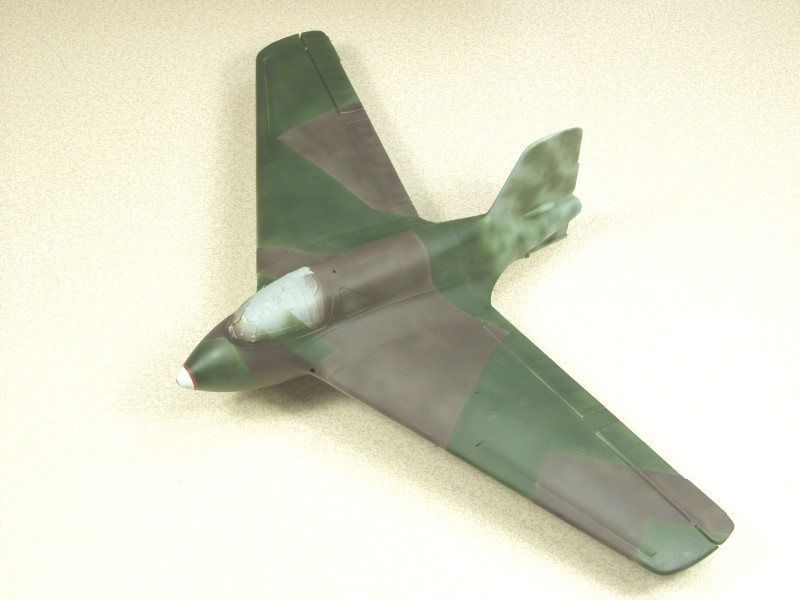
All finished.
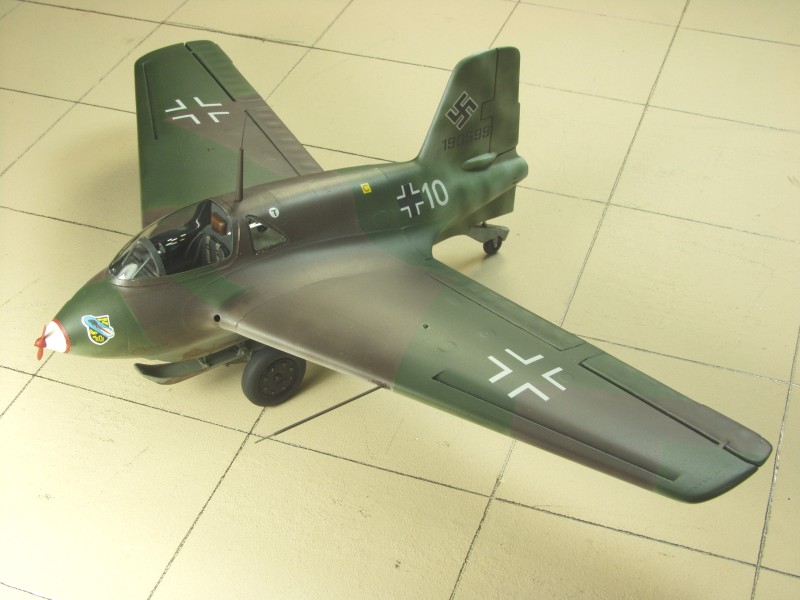
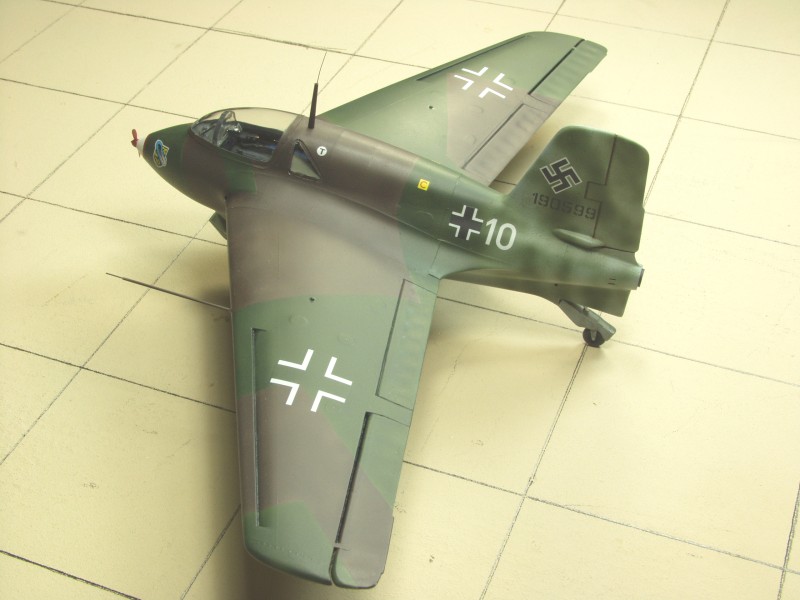
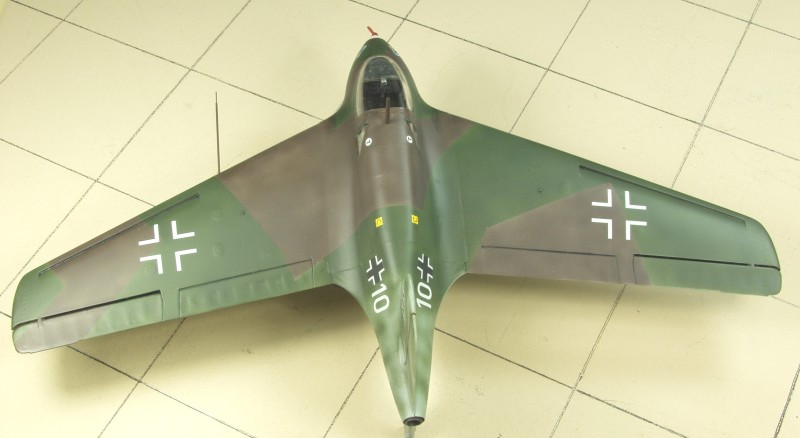
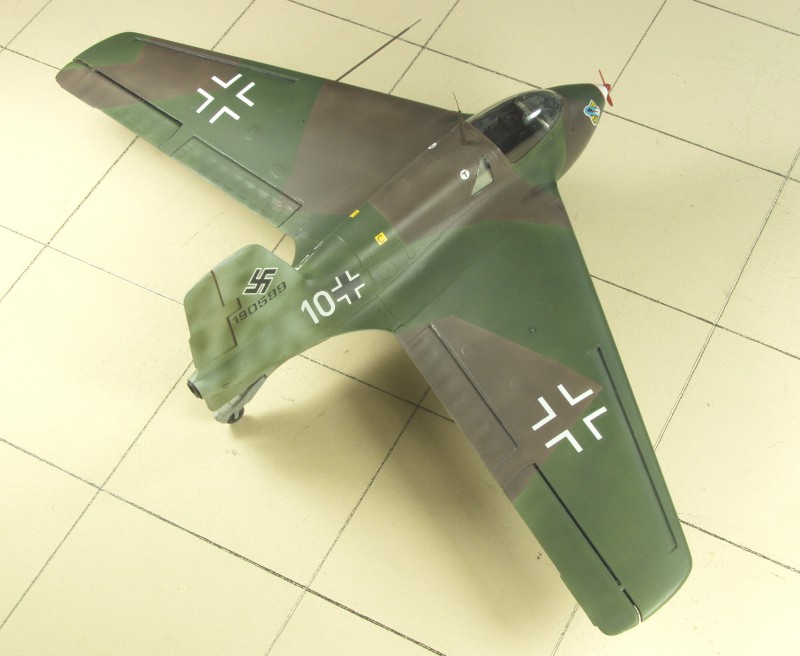
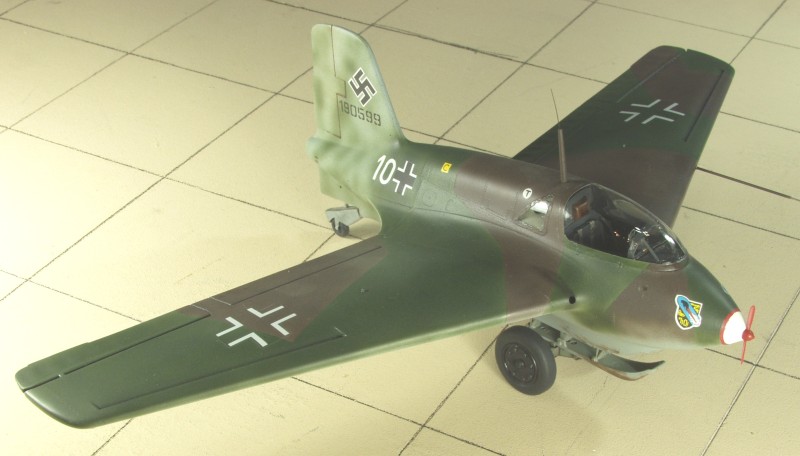
The marking were all Hasegawa supplied but the markings used were not
shown on their markings sheet. Markings represent an aircraft flown
operationally by 2 Staffel Jagdgeschwader 400 at Brandis in the winter
of 1944-45. The kit met my expectations as far as ease of assembly and
fit. Some of the detail such as the over done fabric effect on the
control surfaces were not up to current standards but not that hard to
fix with some filler and sanding. The after market cockpit was a big
improvement and was not an issue fit wise.
Updated
1/29/16