
He 162D

The Heinkel He 162 was unusual from the respect that only 74 days elapsed from the time the contract was signed till the first flight. Certainly a record not likely to broken. It was built in response to a call for a simplified aircraft on September 8, 1944. Although six other firms were asked to submit proposals, only Heinkel had the capacity due to the shut down of the He 177 program. Ten weeks after receiving the order the prototype made its first flight of 12 minutes. The only problem was the loss of the skin from a wheel cover due to glue failure. Unfortunately not enough attention was given to this problem and the prototype crashed four days later due to another glue failure, this time it was a wing leading edge. Full scale production began in January of 1945 with 100 aircraft planned for February. By wars end production was well underway at both above ground and under ground facilities. The He 162 had a fuselage made of Aluminum with steel fittings, the one piece wings were made of wood, The elevators were aluminum while the rudder, ailerons, rudder and landing flaps were made from beechwood. The aircraft was relatively free from problems, those that did exist were corrected by increasing the span of the elevators and rudder by 10%. The wingtips were drooped to reduce the rolling moment induced by side slip but this was later found to be unnecessary with a reduction of the wing's dihedral. The high fuselage mounted engine had the advantage of preventing foreign objects from be ingested while on the runway and left no scorch marks on the ground making dispersed airfields harder to spot. Its disadvantages included extremely poor aft view, the necessity of using an ejection seat and the possibility of having the engine end up on top of the pilot in case of a rough landing. Two gruppen were equipped with the aircraft, each receiving around 50 aircraft. Their first mission was flown on April 26 of 1945 and on May 4 one of them succeeded in shooting down a Typhoon. The rush to large scale production brought with it some inadequacies including speed restrictions for the engines. Fuel shortages prevented full usage and on May 8, 1945 the two groups handed over their aircraft to advancing British forces. To consider the aircraft a failure would be unfair for had the proper equipment, fuel and training been available they would have been operating a fully mature aircraft by August of 45. Post war test flights by Eric Brown, the premier British test pilot, brought about mostly praise for the flying characteristics of the airplane.
The D model of the He 162 was a progressive development of the basic airframe that was designed in parallel with the C model. They both utilized the B series fuselage and a Heinkel-Hirth 011A turbojet. The C model had wings that were swept at 38 degrees and a V type or butterfly tail that had been previously tested on the He 280. The wing had an anhedral portion at approximately two-thirds span. The D model was essentially the same but it was equipped with a swept forward wing. Wind tunnel testing had show that both the swept forward and swept back wings had about the same critical Mach number for a given angle but the swept forward wings eliminated the tip stall tenancy of swept back wings. Unfortunately it also required a very strong structure as the forward sweep causes the wing tips to be subjected to a twisting force. Both the C and D were envisaged as target defense interceptors and they were to be equipped with two 30 mm Mk 103 cannon on a special mount enabling them to tilt upwards allowing the guns to be fired upward into a target while flying under it. Neither of these models were built but when Heinkel's Schwechat facility was overrun by Allied forces a half completed prototype was found with a set of interchangeable swept back and swept forward wings.
The Kit
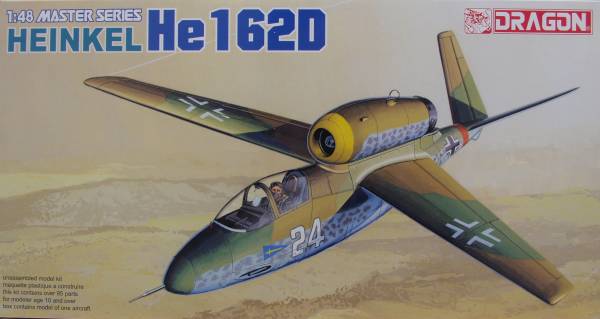
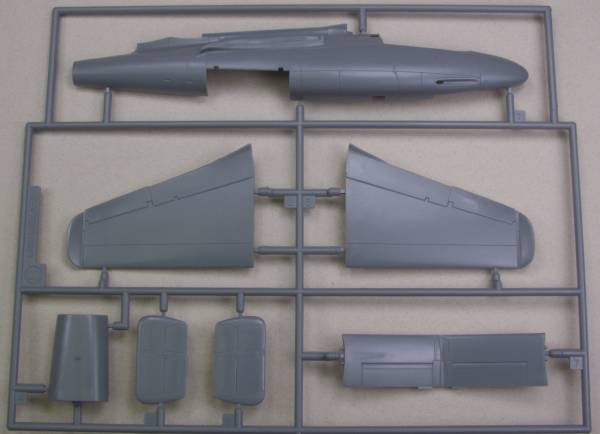
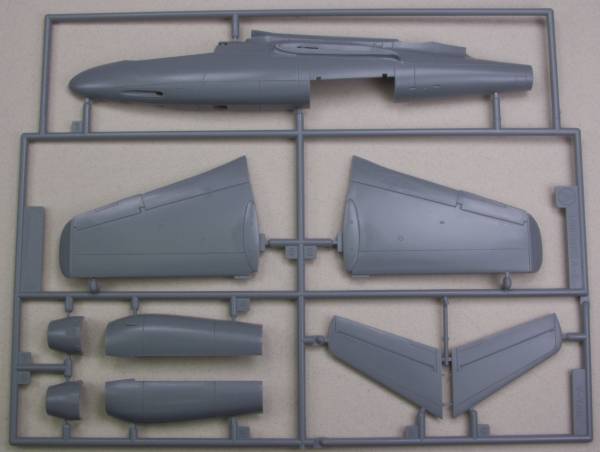
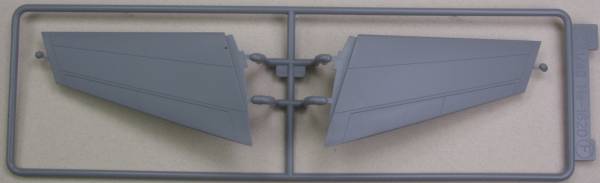
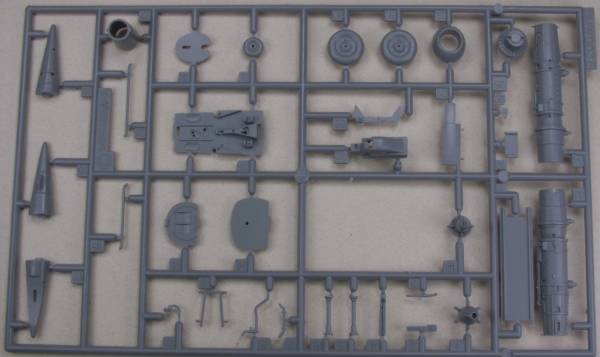
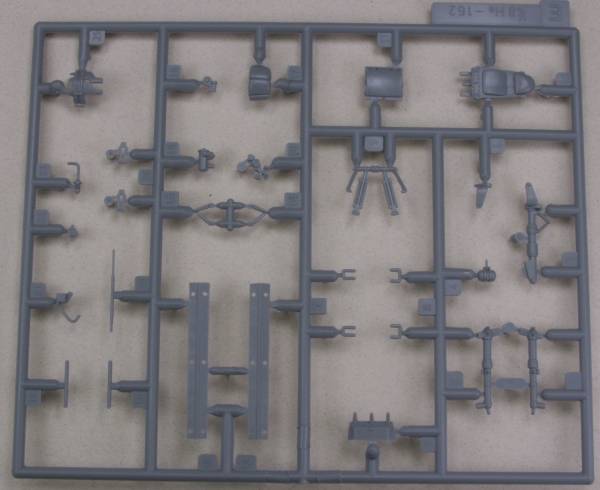
This kit has its origins in the Trimaster kit that was obtained by DML when Trimaster folded. The kit is essentially the same except for a new sprue that contains the swept wings and the photoetch hinges that were originally included in the Trimaster kit that allows the engine compartment to be opened for viewing. The "V" tail parts were included in the original kit. The balance of the photoetch was the same as included in Dragons original release. The kit comes in a two part box of moderately sturdy cardboard with a nice rendition of the plane flying over a rather non-descript landscape. The parts are supplied on six sprues in a medium gray in color and are bagged together. There is one sprue of clear parts that are bagged separately as are the decals and photoetch. The surface finish is smooth for the most part. I did find a few small areas that were rough and the parts had a light amount of flash on them. The panel lines are recessed, fine and consistent. The new sprue with the forward swept wings has a more frosted appearance and under magnification had a fine grain look to it, but it felt smooth to the touch and should look OK with a coat of paint. The new wings are a single piece mold as opposed to top and bottom halves like the original kit wings. Since both sets of wings are included one could make either the A or D version from this kit. I did not find any sink marks on the parts but there were some light ejector pin marks inside the engine covers and landing gear doors. Most of the small parts had a parting line that will need to be addressed but a relatively small amount of flash. The engine assembly is nicely done and with the addition of some piping and wiring could be made into a real jewel. The clear parts are nice and clear and reasonably thin and should look great with a coat of Future. Altogether there are 81 gray parts and 4 clear parts for a total of 85 in plastic and 22 photoetch parts. Note that not all of the plastic parts will be used. Their are no belts or harness supplied. Photos of the sprues are shown below...
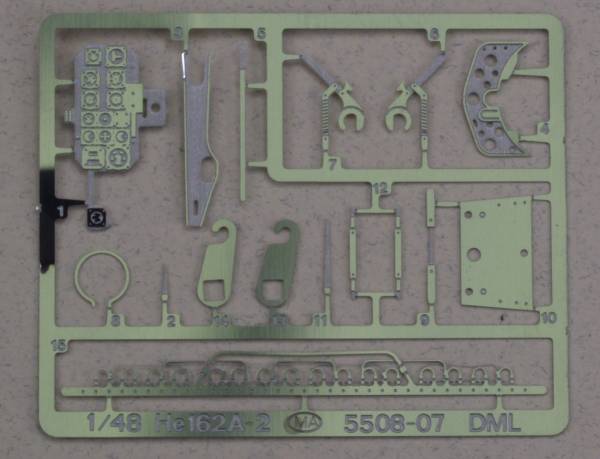
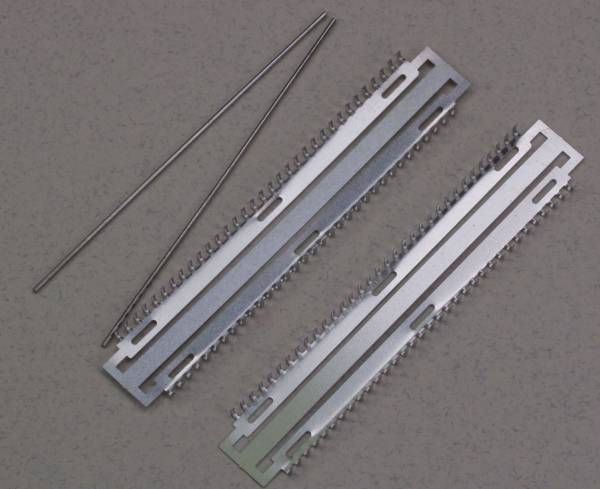
The next two photos show the photoetch parts.
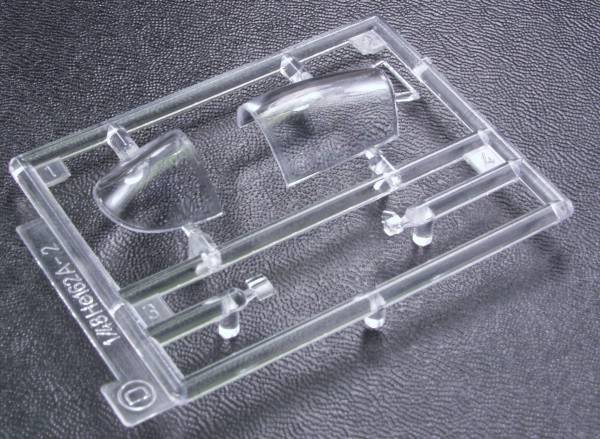
The clear parts
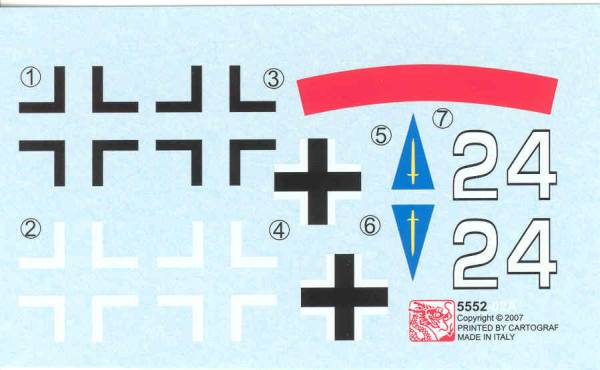
The decals are a medium thickness and well registered and the markings fall into the Luft 46 category, no stencil detail is supplied.
The instructions are printed on a page roughly 10" x 21" which is trifolded providing six pages, a sprue and photoetch map is supplied, three pages of assembly instructions and one page with finishing and marking instructions. A color chart shows the colors by name and Model Master number as well as Mr. Color but the Mr. Color is in Chinese so is not very useful unless you can read it.
After Market Goodies
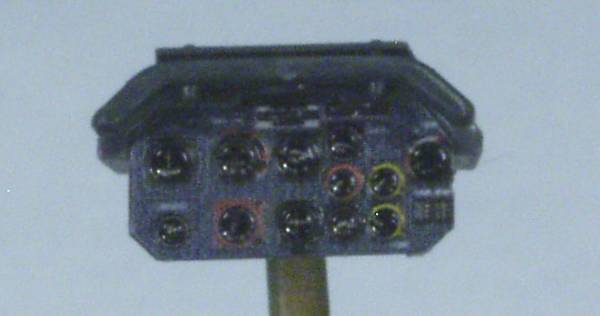
Since the included photoetch includes an instrument panel that has only etched detail rather than the type with a clear sheet with the instrument detail on it I have decided to use the after market set from Eduard [FE393] as I am just not good at painting raised detail on instrument panels. See below.

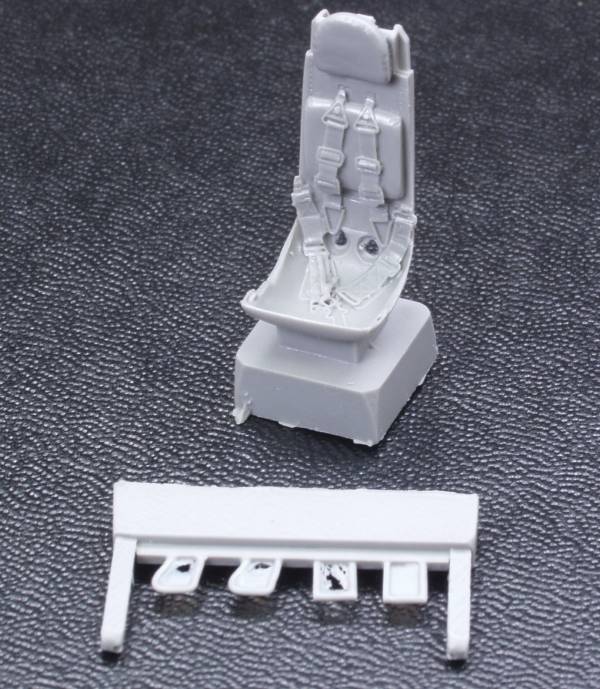
I also thought the kit ejection seat was a lame so I went with the Quickboost [48025] seat. It is molded in a light gray resin and features finely molded harness and belt. The detail was crisp with no pin holes or short shots. See photo below.
Conclusions
The Dragon kit,
while not as easy to build as the
newer Tamiya release, is still quite accurate and detailed. Like most
Dragon kits and those descended from Trimaster there are some minor fit
issues but this is one of the better offerings in that respect.
Prior to the
release of this kit the only way to build a D model was to use an after
market conversion.
Recommended
for modelers at all levels except beginners.
Links to kit build or reviews
A kit review / build can be found here and here. Note: at this link you will need to scroll down the list on the left.
References
"Warplanes of the Third Reich" by William Green
Back to the Post WWII Jets page
The Build
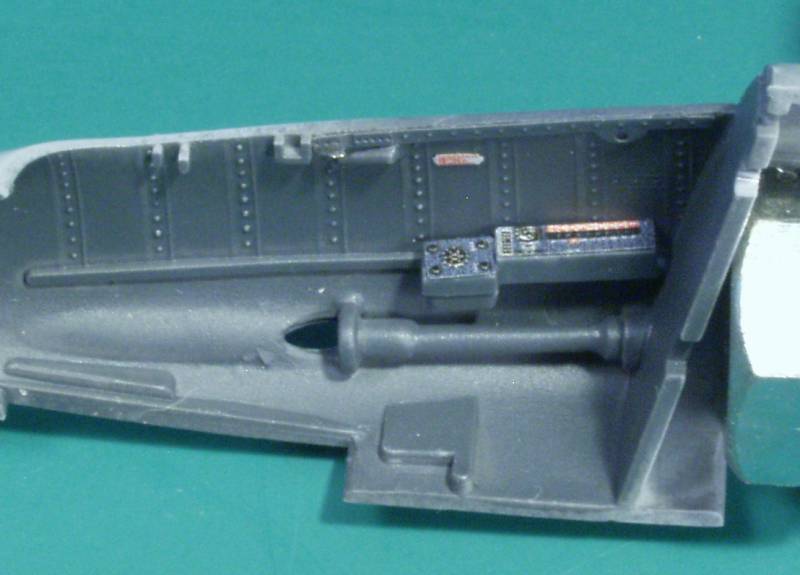
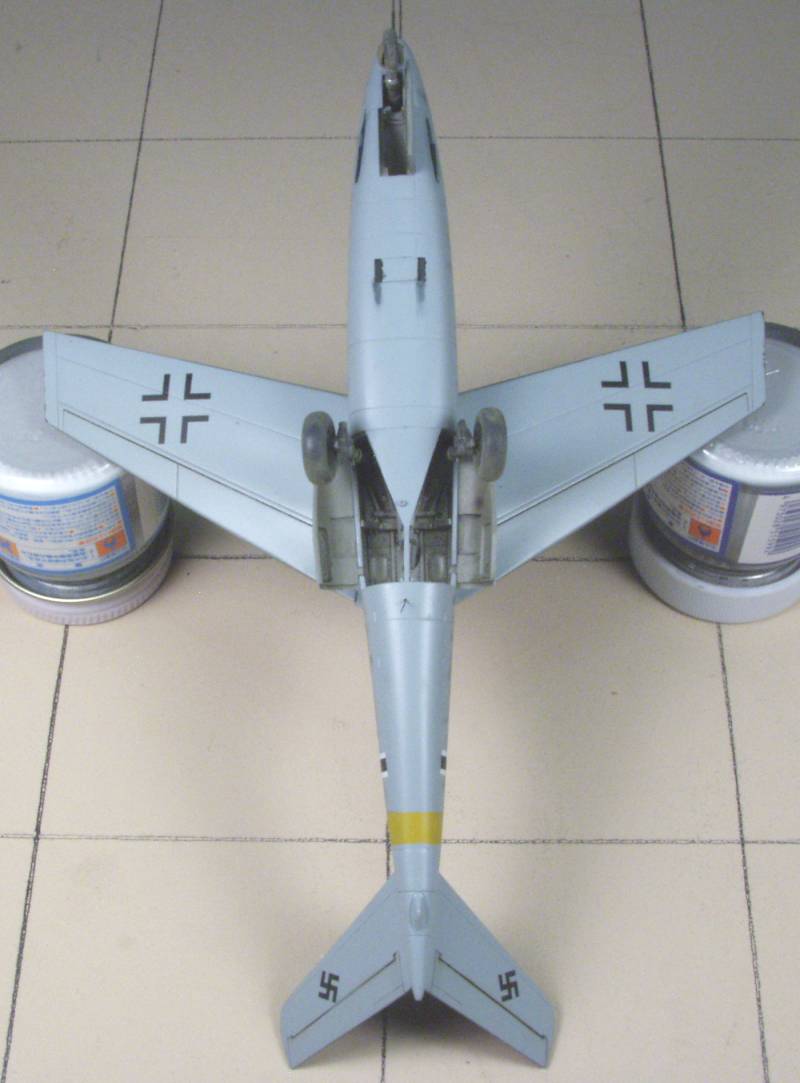
Normally one starts with the cockpit but on this kit I started with the main gear bay as I wanted to be able to determine how much if any weight would be needed to keep the nose down. The main gear bay is actually more detailed than the cockpit on this kit, in the photo below there is still more to be added after it gets install in the fuselage
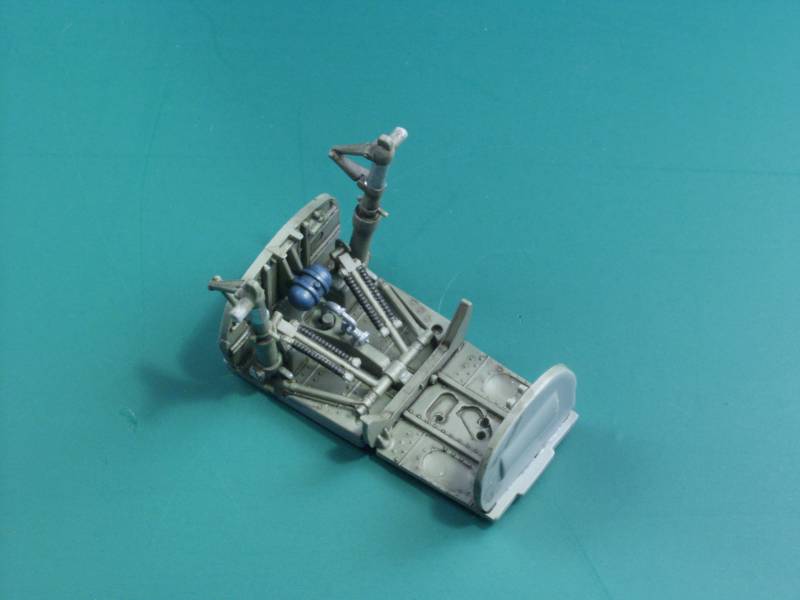
As it turned out with the solid swept forward wing and the lighter "V" tail I think I could have gotten by without any weight but I added the amount suggested on the instructions anyway behind the cockpit.
The resin seat painted up nice but there were no locaters for the actuator handles or foot stirrups and fitting them was a test of patience.

As it turned out the seat was a snug fit and I ended up removing the stirrups to get it to fit. The PE used was minimal, some side panel detail and the instrument panel.
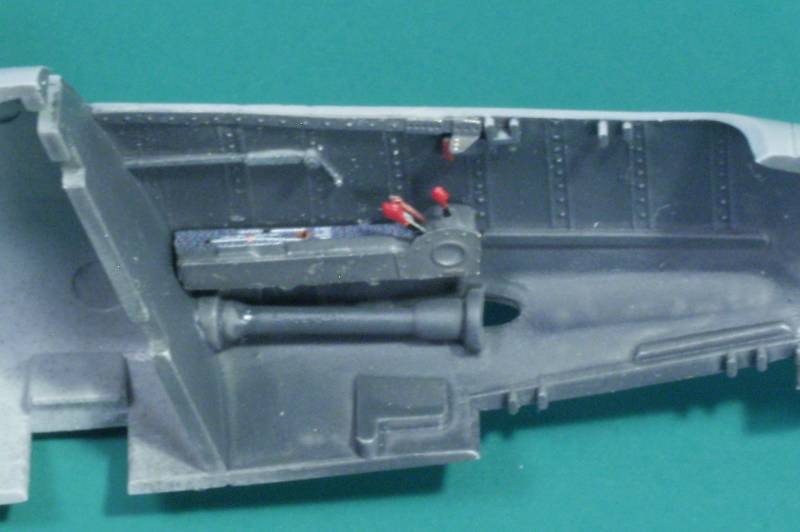
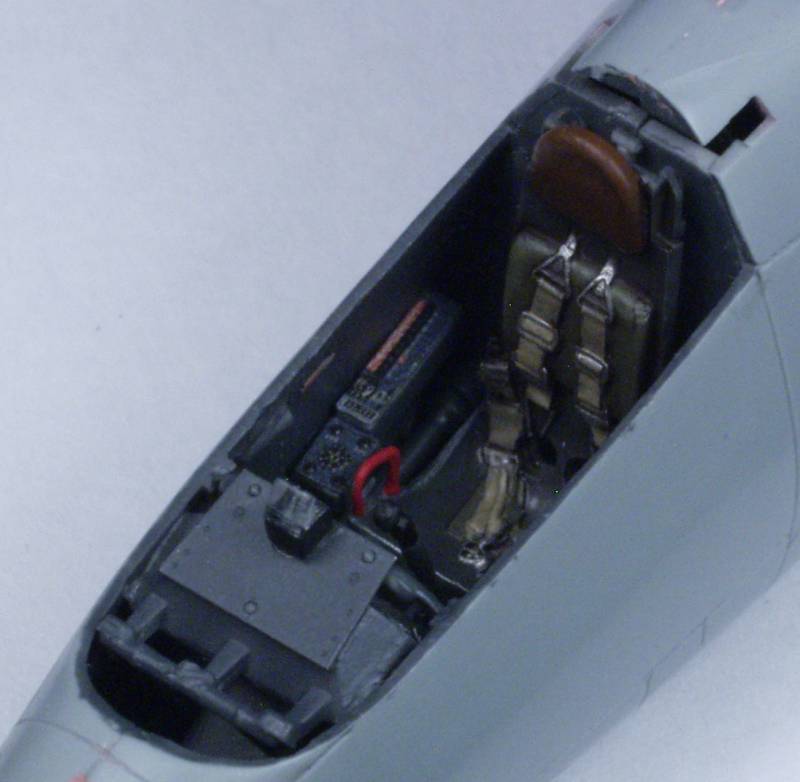
The real aircraft was fairly spartan inside but there is enough to make it look busy anyway.

The kit comes with a fairly well detailed engine and PE hinges that would allow the engine housing to be opened however I didn't want to deal with this and prefer to keep things buttoned up. For this the kit supplies some alternate parts. I found these to be rather fiddly to assemble and the end result required a bit of sanding an filling to make it all look right. I'm not sure whether using the engine would have changed this or not. The engine cover halves glued to a bottom piece used in place of the engine and there was not much in the way of alignment aids, just a shallow ridge on the bottom part and holding them together while trying to glue proved a test. I finally taped the housing pieces together until I got them glued to the bottom piece.
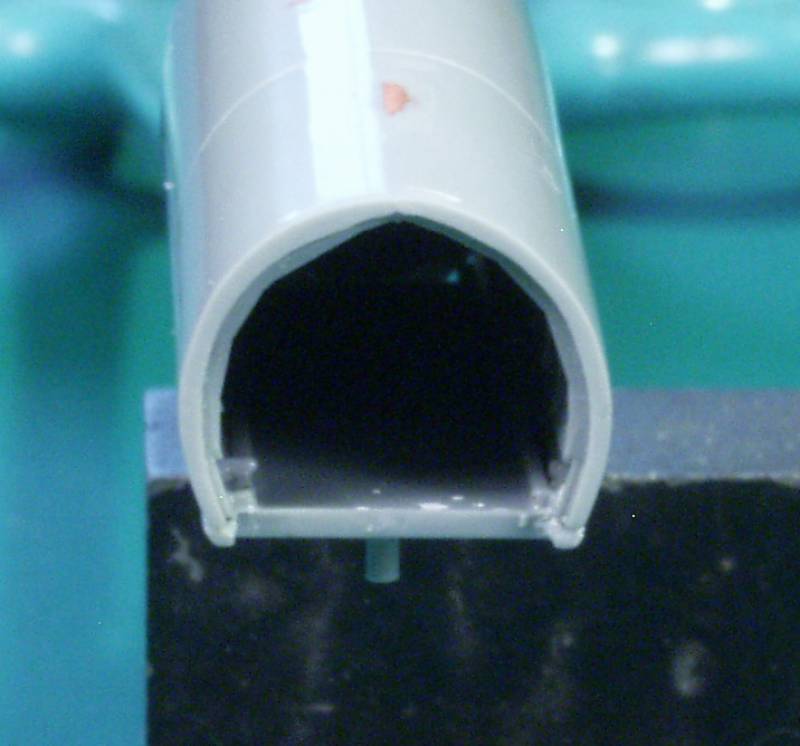
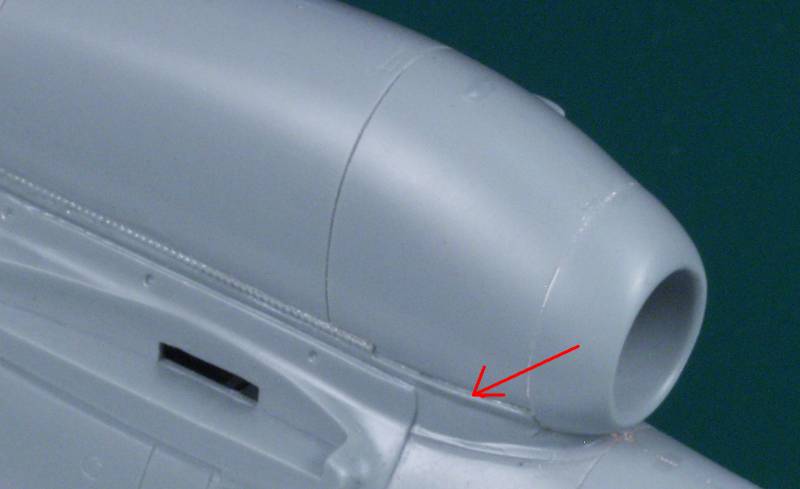
As it tuned out the forward part came out narrower than the engine intake which I had hoped I could leave off till later to save making but it was not to be. It also left a nasty ridge that would need to be dealt with.
Most everything else fit pretty well, the point where the forward swept wing met the straight wing root left a bit to be desired...
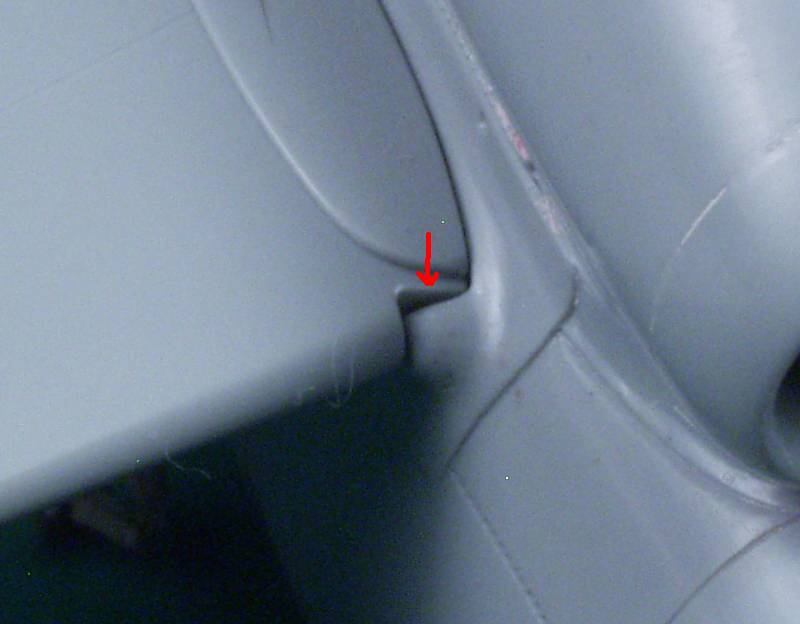
But as it turned out this was not that hard to fix with a little body putty. I was concerned about the "V" tails as the holes for mounting them were rather large and there wasn't much in the way of guidance for the mounting angle...
But they seemed to fit OK by positioning them for the least gap between the tail and fuselage.
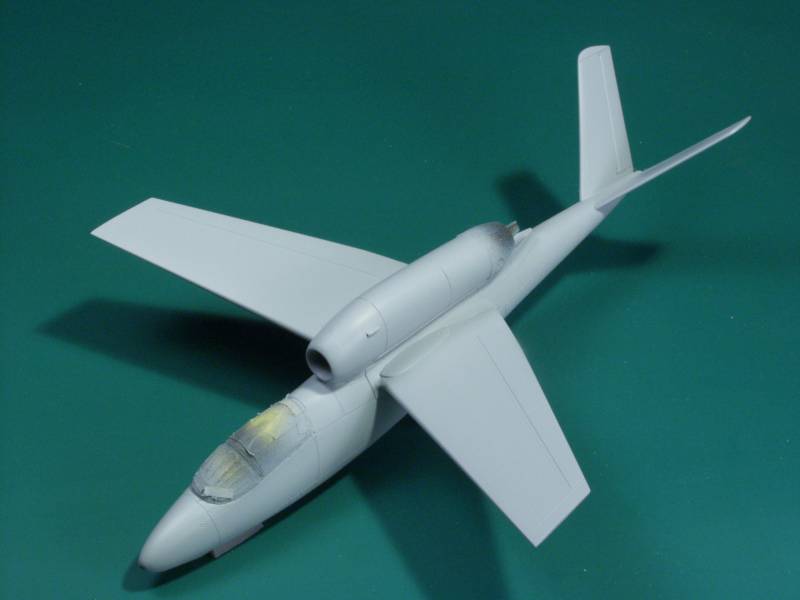
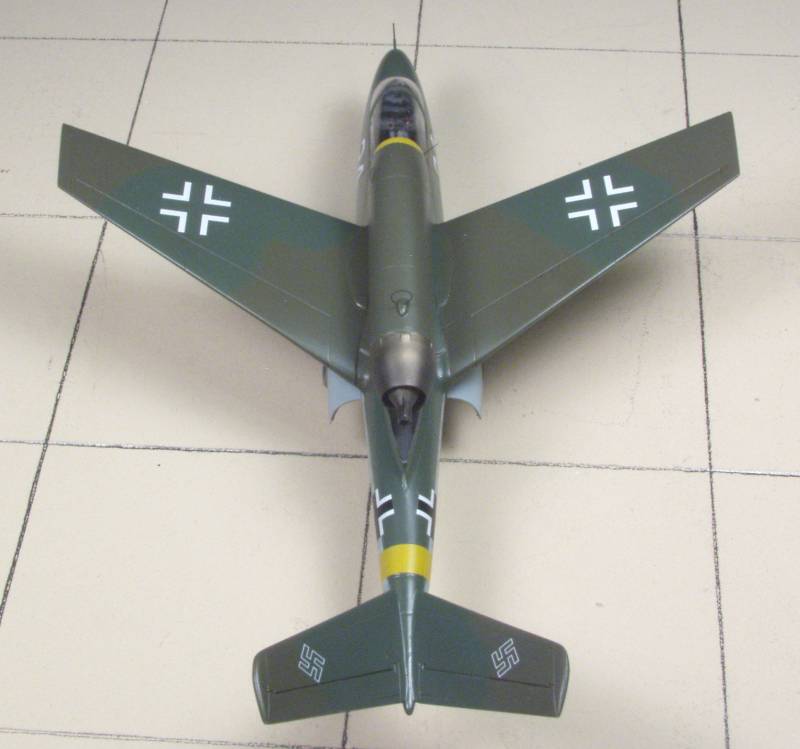
Shown above with primer on and below with colors on...
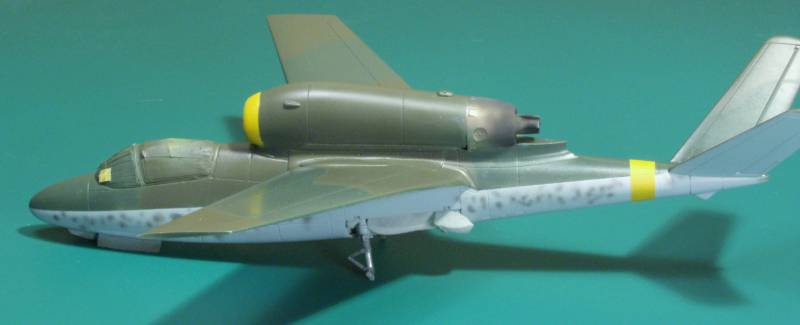
And again with the decals on. The kit supplied decals are from Cartograph and were their usual high quality going on well and only requiring a bit of Microsol here and there...
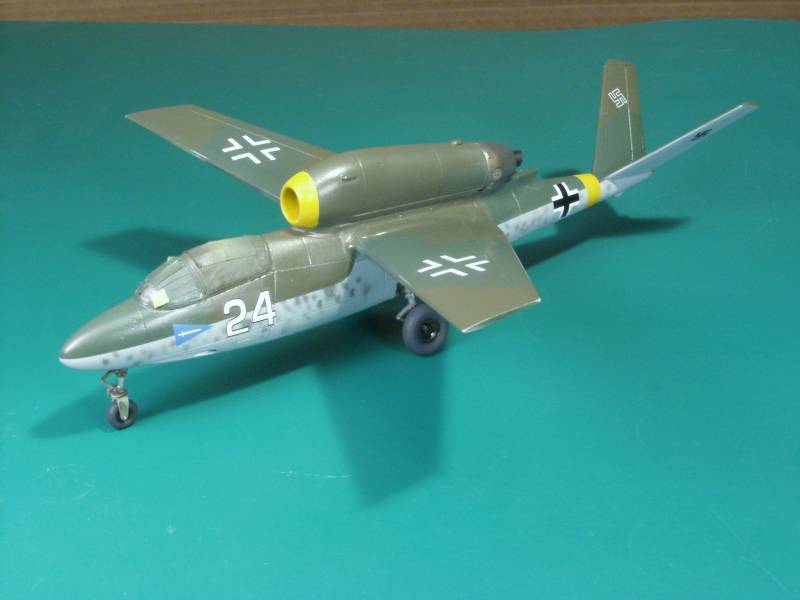
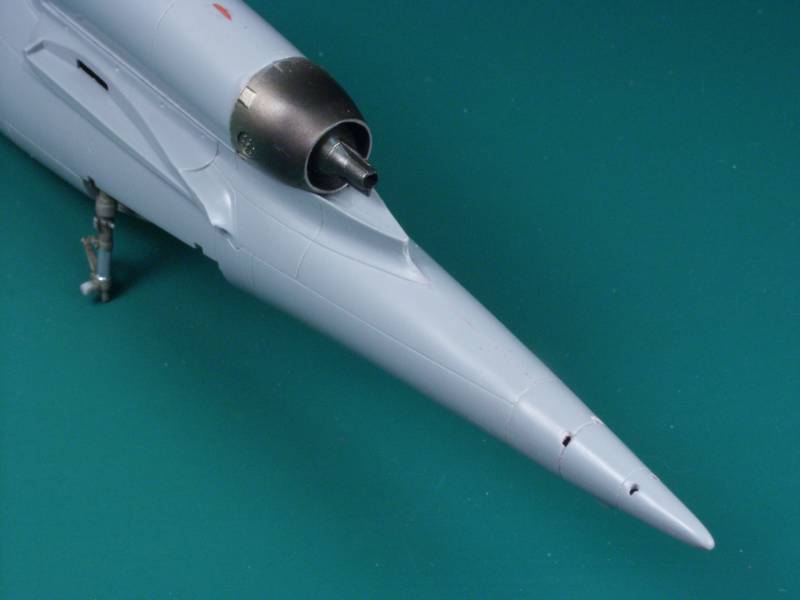
I gave the kit a final finish in semi gloss and added only a minimal amount of weathering. The Cannons and pitot tube were done with hypo tubing and a whip antenna was added in back of the cockpit using a black cats whisker...
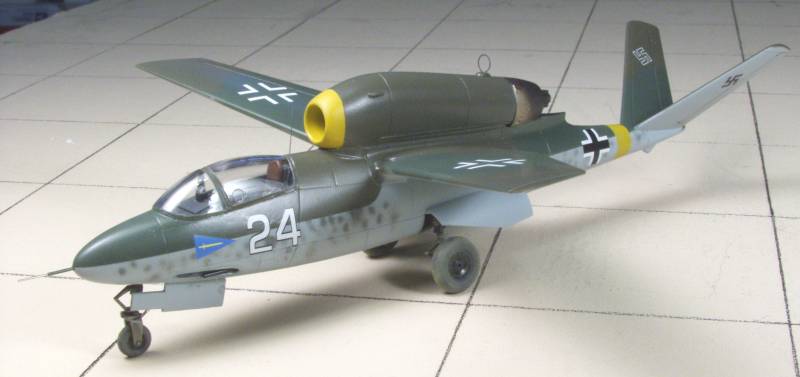
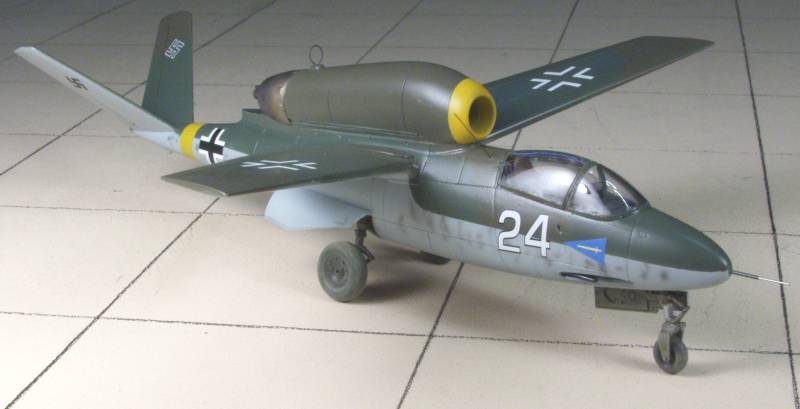
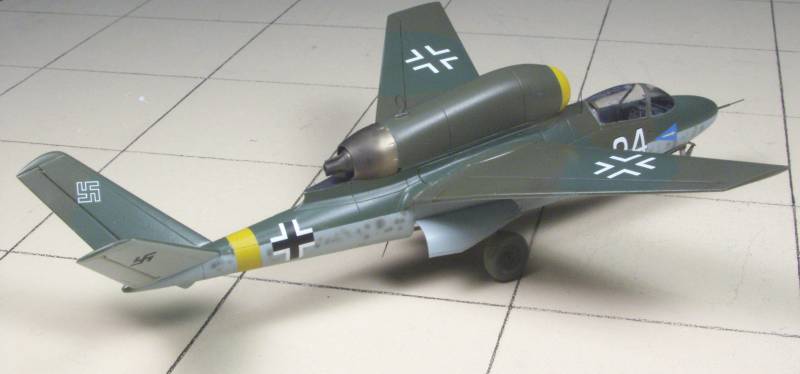

All in all not a bad kit, it needs to be built like a limited run kit doing a lot of test fitting before committing to glue but it builds up into a nice model.
Back to the Post WWII Jets page
Last updated 3/14/14