
He 162A-2
The Heinkel He 162 was unusual from the respect that only 74 days elapsed from the time the contract was signed till the first flight. Certainly a record not likely to broken. It was built in response to a call for a simplified aircraft on September 8, 1944. Although six other firms were asked to submit proposals, only Heinkel had the capacity due to the shut down of the He 177 program. Ten weeks after receiving the order the prototype made its first flight of 12 minutes. The only problem was the loss of the skin from a wheel cover due to glue failure. Unfortunately not enough attention was given to this problem and the prototype crashed four days later due to another glue failure, this time it was a wing leading edge.
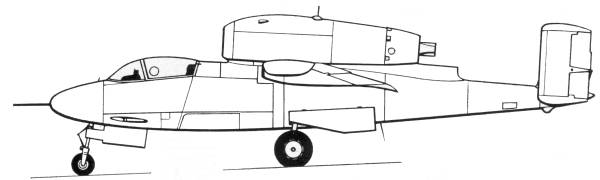
Full scale production began in January of 1945 with 100 aircraft planned for February. By wars end production was well underway at both above ground and under ground facilities. The He 162 had a fuselage made of Aluminum with steel fittings, the one piece wings were made of wood, The elevators were aluminum while the rudder, ailerons, rudder and landing flaps were made from beechwood. The aircraft was relatively free from problems, those that did exist were corrected by increasing the span of the elevators and rudder by 10%. The wingtips were drooped to reduce the rolling moment induced by side slip but this was later found to be unnecessary with a reduction of the wing's dihedral. The high fuselage mounted engine had the advantage of preventing foreign objects from be ingested while on the runway and left no scorch marks on the ground making dispersed airfields harder to spot. Its disadvantages included extremely poor aft view, the necessity of using an ejection seat and the possibility of having the engine end up on top of the pilot in case of a rough landing.
Two gruppen were equipped with the aircraft, each receiving around 50 aircraft. Their first mission was flown on April 26 of 1945 and on May 4 one of them succeeded in shooting down a Typhoon. The rush to large scale production brought with it some inadequacies including speed restrictions for the engines. Fuel shortages prevented full usage and on May 8, 1945 the two groups handed over their aircraft to advancing British forces. To consider the aircraft a failure would be unfair for had the proper equipment, fuel and training been available they would have been operating a fully mature aircraft by August of 45. Post war test flights by Eric Brown, the premier British test pilot brought about mostly praise for the flying characteristics of the airplane.
The Kit
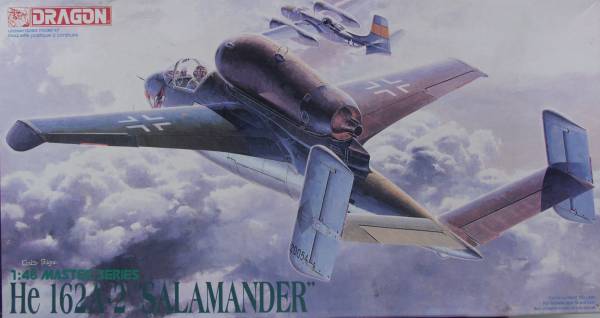
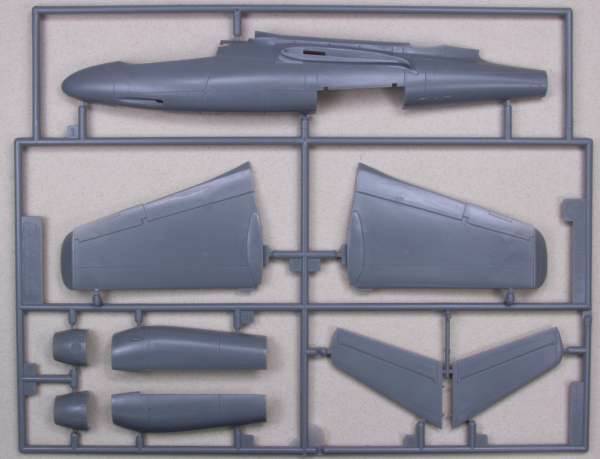
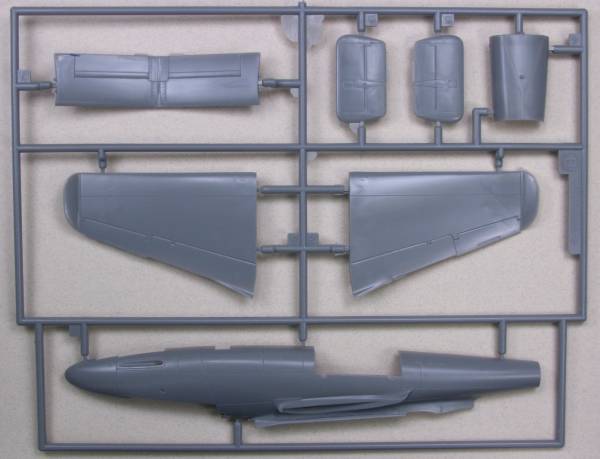
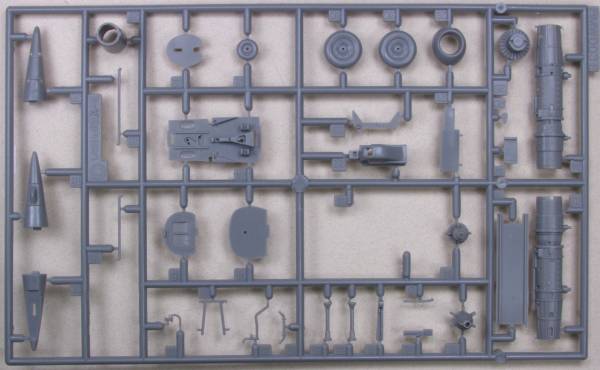
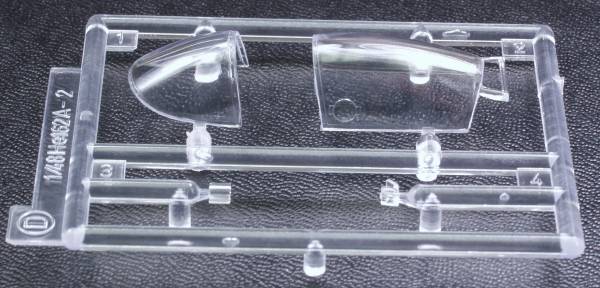
The Dragon kit comes in a large (for the size of the kit) two part top open box with nice artwork on the top. Inside the box are three bags of parts molded in gray. The parts feature recessed panel lines and fastener detail. The finish is smooth and exhibit a light amount of flash on some parts. I found no surface defects worth mentioning on the main airframe parts. Some of the smaller parts had parting lines to remove and the only ejector pin marks that will show are inside the main gear doors, which are molded closed and need to cut to display open. All of the control surfaces are fixed. The kit comes with a complete engine and the cowling could be opened as it has structural detail inside, however there are ejector pin marks there is you do. The cockpit is nicely detail out of the box with a photoetch instrument panel. The kit contains extra parts in the form of a "V" tail. This was to be used on the "D" model aircraft and along with forward swept wings and get used on the "D" model kit. This kit was originally a Trimaster kit. The kit contains 71 parts in gray. See photos below.

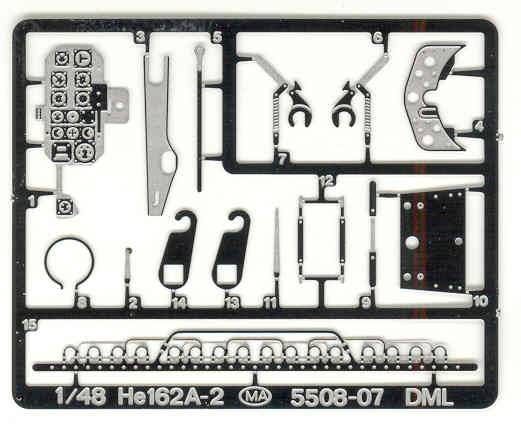
The kit comes with a small fret of photoetch to dress things up a bit including the cockpit and the engine. See photo below.
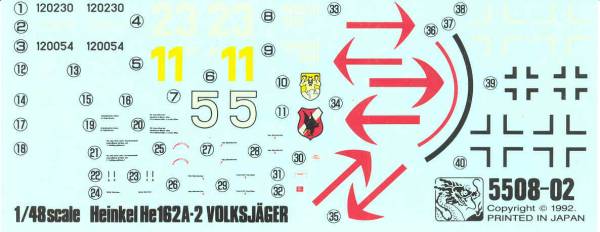
The instructions are printed on a page roughly 10" x 28 1/2" folded into quarters providing eight panels. The first panel has history and specifications in multiple languages. The second panel has the usual warnings, assembly icon definitions, a color chart calling out the colors by name and number for Sangyo aqueous, Mr. Color and Italeri paint numbers in multiple languages and the first assembly step. The next three panels are assembly steps. The next two are painting and marking instructions and the last panel has a parts map and decal installation method in multiple languages.
After Market Goodies
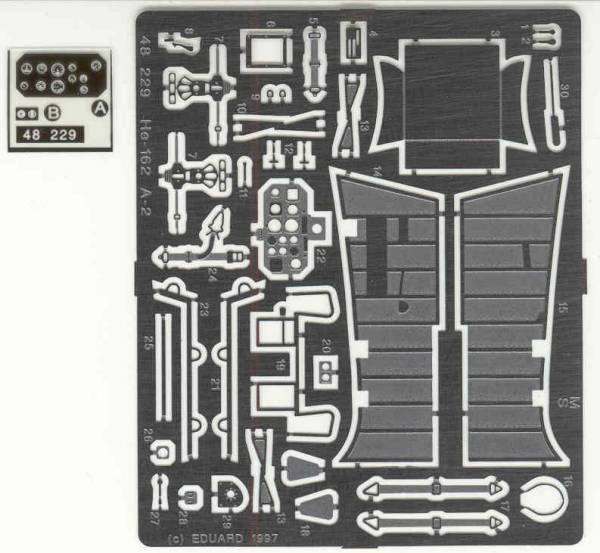
I decided I wanted a bit more detail on mine so I went with the Eduard photoetch set [48229]. See photo below.
If that wasn't enough I picked up the colorized Eduard zoom set [FE393] because I hate painting instrument panels. See photo.

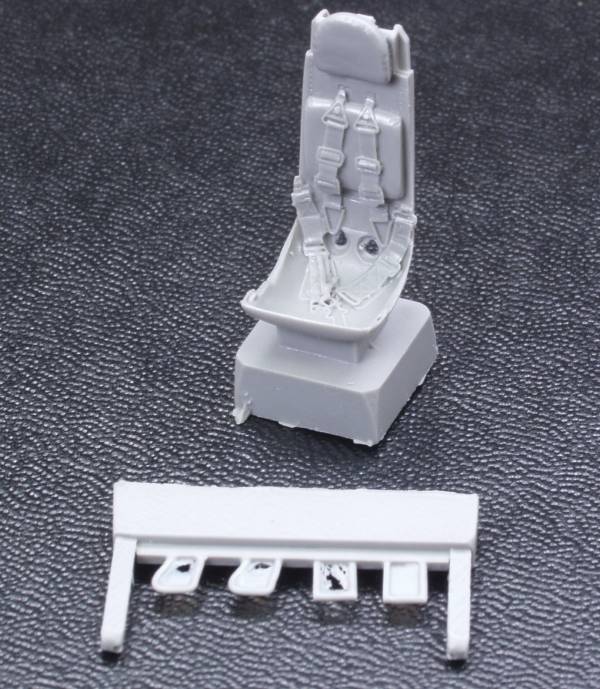
I also thought the kit ejection seat was a lame so I went with the Quickboost [48025] seat. It is molded in a light gray resin and features finely molded harness and belt. The detail was crisp with no pin holes or short shots. See photo below.
Conclusions
The Dragon kit, while not as easy to build as the newer Tamiya release, is still quite accurate and detailed. Like most Dragon kits and those descended from Trimaster there are some minor fit issues but this is one of the better offerings in that respect. Recommended for modelers at all levels except beginners.
Links to kit build or reviews
A kit review / build can be found here.
References
"The First Jet Aircraft" by Wolfgang Wagner
Updated 2/13/08