
Hs 129B-2
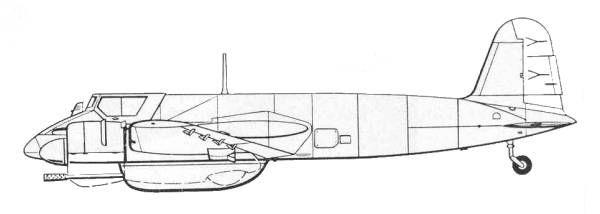
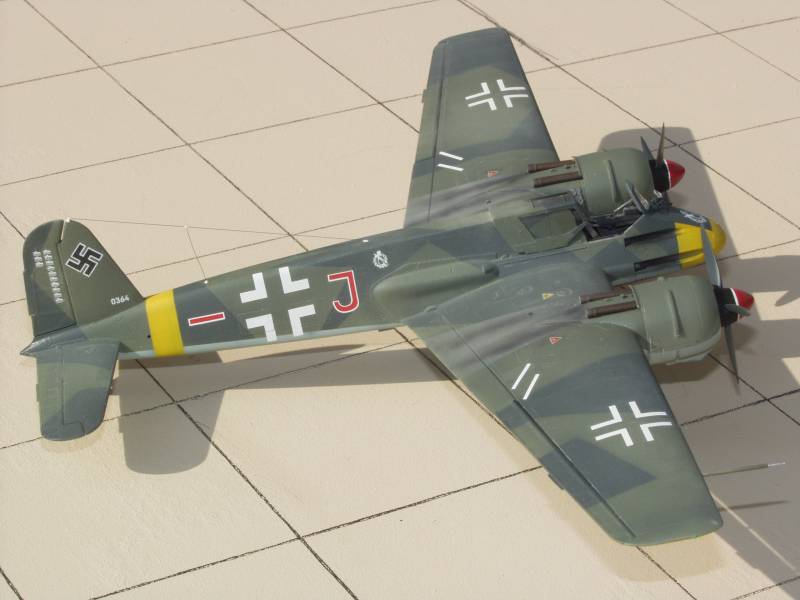
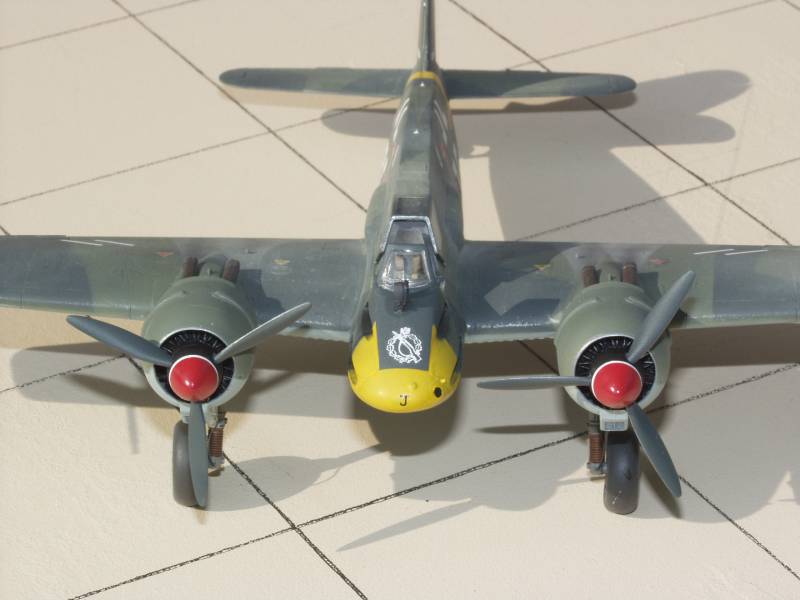
The Henschel Hs 129 was the eventual choice of the RLM for their issued requirement for a Schlachtflugzeug or close support aircraft. The other contenders, Blohm und Voss and Focke-Wulf were two seat airplanes based on already existing designs (Bv 141 and the Fw 189). The initial variant of the 129, the A-0 version was powered by two Argus 410A engines, same as the one used on the Fw -189 as they were the only low powered engines available at the time of the design. The prototype flew in the Spring of 1939. From the outset the plane was seriously underpowered even without weapons and pilots complained about the inadequate view from the cockpit. With the defeat of France the Gnome- Rhone small diameter 14 cylinder radial engines became available and were mated to the Hs 129. In spite on being almost twice as heavy as the Argus engines, the conversion presented no insurmountable problems and they markedly improved the performance. The Gnome- Rhone powered version was put into production as the Hs 129B and included a more extensively glazed armored cockpit canopy and other improvements. Its standard armament included 2 MG 151 20mm cannon and 2 MG 17 7.9mm machine guns. The aircraft had a very cramped cockpit as it was designed to provide as small of target as possible from the front. As a result of this some of the engine related gauges were located in the inner sides of the engine cowling and the gun sight was located outside the windscreen. Besides the standard armament, the B-2 could carry a variety of external packages that were designed to carry numerous antitank guns. These included the MK 101 and 103 30mm antitank cannon and the BK 3,7 37mm cannon. The Gnome-Rhone engines were the planes Achilles heel as they tended to be unreliable.
The Kit
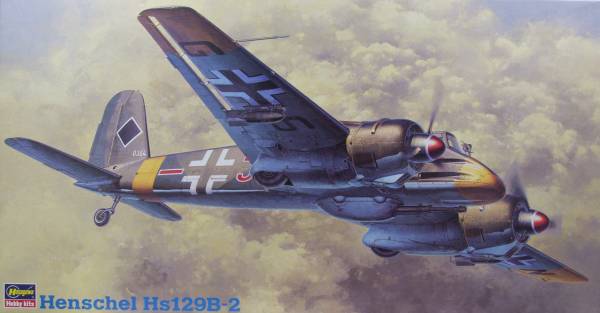
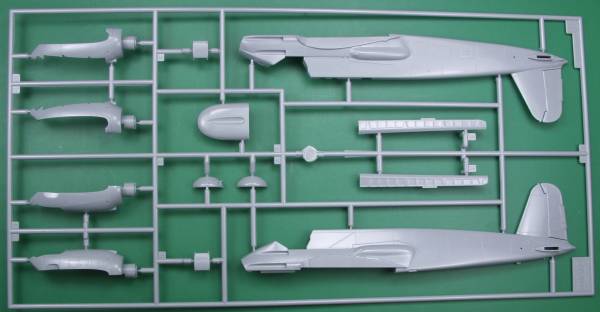
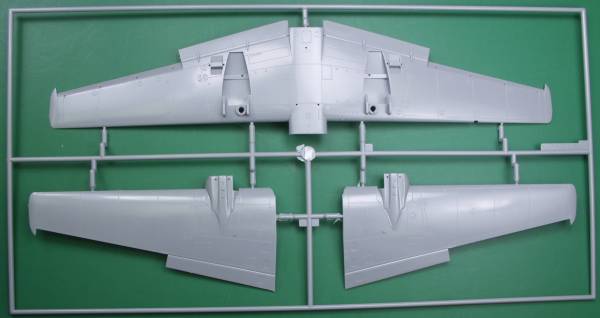
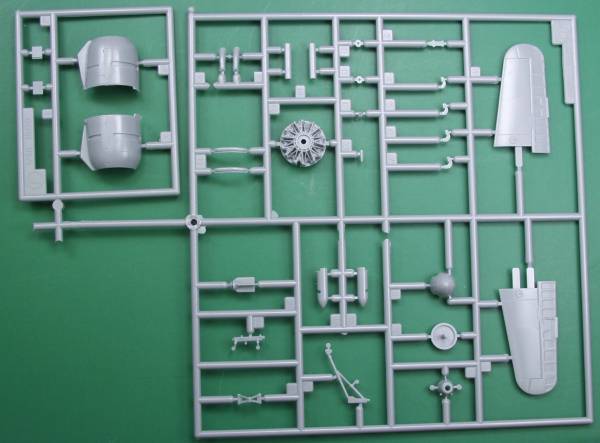
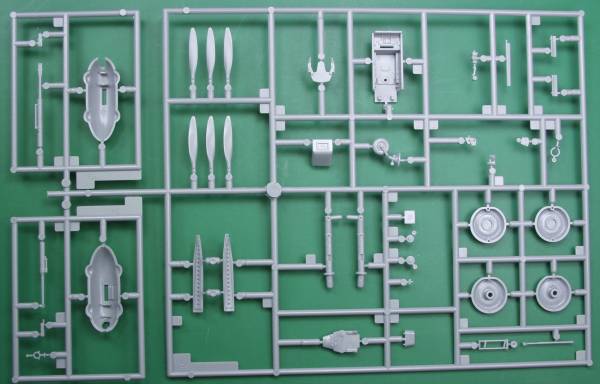
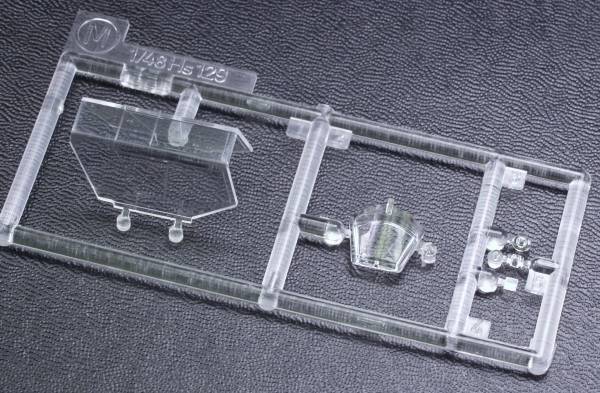
The Hasegawa kit comes in a sturdy top open two part box with nice artwork on the top. Inside are two bags, one with all the parts except the clear parts and a second with the decals and clear parts. The parts are molded in a medium gray color and have a smooth glossy finish with recessed panel lines, rivets and fastener detail. Hinge detail has some raised surfaces which looks excellent. The parts are virtually flash free and the smaller parts have a minimal amount of parting line detail to clean up. There are a few pesky ejector pin marks on struts and a few other places but most won't be seen and those that are are light. The ailerons are separate parts but all the other control surfaces are fixed. The fabric detail on them seems a bit over done to me. Although molded as one piece the engines are nicely rendered and should look great painted up. The cockpit has a fair amount of detail but most of it won't be seen through the rather small canopy. The instrument panel and the instruments on the engine nacelles have raised dial detail and decals are provided to use over them if desired. I'm not sure why kit makers seem compelled to give us propellers in pieces but at least these have pins to align the blades to keep them at a uniform angle and this is important as the engines rotated in opposite directions to reduce the torque effect. The kit comes with both Mk 101 and Mk 103 30mm cannons for under the fuselage and two bombs with racks for under wing. Altogether there are 116 parts molded in gray, quite a few for a plane this small. The clear parts are both thin and clear with well defined frame lines. There are a total of 5 clear parts for a grand total of 121 parts. See below, note duplicate sprues not shown.
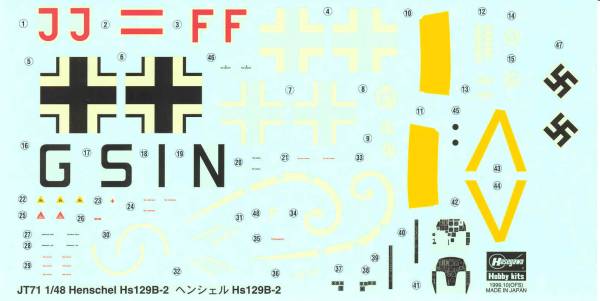
The decals are are thin and opaque and are well registered. Markings are provided for two aircraft and a reasonable amount of stenciling is provided as are swastikas. Mine had yellowed some and I may use some after market decals when the time comes. See below.
The instructions are printed on a 10" x 28 1/2" sheet folded to form eight pages. Page one includes history and specifications in Japanese and English. The next three pages have assembly instructions. There is one page with a parts map and color chart and two pages of painting and markings instructions. The last page has decaling instructions and the usual safety warnings.
After Market Goodies
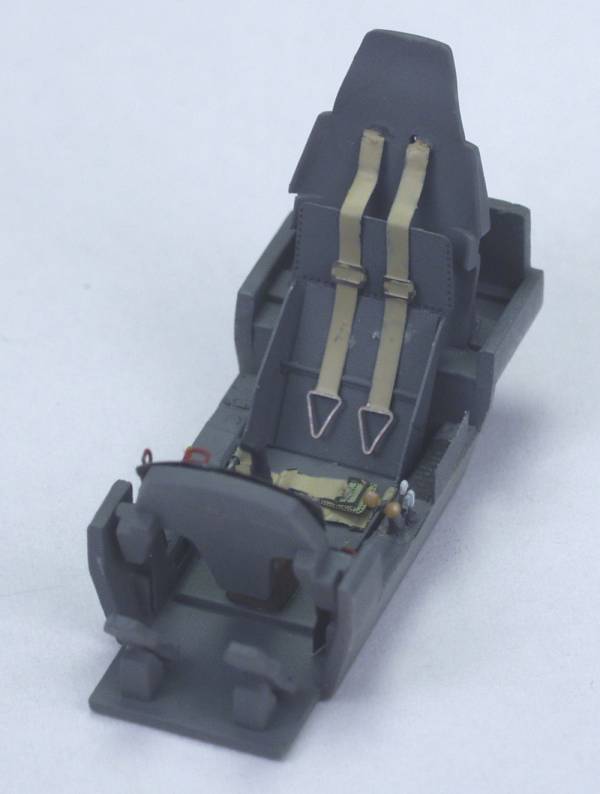
I had initally planned on not using any after market items on this kit but the AMS bug bit me and I picked up the Eduard set [48312] for this kit. I'm not sure how visable some of the interior parts will be but the seat belts and shoulder harness should. The set includes radiator and cooling screens and louvers and numerous other exterior details which should enhance the kit. See photo below.

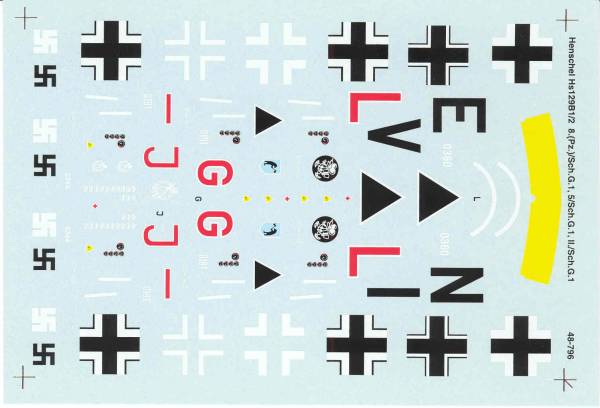
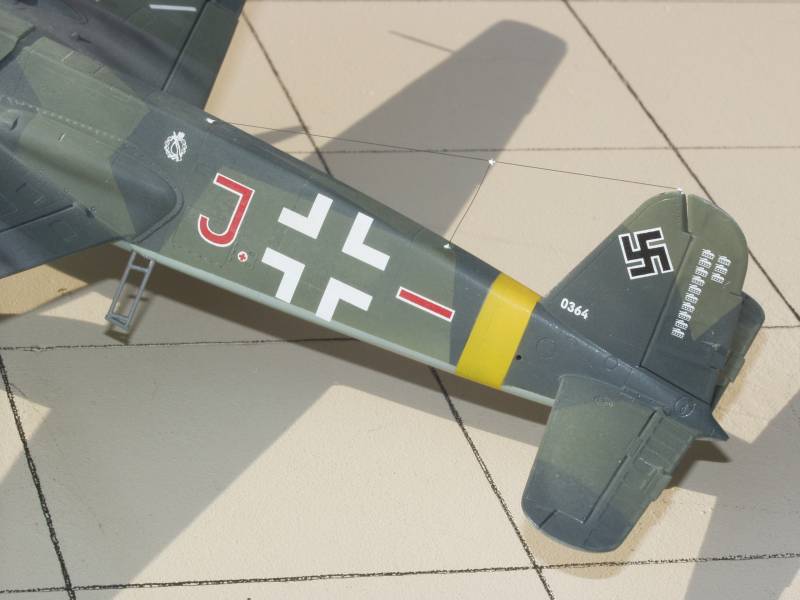
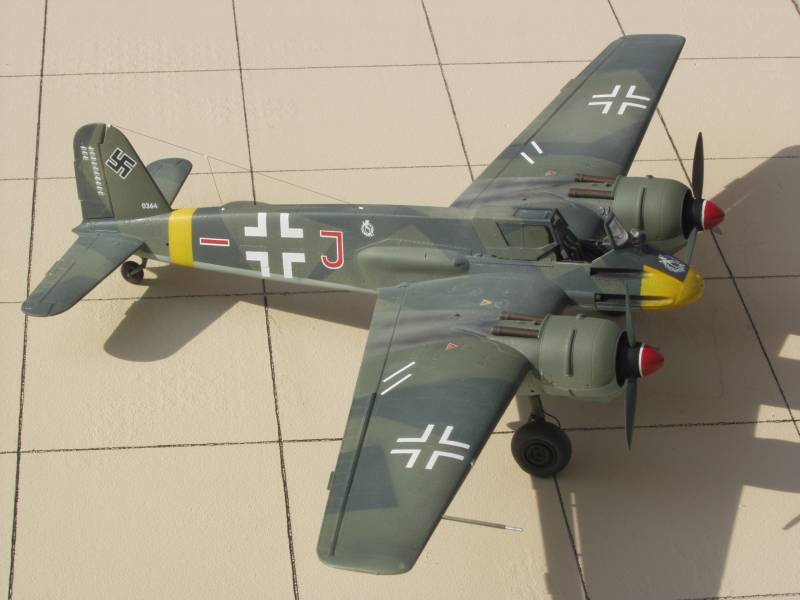
When the time came to build I decided to go with after market decals even though the plane I decided to build was included with the kit decals. I decided to do one of the aircraft used by Rudolf - Heinz Ruffer who was credited with 72 tanks destroyed prior to his demise in combat. The Superscale sheet [48-796] contained Ruffer's aircraft and the markings seemed to be a bit better in execution than the Hasegawa version. See photo below.
Conclusions
This is a nice kit that fits together well and is a relatively
easy build. There are certainly no reasons not
to heartily recommend it to modelers of any skill level.
Links to kit build or reviews
Reviews / builds of the B-2 version can be found here and here
References
"Warplanes of the Third Reich" by William Green
"Henschel Hs 129 in Action" by Denes Bernad
Back to the MISC 1/48 German aircraft Page
The Build
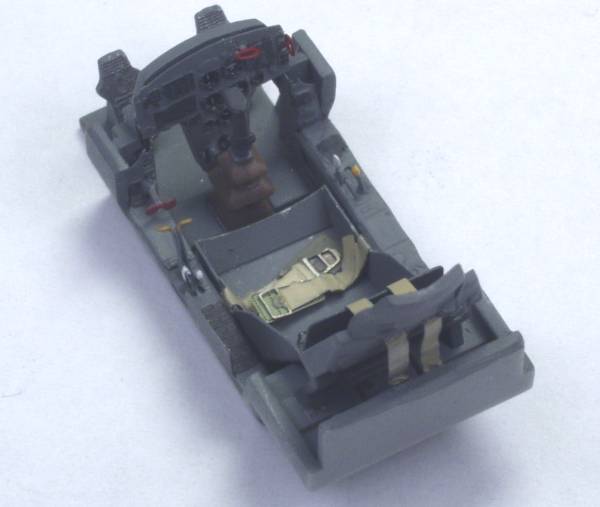
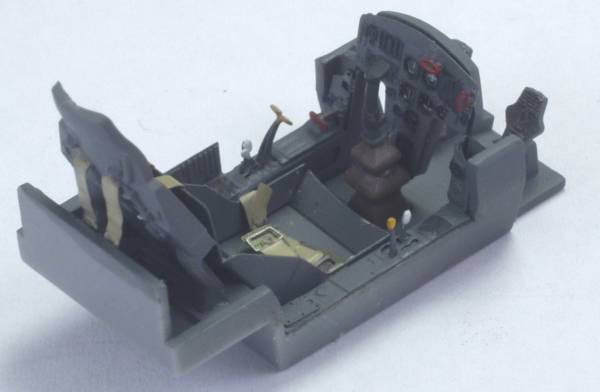
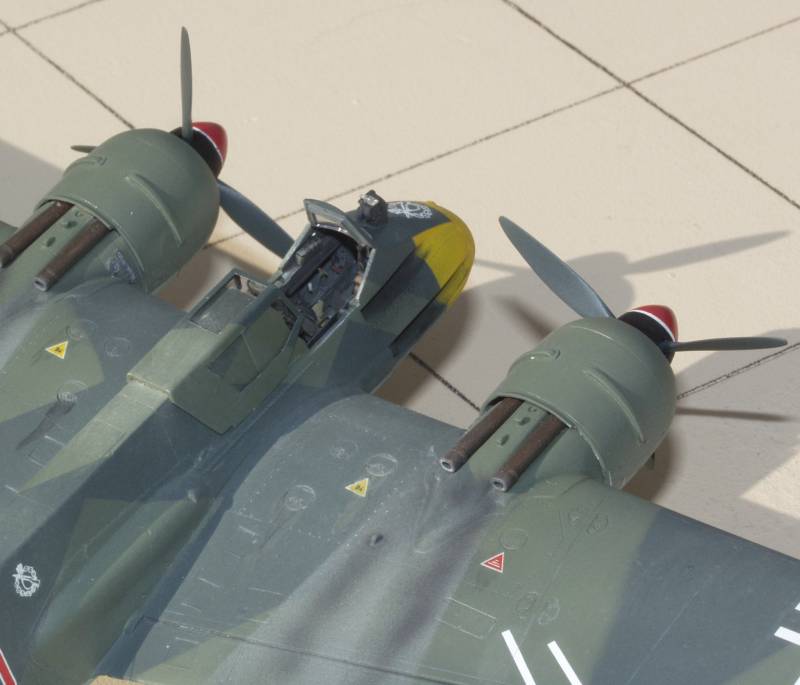
As is usually the case the build starts with the internals. In a weak moment I decided to go the Eduard PE set. It does have a lot of nice internal goodies but most won't be seen once the fuselage gets buttoned up. I didn't bother to use the Eduard rudder pedals as you would need a borescope to see them. It still needs a wash and some wear and tear added but for the most part the pit is complete.
While I had issues during the build with the 129, none were kit related and I would highly recommend it.
Updated 11/2/08