
He 115C-1
The He 115 was the winner of a competition to produce a twin engine, twin float seaplane. The design went through various iterations of differing nose designs and float support structure. The C version included strengthened float bottom planing surfaces and additional armament. It could carry either a torpedo or various combinations of ordinary bombs internally and externally. It was used extensively in the Northern reaches harassing Arctic convoys until its lightweight armament made it unsafe to operate when enemy fighters were present. Although the design was pretty much obsolete from the time it entered service, it established an enviable reputation for reliability. It handled well in both the water and the air, could fly safely at high loaded weights with one engine out and its heavy construction enabled it to absorb considerable punishment both from enemy fire and rough seas.
The Tale of Two Kits
The Revell kit has been around since the late 70's with it's origins being that of FROG. FROG went under before they could release it and Revell bought and released it. The kit has no interior detail to speak of, the kit ladders between the floats and fuselage are over sized and there are some discrepancies with details as they pertain to the model designation (C-1). I truly wish this kit was available in 1/48 scale. In 1/72 it's small enough to fall within my threshold of pain and as you will read later it only gets worse.
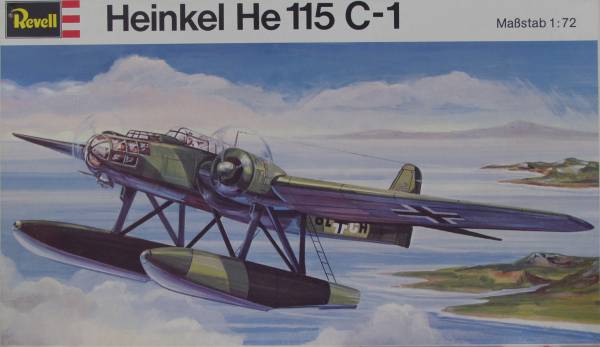
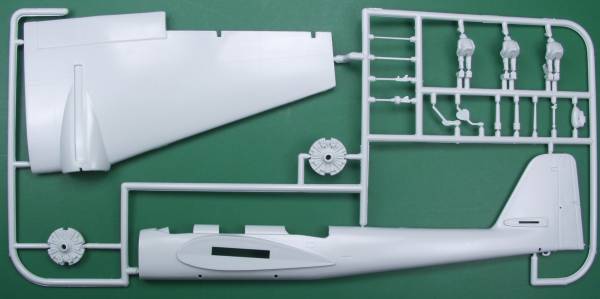
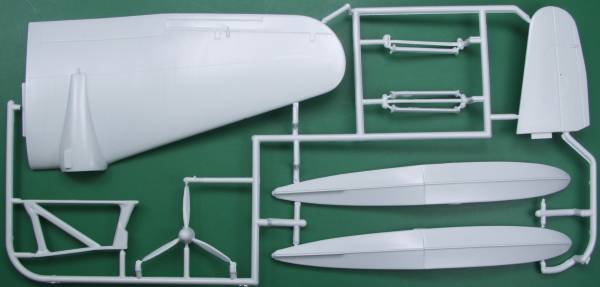
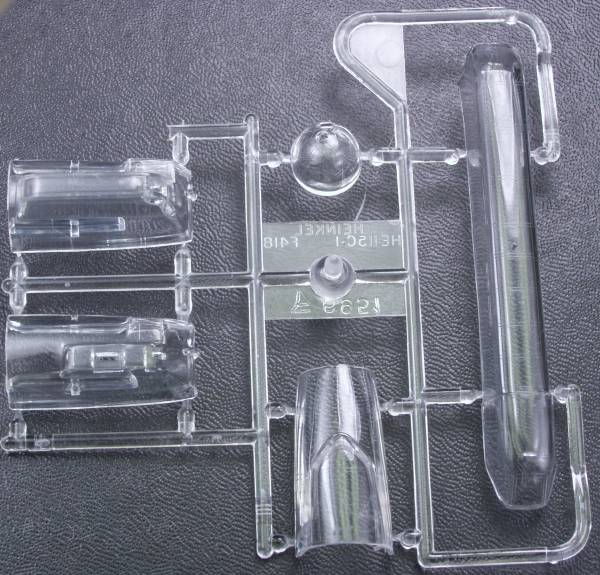
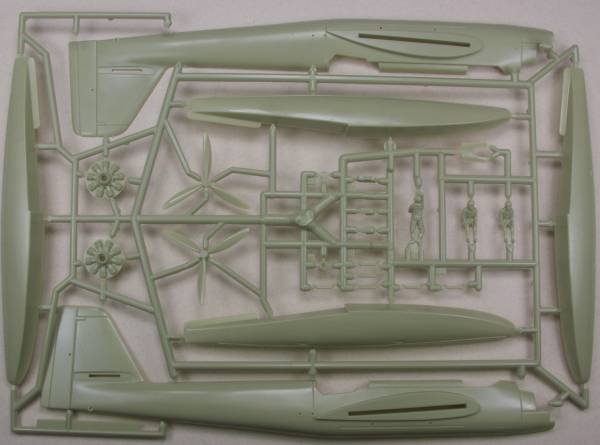
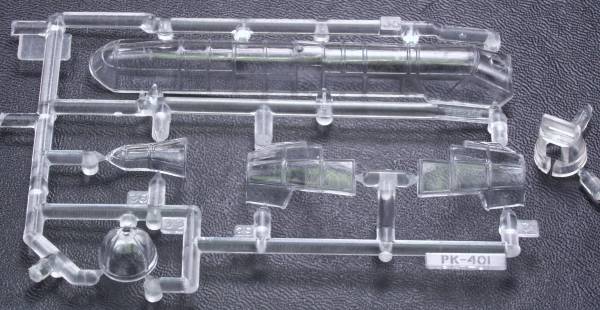
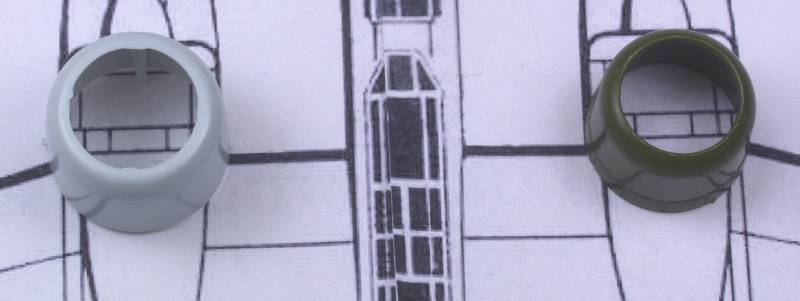
The Revell kit I have came in a two part top open box with mediocre artwork on the front. Inside the box is one large bag with all the parts inside. The kit is molded in a light gray plastic with extremely fine raised panel lines and recessed lines around the fixed control surfaces. I suspect I'm just going to sand the panel lines away because they will most likely disappear under a coat of paint anyway. The parts have a smooth finish and some light flash on the major pieces and rather heavy parting lines on the smaller pieces. The airframe pieces were free of any major surface defects but there were several large sink holes on some of the smaller parts. The engine detail is rather one dimensional and shallow. The interior consists of a floor, three seats and three crew members. No instrument panels, side wall detail, control column. The crew members are nothing to write home about either. Altogether there are 52 parts in gray. The clear parts are thick and not all that clear and have poorly defined frame lines. There are 5 clear parts for a kit total of 57. See photos below.


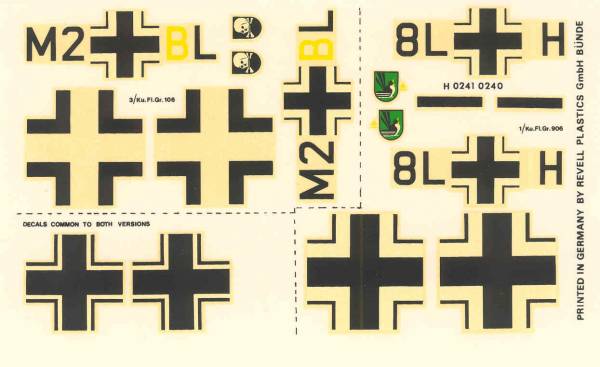
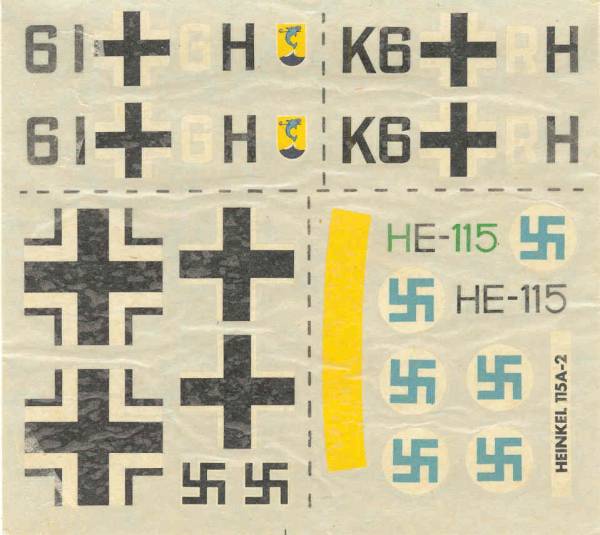
The decals are thin and have a matte finish. The registration looked OK but the white may be opaque. Mine had yellowed considerably with age. The sheet provides marking for two aircraft. There are no stencils or swastikas. See below.
The instructions are printed on a long sheet that is folded to fit the box. It's basically six panels. The first has history in four languages and the first assembly step, the next four are assembly steps and the last panel has painting and marking instructions. Only the major colors are shown with RLM numbers are paint names.
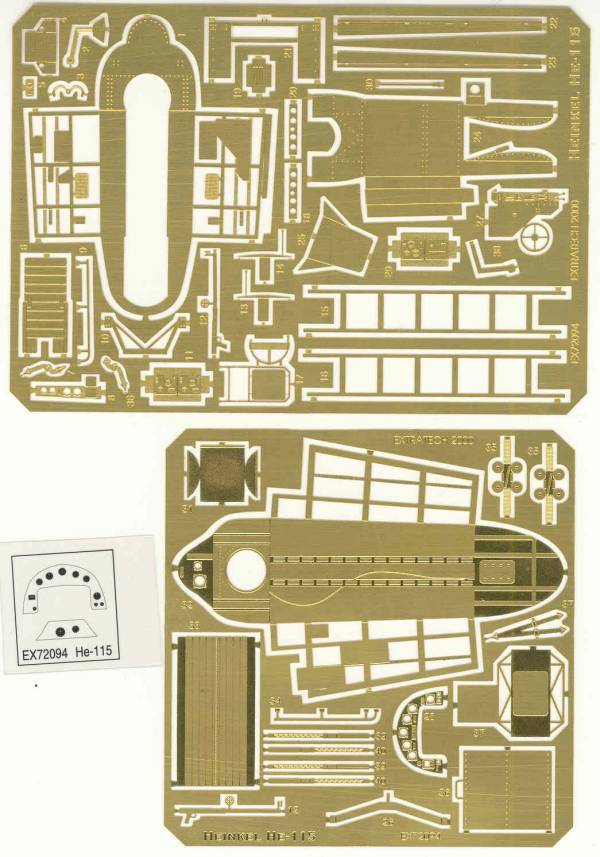
At some point in time I made the mistake of reading Matt Swan's write up of his build of this kit and had an attack of temporary insanity and purchased both the Extra Tech interior set, two Vector engines and the Falcon canopy set. This may well be the ultimate test of endurance for me but we'll see. Lets take a look at the Extra Tech set.
It consists of two photoetch frets and an instrument panel film. It pretty much supplies a complete interior with enough parts to guarantee blindness. See photo below.
To see how this looks when a pro does it I suggest you follow the review link to see how Matt's came out. I did not photograph the vector engines as those too can be seen on Matt's site or on the Sprue Brothers site where you can purchase these little jewels. I also did not photograph the Falcon set as it would be difficult to isolate the He 115 parts from the others in the set.
OK, now lets look at the Matchbox kit.
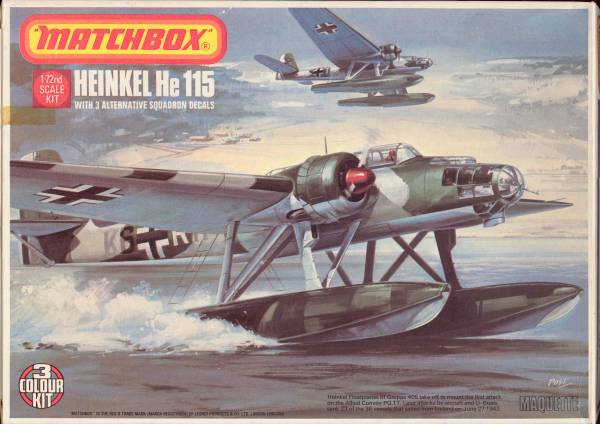
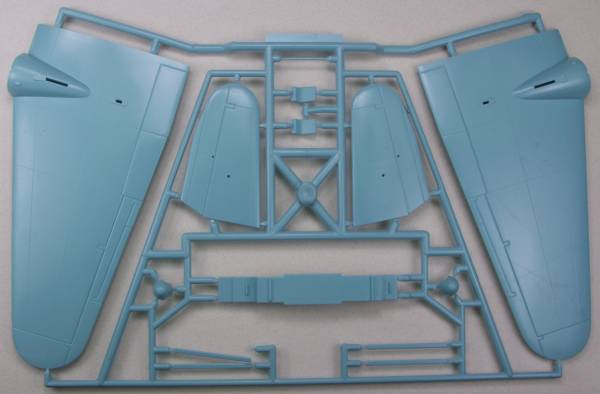
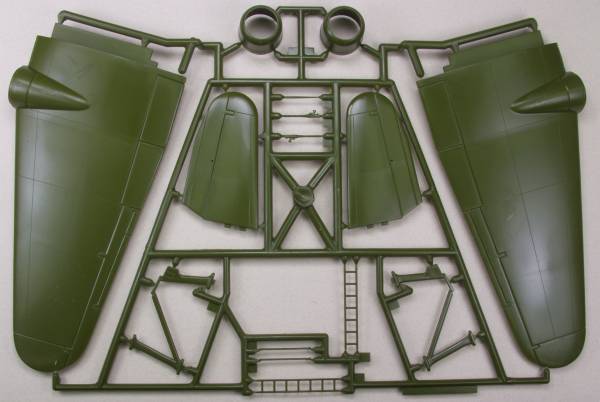
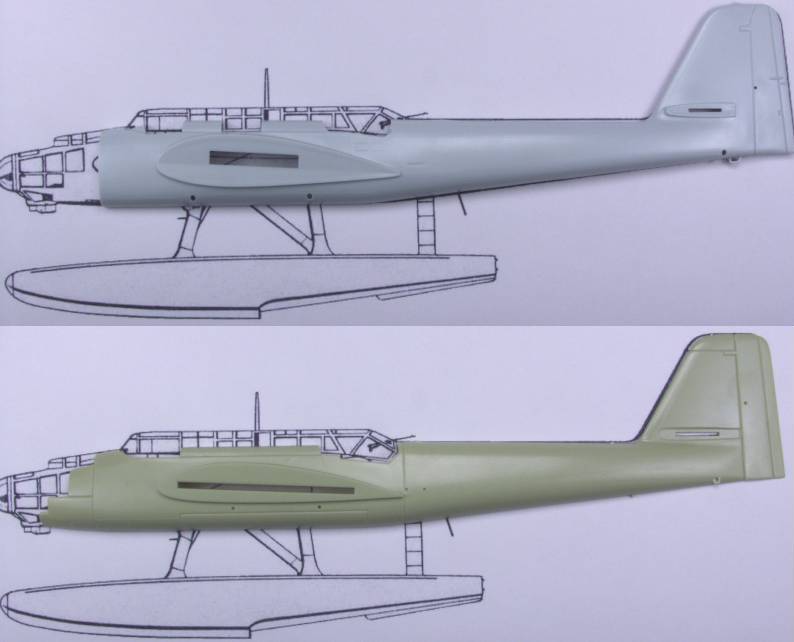
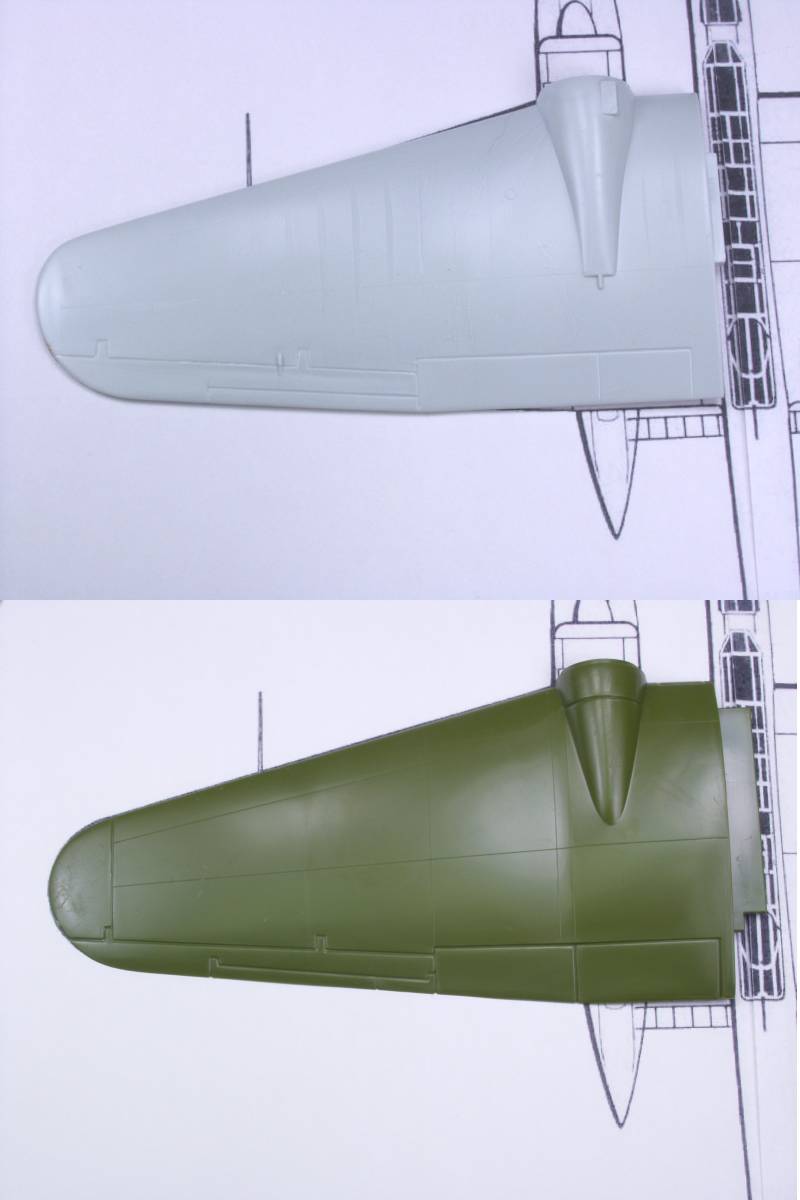
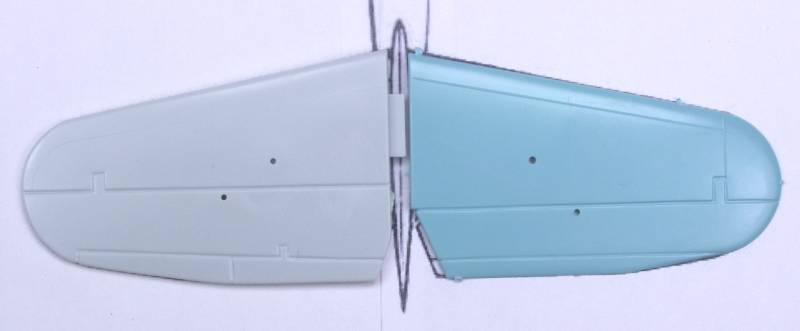
The Matchbox kit comes in a dreaded end flap box with interesting artwork on the front. Back during the mid seventies when this kit was released they were molding their kits in multiple colors. I assume this was done so that even if a modeler decided not to paint the kit it would have at least some base colors on it. With that in mind, most of the bottoms of the wings and horizontal stabilizers and a few other parts were molded in a light blue color. The upper wing and horizontal stabilizers and a few other parts were molded in an olive green color and the fuselage and balance of parts were molded in a tan color. The parts have a smooth finish with very little flash and only a light amount of parting lines to clean up on the smaller parts. The detail is both raised and recessed. Most of the panel lines are actually very fine raised lines. There are a couple of the famous Matchbox trench lines, most notably near the wing tips, a couple on the fuselage and the demarcation lines for the bomb bay. The control surface demarcation are a little larger than those on the Revell kit but not by much. I found one major sink mark on the fuselage and several smaller ones on the wings but no other surface defects. The engines were about the same as the those in the Revell kit but I thought that propellers were better and had separate spinners. The interior detail was about pretty much equal to the Revell kit. Altogether there are 53 colored parts. The clear parts seemed a bit clearer but about the same thickness wise but they have much better defined frame lines to the point of being too heavy. There are a total of 6 clear parts for a grand total of 59 parts. See photos below.
The decals include markings for three aircraft, I can't say much more about them as over the years the protective rice paper that cover them has attached itself to them. Being over thirty years old they were most likely past their prime anyway. See photo below.
The instructions are on an odd sized sheet folded so as to creating four pages. The front page has history and specifications in five languages, pages two and three are assembly instructions and the last page has painting instructions for the minor parts, a color chart in five languages that reference Humbrol numbers and instructions on how to apply decals. The painting and marking instructions are on the back side of the box.
Decisions, decisions !
Links to kit build or reviews
A review / build can be found here
References
Warplanes of the Third Reich by William Green
Heinkel He 115 by H.P. Dabrowski
Updated 5/10/08