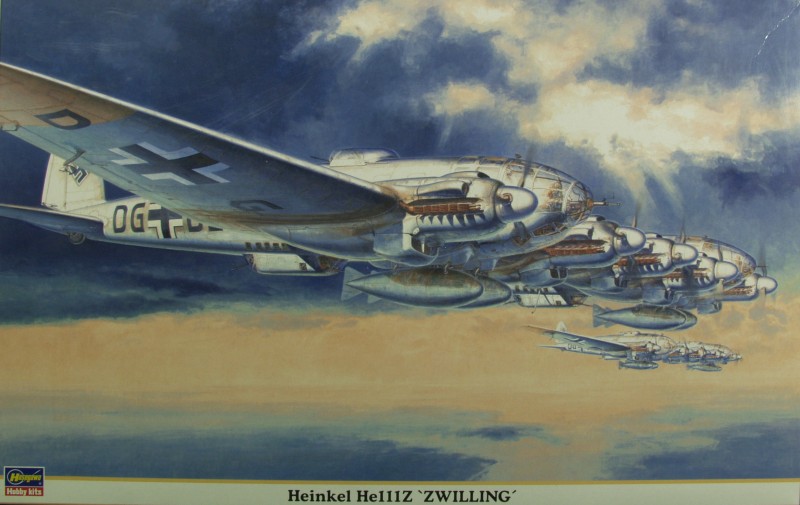
He 111Z

He 111Z
The He 111Z Zwilling (English: Twin) was a design that entailed the mating of two He 111s. The design was originally conceived to tow the Messerschmitt Me 321 glider. Initially, four He 111 H-6s were modified. This resulted in an aircraft with twin fuselages and five engines. They were tested at Rechlin in 1941, and the pilots rated them highly.
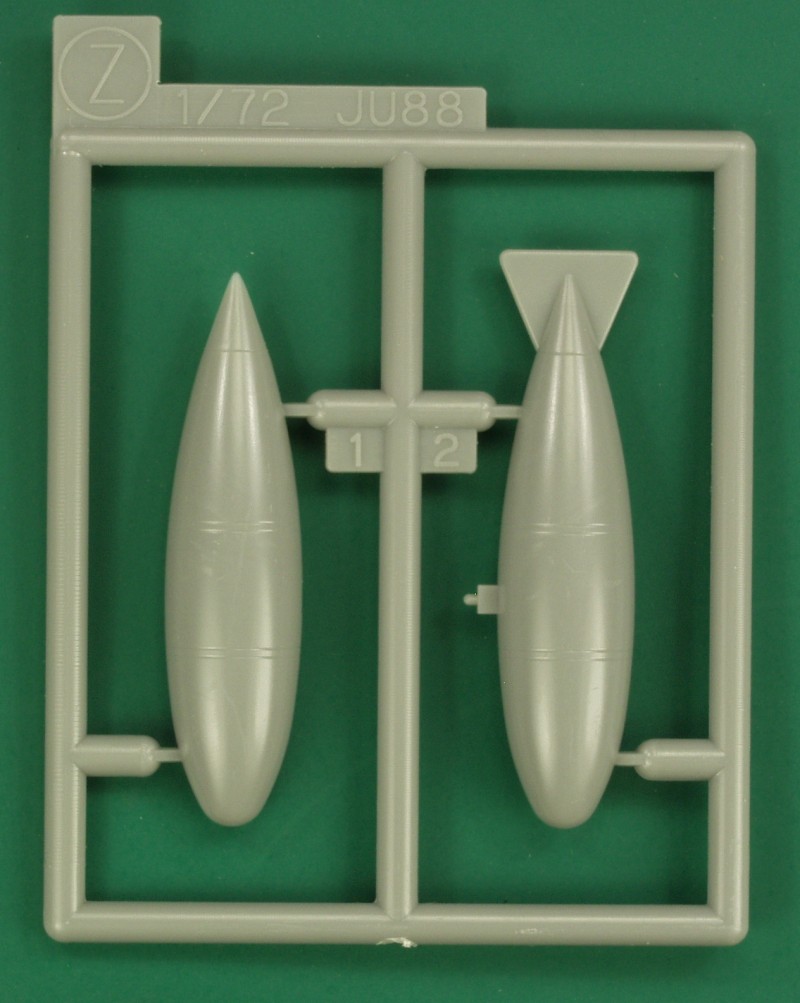
A batch of 10 were produced and five were built from existing H-6s. The machines were joined by a center wing formed by two sections 20 ft in length. The power plants were five Junkers Jumo 211F engines producing 1,340 hp each. The total fuel capacity was 2,260 US gal. This was increased by adding of four 160 US gal drop tanks. The He111Z could tow a Gotha Go 242 glider or Me 321 for up to 10 hours at cruising speed. It could also remain airborne if the three central power plants failed. The He 111 Z-2 and Z-3 were also planned as heavy bombers carrying 3,970 lb of bombs and having a range of 2,500 mi. The ETC installations allowed for a further four 160 US gal drop tanks to be installed.
The He 111 Z-2 was to carry four Henschel Hs 293 anti-ship missiles, which were guided by the FuG 203b Kehl III missile control system. With this load, the He 111Z would have had a range of 680 mi and a speed of 195 mph. The maximum bomb load was to be 15,870 lb. To increase power, the five Jumo 211F-2 engines were slated to be fitted with Hirth TK 11 superchargers. On board armament was to be the same as the He 111H-6, with the addition of one 20 mm MG 151/20 in a rotating gun-mount on the center section.
The layout of the He 111Z had the pilot and his controls in the port fuselage only. The controls themselves and essential equipment were all that remained in the starboard section. The aircraft had a crew of seven; a pilot, first mechanic, radio operator and gunner in the port fuselage, and the observer, second mechanic and gunner in the starboard fuselage.
The Z-3 was to be a reconnaissance version and would have had additional fuel tanks, increasing its range to 3,730 mi. Production was due to take place in 1944, just as bomber production was being abandoned. The long-range variants failed to come to fruition. The He 111Z was to have been used in an invasion of Malta in 1942 and as part of an airborne assault on the Soviet cities of Astrakhan and Baku in the Caucasus in the same year. During the Battle of Stalingrad their use was cancelled due to insufficient airfield capacity. Later in 1943, He111Zs helped evacuate German equipment and personnel from the Caucasus region, and during the Allied invasion of Sicily, attempted to deliver reinforcements to the island.
During operations, the He 111Z did not have enough power to lift a fully loaded Me 321. Some He 111s were supplemented by rocket pods for extra takeoff thrust, but this was not a fleet-wide action. Two rockets were mounted beneath each fuselage and one underneath each wing. This added 1,100 lb in weight. The pods were then released by parachute after takeoff.
The He 111Z's operational history was minimal. One machine was caught by RAF fighter aircraft over France on 14 March 1944. The He 111Z was towing a Gotha Go 242, and was shot down. Eight were shot down or destroyed on the ground in 1944.
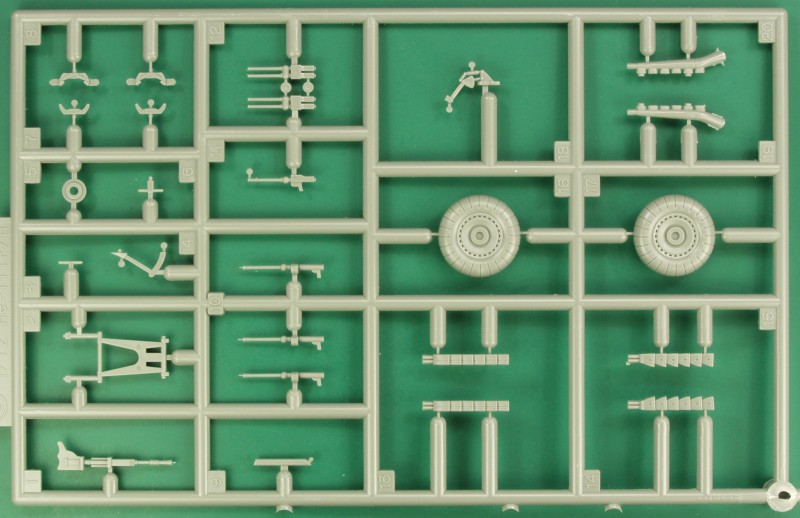
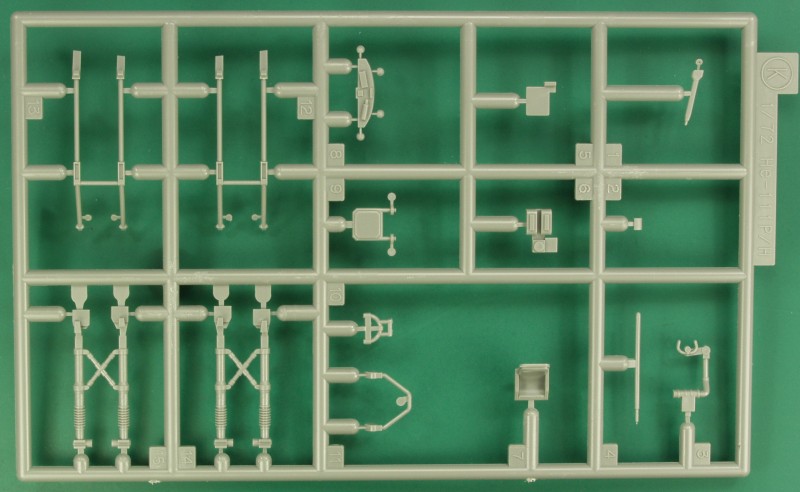
The Kit
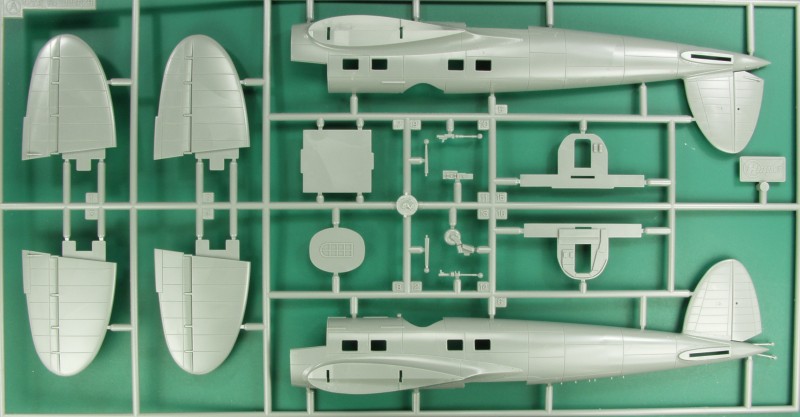
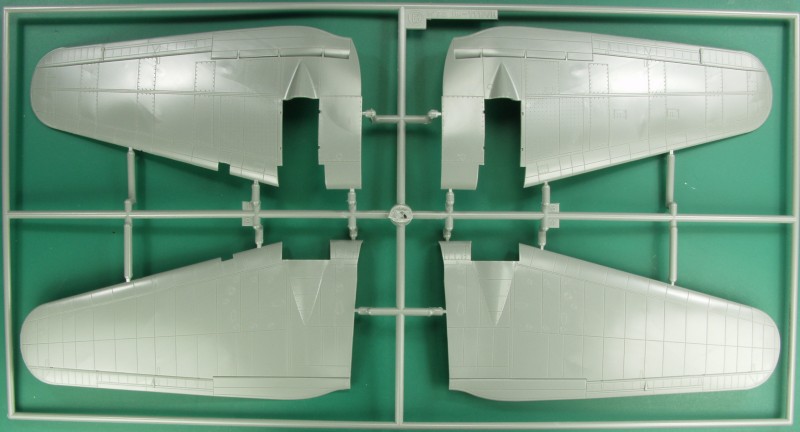
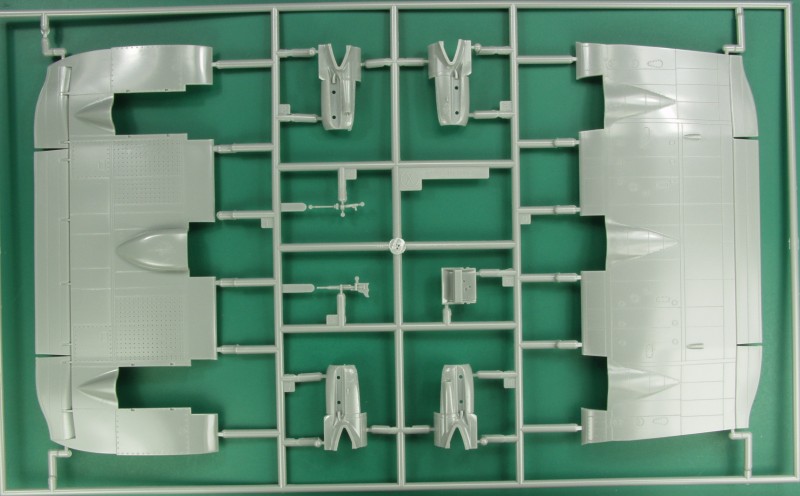
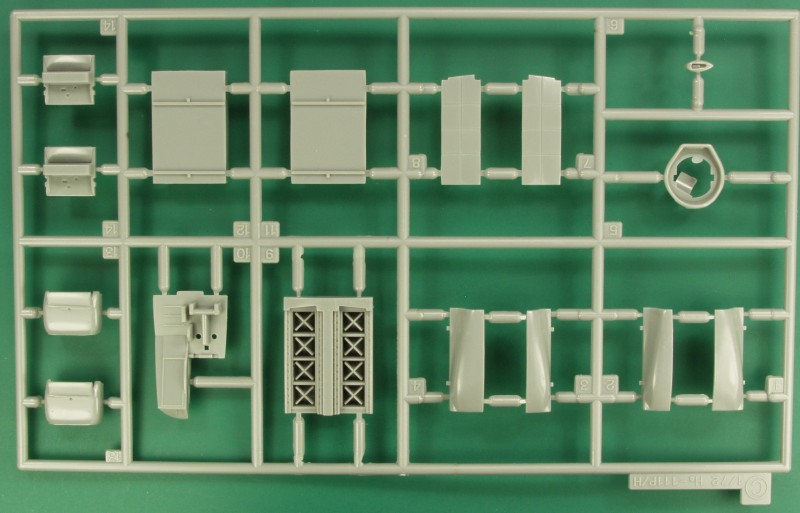
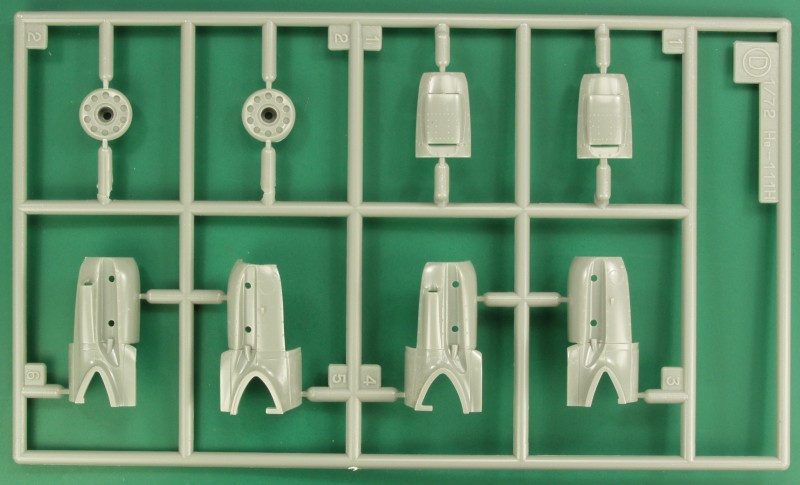
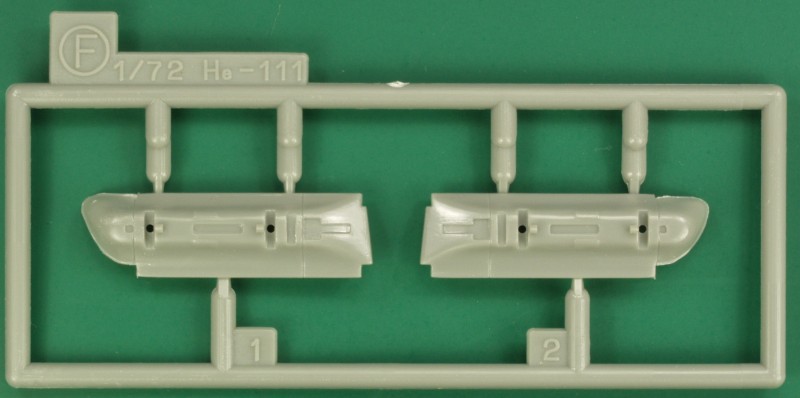
There
are two sprues of clear parts. The parts are reasonably thin and
clear with a little optical distortion on the curved portions.
In spite of being in their own bag some of my clear parts had
some minor abrasions although I suspect a dunk in Future will
take care of them. The small windows are designed to be fit from
the outside. If they fit properly this is nice in that you don't
need to worry about pushing them out while masking but on the
other hand makes it a bit more difficult to glue them without
blemishing them. The sliding panel over the pilots position is a
separate part with similar caveats on gluing.
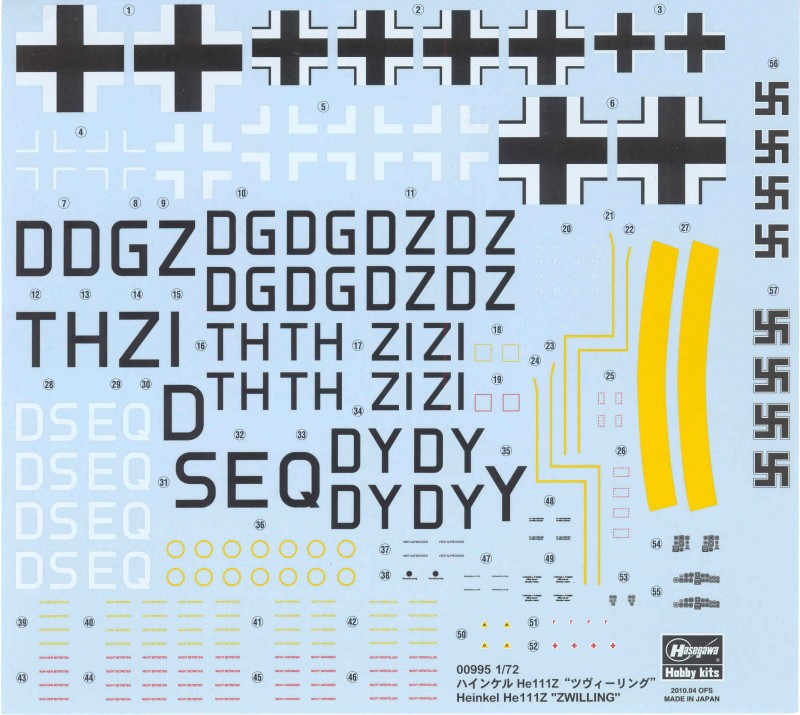
The
decals are fairly typical for Hasegawa. A bit thicker than is
the norm with newer or high quality after market decals. They
are in register but have a lot more excess film than I like to
see. A goodly number of stencils are provided and all but a
couple are readable. Interestingly the sheet also provides
decals for the instrument panel that seems to missing from the
kit. Either the 'Z' had a different arrangement or it's just an
over site. My documentation says nothing about it other than the
fuselages were standard. It wouldn't be that hard to make one
from some thing sheet styrene. Markings are provided for two
aircraft, one in winter camouflage and the other in standard
camouflage.
The
instructions are in what I call the road map
format, one long page folded to create four pages
and eight panels. The instructions feature English
and Japanese. The first panel has brief history
and specifications and the usual safety warnings.
The second panel has a parts map which also
indicates parts not used, a paint chart with GSI
Creos aqueous colors and Mr. Color numbers. The
next four panels are assembly in 17 steps and the
last two are painting and marking instructions.
The instructions are clear and easy to follow but
care must be taken as there are differences
between the left and right fuselages and position
and assembly of the five engines. Nothing out of
the ordinary just a lot of parts to keep track of.
After Market Goodies
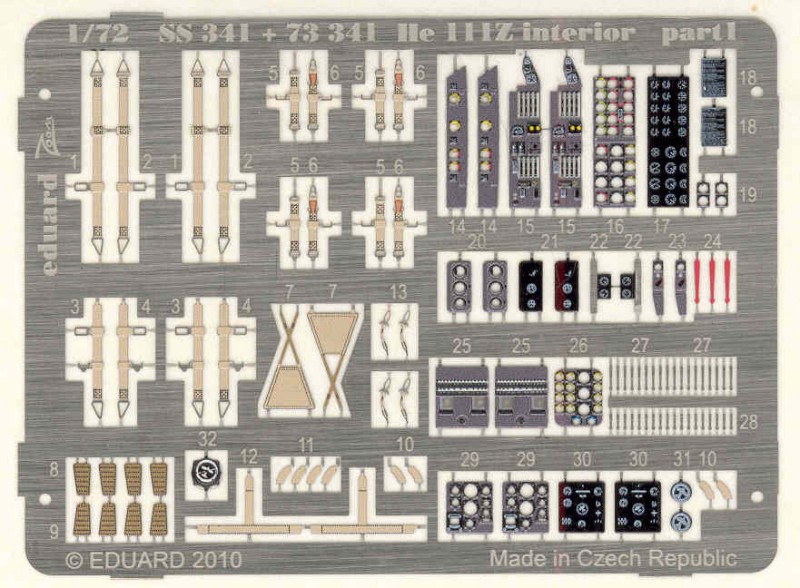
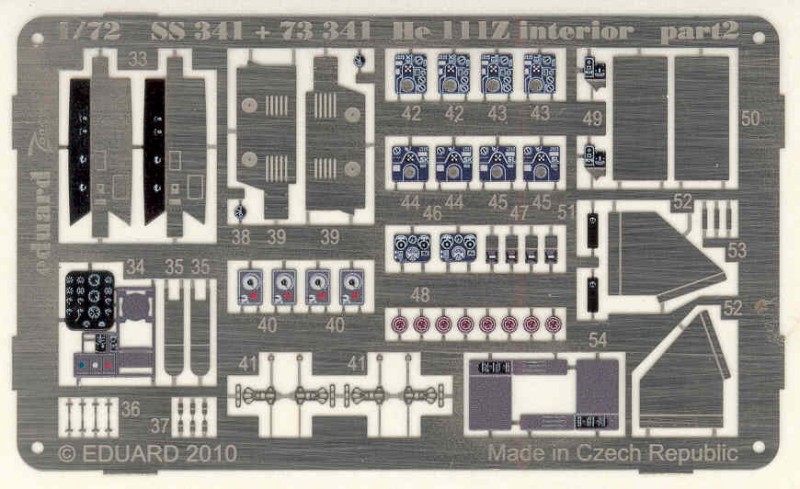
Being a glutton for punishment I ordered the
interior photo etch for this kit from Eduard [SS341]. It has seat
belts and harnesses for all the positions, panels and consoles,
lots of microscopic levers and other interior parts. It also
doesn't include the forward overhead instrument panel either so
maybe they know something I don't.
Conclusions
Looks
like a typically nice kit from Hasegawa, due to the complexity it
might be a bit much for a beginner but those with some experience
should have no problems.
Links to kit build or reviews
An in box review can be found here,
it's for the Bomber version but basically the same kit.
References
Warplanes of the Third Reich by
William Green
Back to the Miscellaneous 1/72
page