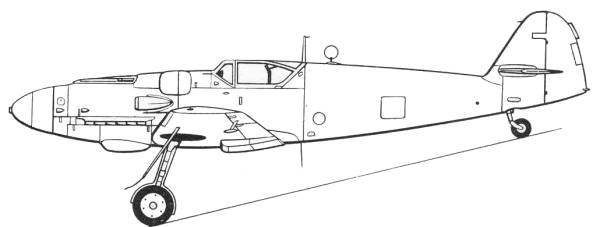
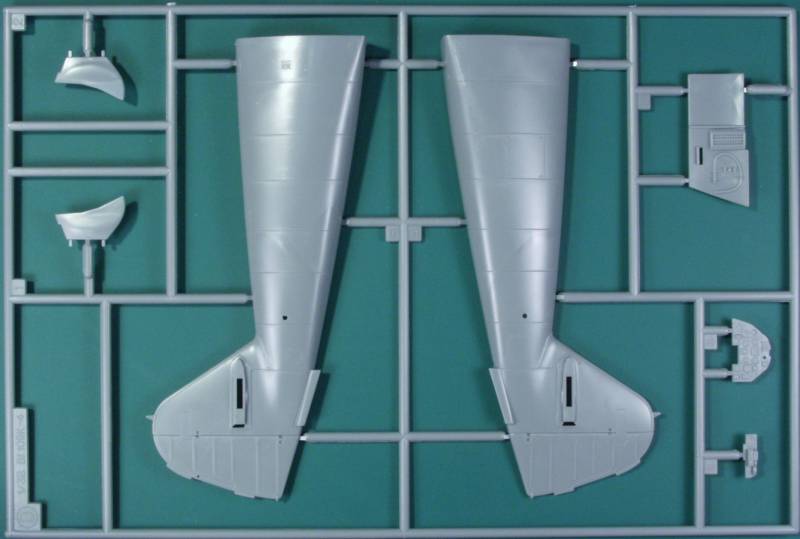
The
landing
gear are nicely molded, free of ejector pin marks and include
brake lines down to the oleo. There are a couple light ejector pin
marks on the inside of the gear doors but these should be mostly hidden
by the gear strut when installed. The wheels are molded in half and
look nice but are not weighted. The tail wheel and strut are molded in
two halves and are not all that convincing looking, I would have rather
seen a separate wheel in this scale. The
wheel
wells are closed in with structural detail in the upper part of the
well. There are holes that need to be drilled out in the upper wing
before gluing the wing together for the upper wing bulges. There is
a wing spar attached to the fuselage which should make for a sturdy
wing mounting and keep the dihedral correct. The kit comes with a drop
tank. There
are a
few parts that are not used with this version and they are clearly
marked on the parts map. The sprue photos follow.


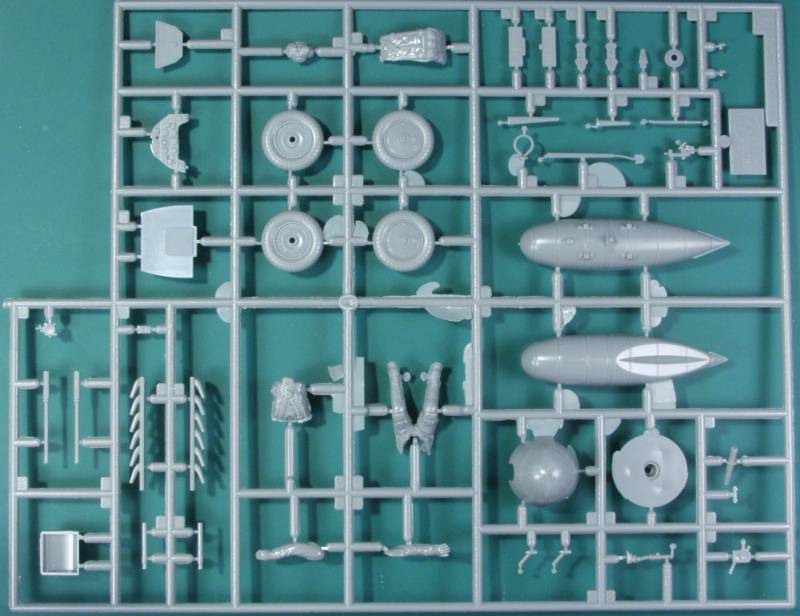
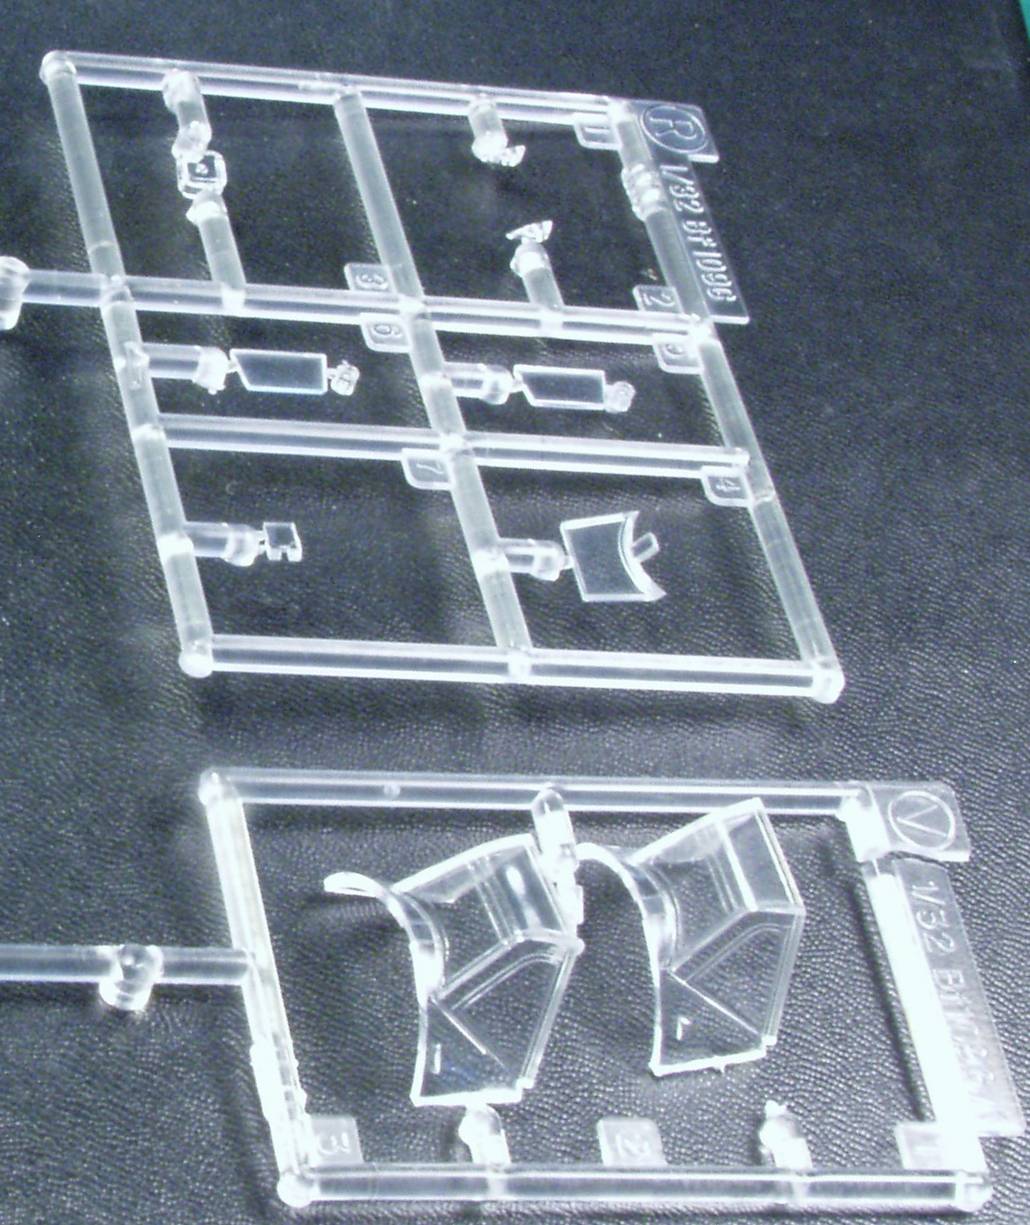
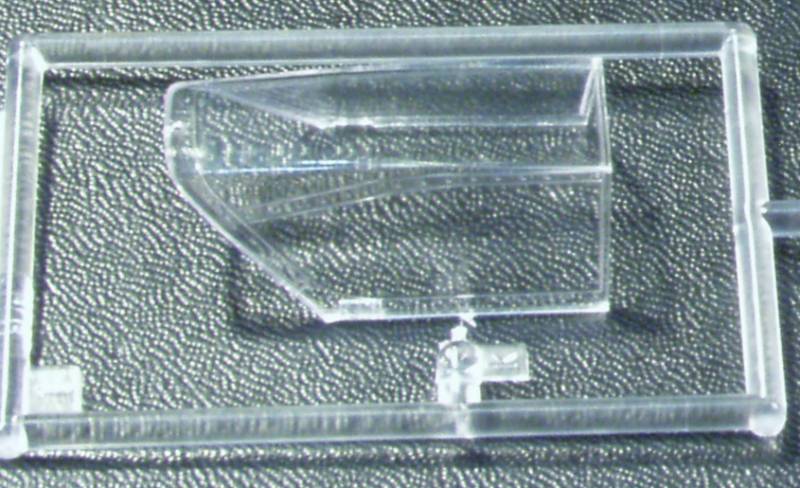
The
clear parts are a bit
thicker than the norm
for newer kits but should look OK once dipped in Future. Two
wind
screens are supplied but only one is called out for use. In
spite of
being bagged separately I still have some scuff marks in places
that
will need to be polished out. The frame lines are recessed but
clearly
marked so masking should be fairly easy. See below.
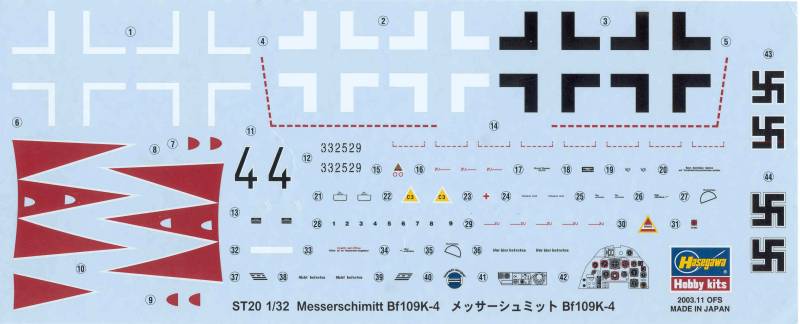
The
decals are fairly normal
for Hasegawa with
the exception that the white is actually white instead of a
cream
color. They look thin on the sheet but I have varying success
with
Hasegawa decals. Markings for two aircraft are provided, both
from
JG52, no pilots listed, with a Werk number, one without. See
below.
The
instructions
are printed on a long sheet folded to create
panels, in this case 8 of
them. The front panel has history and
specifications in Japanese and
English, the second has
a parts
map and color chart calling out colors by generic
names and some by RLM
numbers and Gunze paint numbers. The third, fourth
and fifth panels
have
the assembly steps divided into 15 steps. The
sixth
and seventh panels have the painting and marking
diagrams and the
eighth panel has basic assembly information,
safety warnings and decal
application instructions.
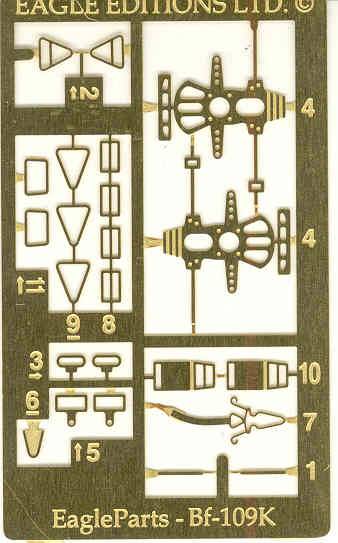
After
Market
Goodies
Most of the complaints I read
about this
kit center around the rather lack luster interior so I decided
to whole
hog on this kit and purchased the Eagle Parts museum quality
cockpit.
This is Eagle Parts number 26-32. It comes in a molded
bubble pack
and consists of replacement side walls, seat, front and rear
bulkheads,
floor, stick and rudder pedal mounts. The parts are
beautifully molded
with no visible defects and as you can see have a level of
detail far
beyond the kit parts, I only hope I'm up to the detailed
painting
required. The instructions are printed on four A4 size pages
printed on
one side. The instructions are quite complete well printed
with half
tone photos of most of the steps. The set also includes a
small photo
etch set with rudder pedals and all the buckles and parts
needed to
assemble a set of belts and harnesses. See below.
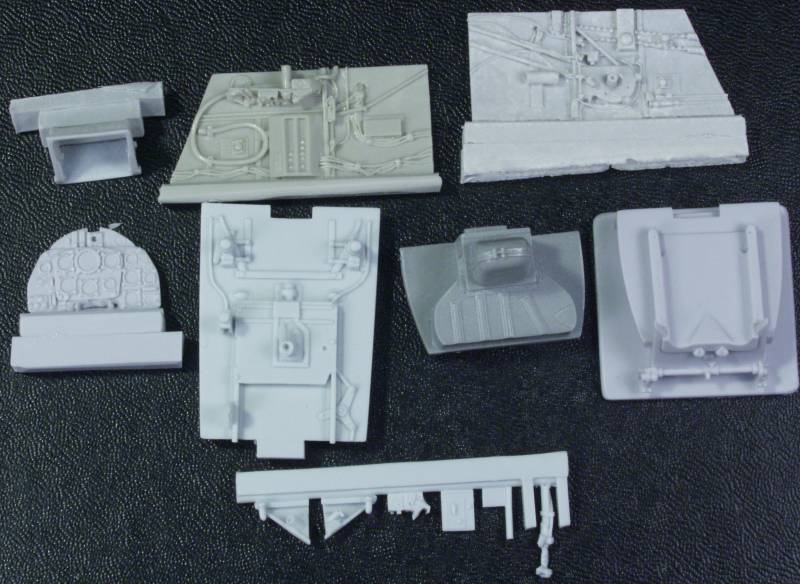
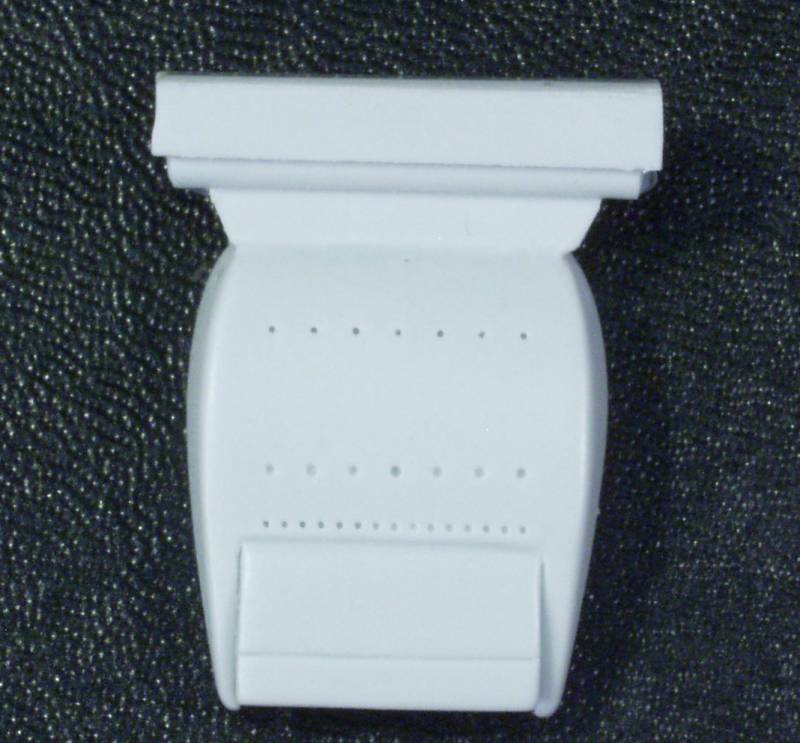
I also opted for the Eagle Parts # 28-32 oil radiator
fairing as it is much better shaped and detailed than the kit part,
again the molding is superb.
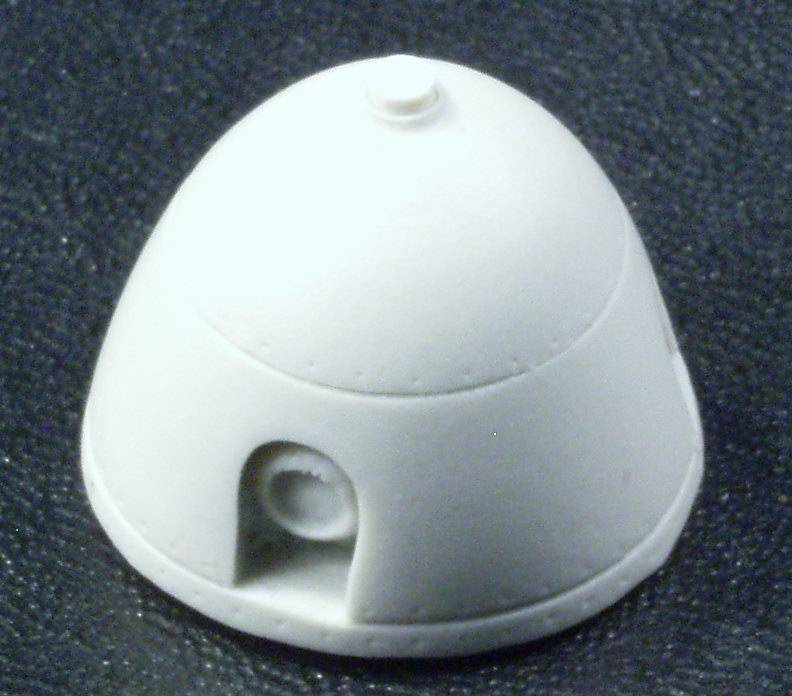
And finally I got the Eagle Parts # 20-32 replacement
spinner as it is claimed the kit spinner is not quite correct in shape
but it's hard for me to see the difference.
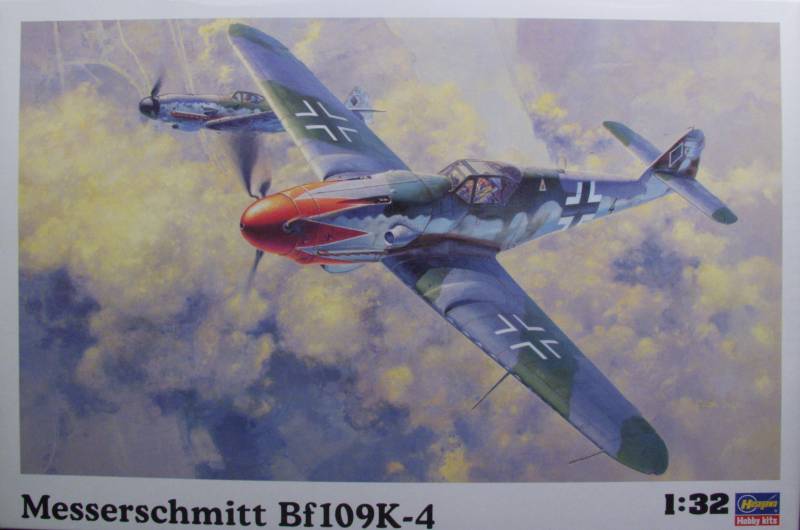
Conclusions
This kit was released around
2003 but is
based heavily on the earlier G-6 kit so from a technical
standpoint the
quality and engineering are about the same. The experts have
found some
minor shape issues here and there on the kit but nothing
that the
average Joe would notice. By
all accounts the kit is a fairly easy build with no serious
assembly
issues and therefore I give it a highly recommended rating
for all but
the most rank beginners in the hobby.
Links
to kit build or reviews
A build / review can be
found here.
References
I have more 109
references than I care to list and the Internet is loaded with
information, let Google be your friend.
Back
to the 1/32 Scale German Aircraft Page
Updated 1/5/14