Bf 109F-4/B

The Bf 109F series was the result of the Augsburg design team's program of aerodynamic refinement to the basic 109 design to take advantage of increases in power promised by improved versions of the DB 601 engine. Those changes brought the design to the peak of its development at least from the handling and performance standpoint. Later versions would increase in weight without increases in lift and only marginal increases in power resulting in a deterioration in handling characteristics.

The first F-1's left the production lines in November of 1940. Several crashes followed introduction into service evaluation units and it was found that the tail plane, now void of the bracing struts used on the E models was susceptible to high frequency vibrations at certain engine speeds causing structural failure. Stiffening plates were added to solve this problem. The F-2 was identical to the F-1 with the exception of the engine mounted cannon which was an MG FF/M on the F-1 and an MG 151 on the F-2. The arrival of the Bf 109F on the Channel Coast prevented the Spitfire V from gaining the edge. While it could still out turn the 109, the 109 could out climb and out dive the latest version of the Spitfire.  The F-3 version appeared around the beginning of 1942 as a result of the availability of the DB 610E engine which used 87 octane fuel instead of the 96 required for the 601N used in the -1 and -2. The -4 version, produced almost simultaneous with the -3, differed primarily in the caliber of the engine mounted MG 151 which was increased to 20-mm. Ammunition capacity was reduced from 200 to 150 rounds. Improved self sealing was applied to the fuel tank and pilot protection was revised comprising the usual armored windscreen, an armored glass rear head shield below which was a 6-mm. armor plate to protect the pilots neck and shoulders, a rectangular 5-mm. plate also being mounted above the armored glass shield mounted at 45º to protect the top of the pilots head.

During the first few weeks of 1942 a fighter bomber version, the F-4/B began service status and appeared on the Channel Coast shortly after. The F-4/B differed little from the standard fighter version apart from having a bomb fusing battery box installed in the fuselage and a ventral ETC 250 bomb carrier for a single SC 250 bomb.

Tip and Run

Tip and run was the name given to method of attack that the Luftwaffe developed in early 1941 and consisted of fighter bombers flying across the English Channel at wave top height to avoid British radar, then as they approached their target they would climb to 500 meters, level off then dive on their target at a 3º angle and lob their bomb at the target. An Adjutant with II./JG 2, Oblt. Frank Liesendahl, while recovering from injuries as a result of being shot down over Dunkirk, put his experience and tactics as a Jabo pilot onto paper and convinced the Geschwader Kommodore, Major Walter Oesau of the benefits of having a dedicated and independent Jabostaffel. Prior to this these attacks had been carried out by regular fighter pilots rather than those trained in ground attack principles. This resulted in 13./JG 2 being created in November of 1941 with Liesendahl in command. Initially shipping was the primary target with a number of successes. Targets were later widened to include port facilities, gasometers and other targets of strategic importance. This eventually lead to a wide open policy of attacking any target including civilians as a means of demoralizing the British public. In spite of the fact that the number of aircraft available for these operations rarely exceeded 30, British efforts to prevent these attacks were taxed all out of proportion to the smallness of the German effort and never were successful in preventing them. 13./JG 2 was later re designated 10.(jabo)/JG 2.

It was reading about these attacks and seeing a color profile, printed in a book on ground attack aircraft, of Frank Liesendahl's Bf 109F that influenced to want to build a model of it. The aircraft carried the emblem of 10.(jabo)/JG 2. which was a fox with a ship in its jaws and several of the staffel aircraft carried marking on their tails indicating the number of ships that the staffel had attacked, damaged and sunk.  Frank Liesendahl's aircraft, blue 1, was the one I chose to model and at least some of the markings will need to be custom made.

The Kit


The Hasegawa kit comes in a two part top open box with nice artwork on the top. Inside the box box there are four sprues molded in a light gray plastic and one sprue of clear parts. Before deciding to do this review I had removed the parts from their original packaging and do not recall how things were bagged. The parts have a smooth finish with recessed panel lines and fastener detail. The panel lines are fine and uniform. The parts are flash free with only a hint of parting lines to clean up on some of the smaller parts. Looking over the main airframe pieces I found no surface defects. There are a few ejector pin marks that will show, mainly on the backs of the wheels and inside of the main gear doors. With the exception of the flaps the control surfaces are all fixed. The fabric control surfaces are very nicely done. The cockpit is adequately detailed but some photoetch would go a long way towards dressing it up should you desire. The kit contains some parts that are common to both the F and G models so there are some parts that won't be used such as the propeller blades for the G model. The kit comes with an under fuselage rack and drop tank. Altogether there are 75 parts in gray. See photos below.


The clear parts are thin and clear and in separate pieces so they can be displayed open if desired. There are 5 clear parts for a kit total of 80 parts. See photo below.


The decals appear to be thin and in register with the exception of a couple of the small stencils. The sheet provides markings for two aircraft, both from JG 54, one from March of 1942 the other from July of 1942. see photo below.


The instructions are are printed on a sheet folded to fit the box. It has one panel with history and specifications in multiple languages, a panel with warnings and a paint chart in multiple languages, three panels of assembly drawings, two panels of painting and marking instructions and one panel with decal instructions and a parts map.

After Market Goodies

I decided to keep it simple on this one, just went with the Eduard colorized zoom set to eliminate the need to paint the instrument panel. Besides the panel it provides enough other details to torture my failing eyesight. See below.


Prior to starting the kit I learned of a couple of after market decal sets that included
Liesendahl's markings so I acquired both sets to see which would be the best. First up is the SuperScale sheet [48-809]. I liked the fox motif and the rendition of the kill markings on this sheet better than the Iliad Design sheet, however the set includes yellow markings which have been proved by German documents to be wrong, they should be blue. While I have no evidence to prove otherwise the painting scheme for the plane itself provided by SuperScale seems a bit dubious as well. It shows a white tail and a wiggly pattern on RLM 83 green running down the side. The information indicates it dates to 1942. I have not found any photos of this plane with this scheme and the use of RLM 83 at this early date seemed a bit bogus to me but with the Luftwaffe any thing is possible. Show below is the Liesendahl portion of the SuperScale sheet (it has marking for two other aircraft as well) and the painting info supplied with it.


The Iliad Design sheet has the correct color for the markings, the kill markings and fox motif don't seem quite as good but will provide backups in case of disaster or problems with the super scale sheet. The paint scheme shown comes closer to real than the Superscale sheet but still does not match the interpretation provided in the fairly recent publication listed as a reference below as Iliad states that black green (RLM 70) is included in the mottle on the sides and the reference only states RLM 74 and 75. A lot of this is based on reading colors from black and white photos so it's all somewhat of an educated guess. While the mottle pattern is close it still differers a bit from the photos of the aircraft and that is what I'll be using as a guide. The Iliad sheet has markings for 5 109's and I have shown only the portion which includes
Liesendahl's craft.


While it was nice to actually find these as opposed to trying to do my own, both sheets together with shipping cost almost as much as I paid for the kit. I will post more on these if I have difficulties with them in the build section.

Conclusions
This is a nice simple kit, well engineered and with an adequate amount of detail that modelers of almost any skill level should have no trouble building. Highly recommended.

Links to kit build or reviews

A review / build can be found here.

References

Warplanes of the Third Reich by William Green

Schlachtflieger - Luftwaffe Ground-Attack Units 1937 - 1945 by J. Richard Smith, Chris Goss, Martin Pegg, Andrew Arthy, Nick Beal and Robert Forsyth
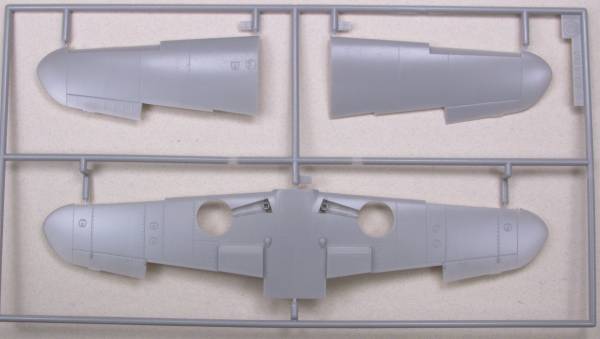
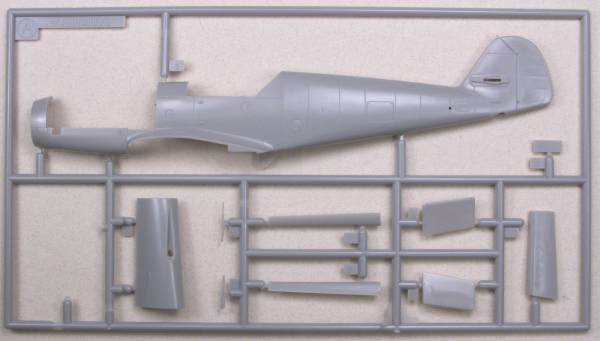
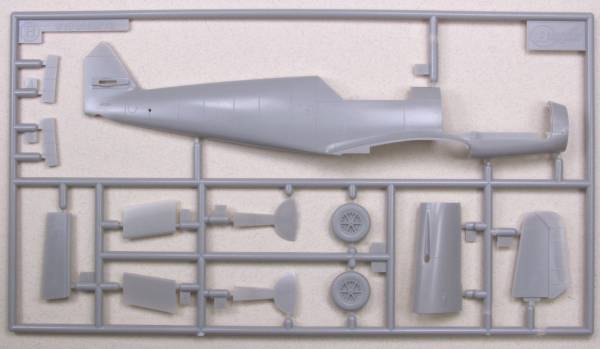
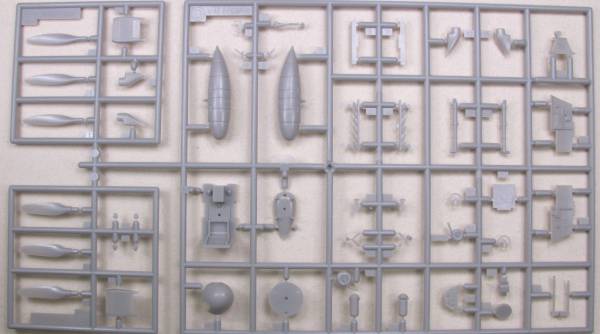
Back to the Misc German page

The Build

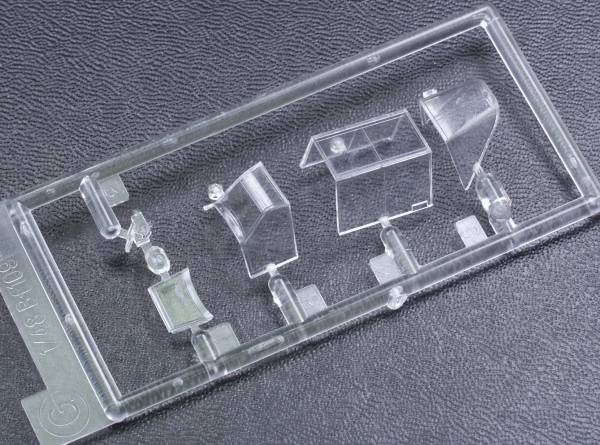
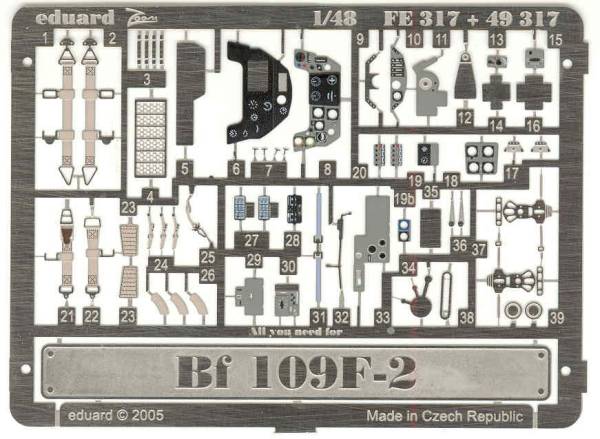
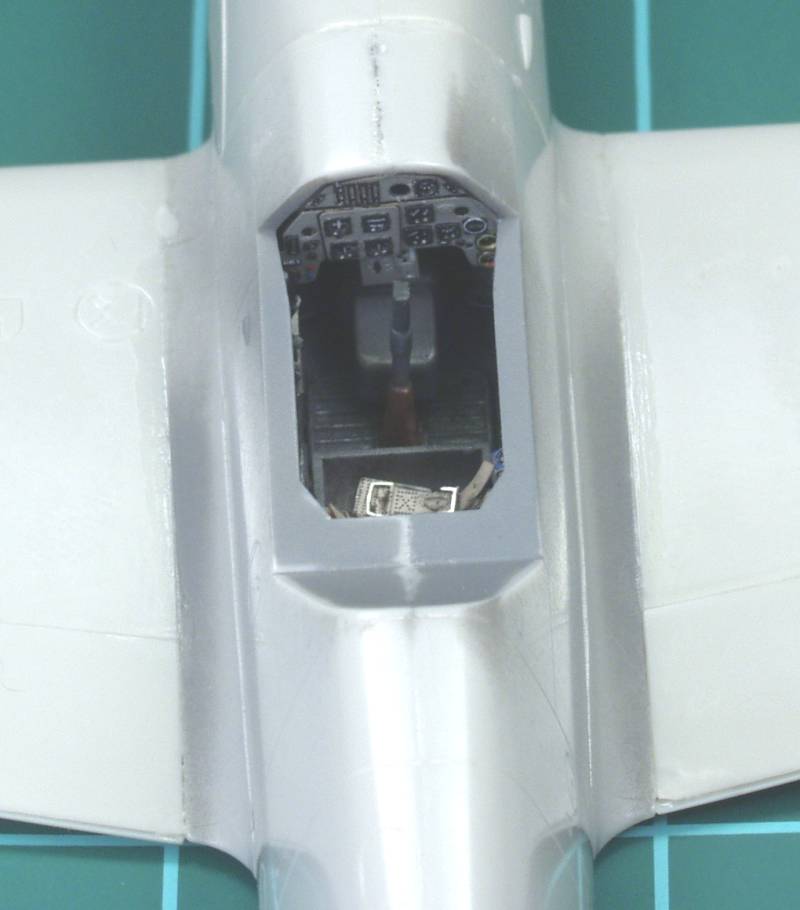
I have come to the conclusion that 1/48 scale fighters are my limit at the small end of the spectrum and while I have a number that I want to build they are far from my favorites due to the small size and the 109 is one of the smallest. Since 109 builds are a dime a dozen I did not take a lot of in progress photos. I did not use all the PE provided in the set that I got for this kit, primarily just the instrument panel, throttle quadrant, map case, chain for the trim wheel, seat belts and harness and a couple of the side wall overlays. Except for the instrument panel and the belts most of it isn't visible once closed up any way. I did not take a photo of the pit before closing up the fuselage, if you've seen one 109 pit you've pretty much seen them all. The photo's below show things mostly together and almost ready for paint.

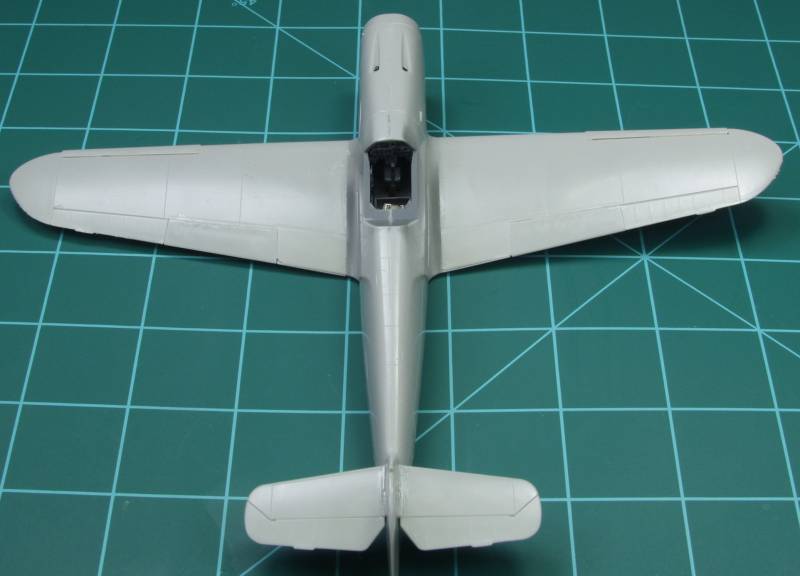
At this point the final parts that needed to be added prior to painting are on and a coat of RLM 76 has been applied overall as a primer. After some minor touch up painting the top color will proceed.

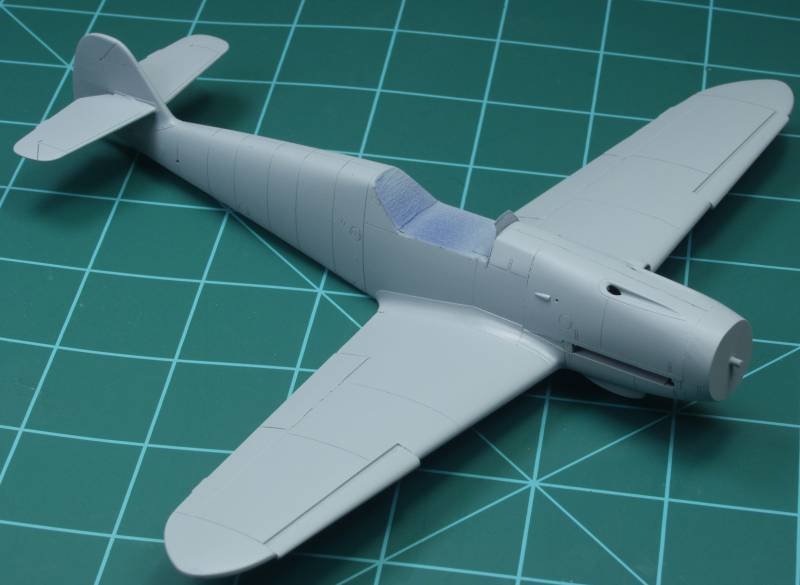
The above photos were taken in 2009, between then and the early part of 2015 the kit sat dormant awaiting the time when my interest to continue the build would return. The photos below were taken between January and the end of June of 2015.

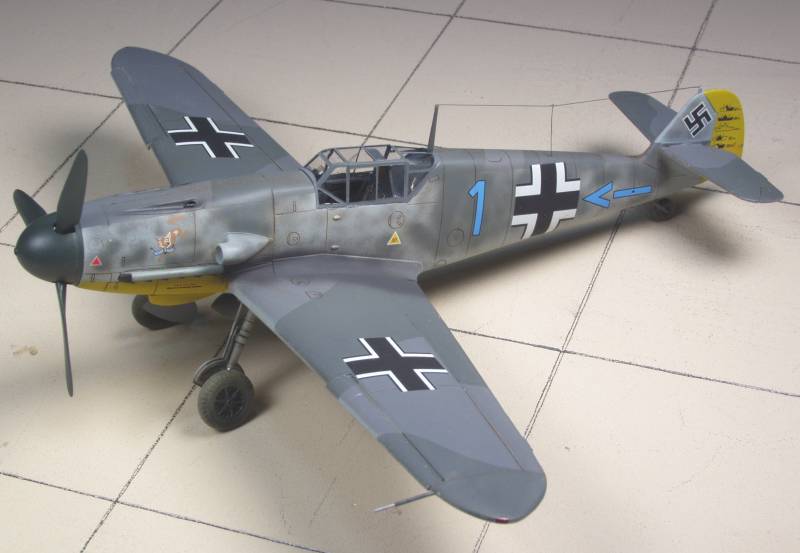
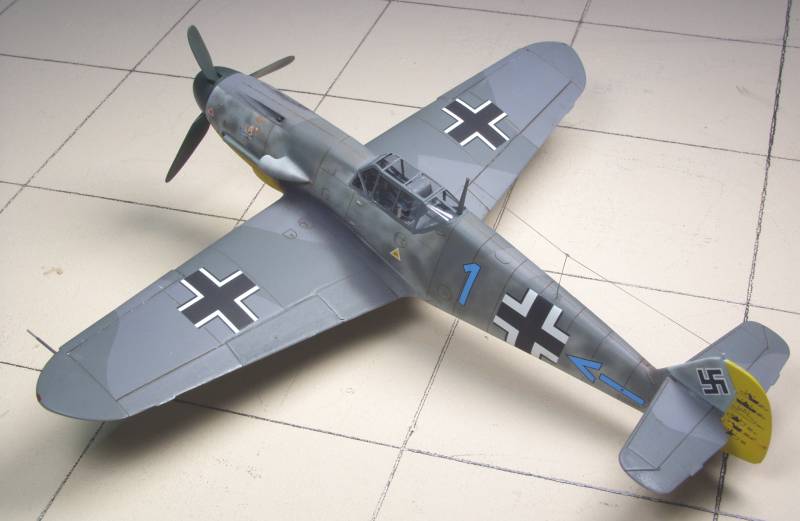
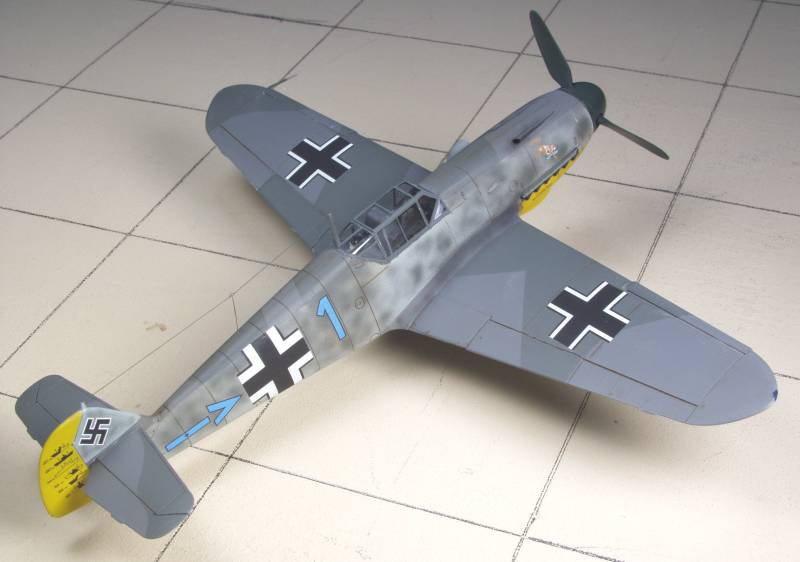
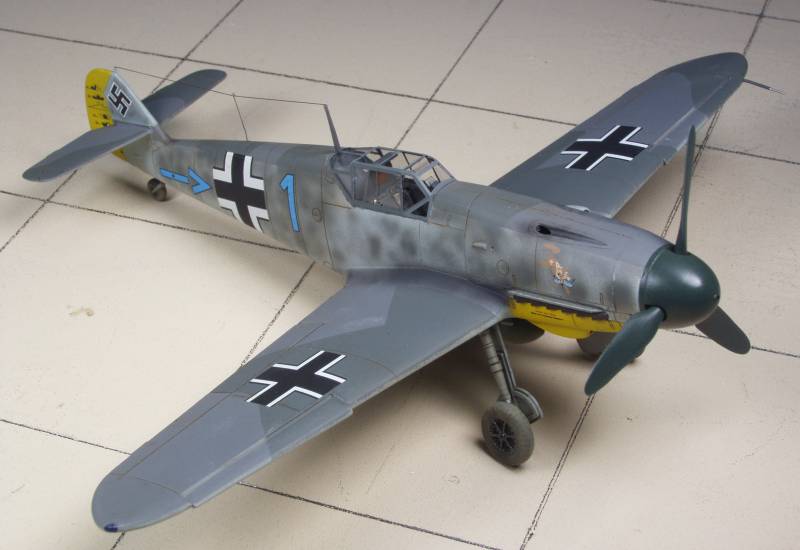
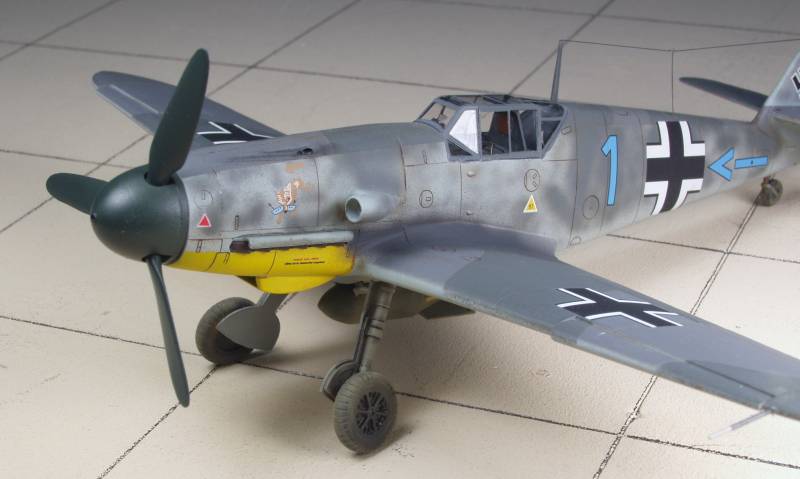
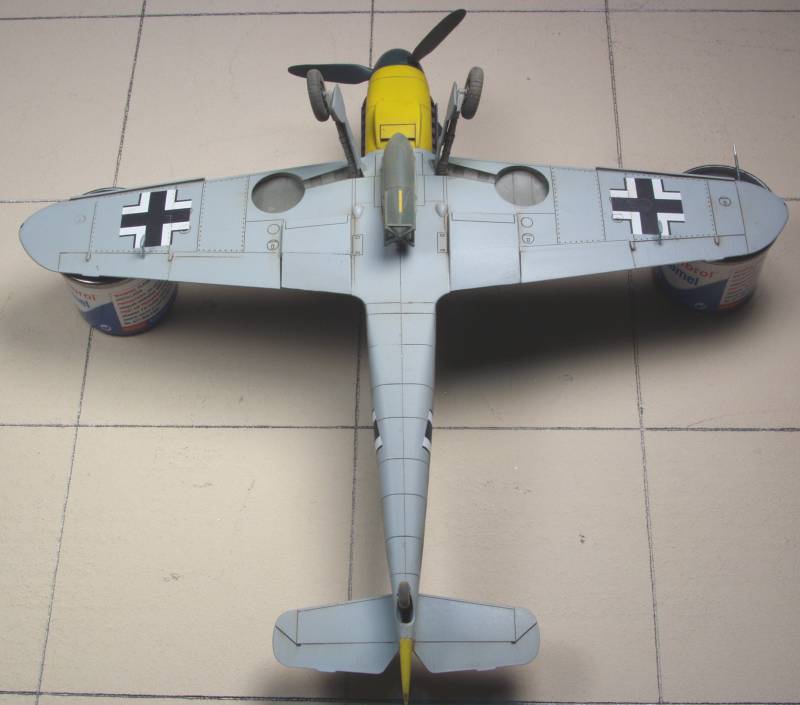
In the first photo the two shades of gray, RLM 74 and 75 have been applied as well as the required yellow markings.

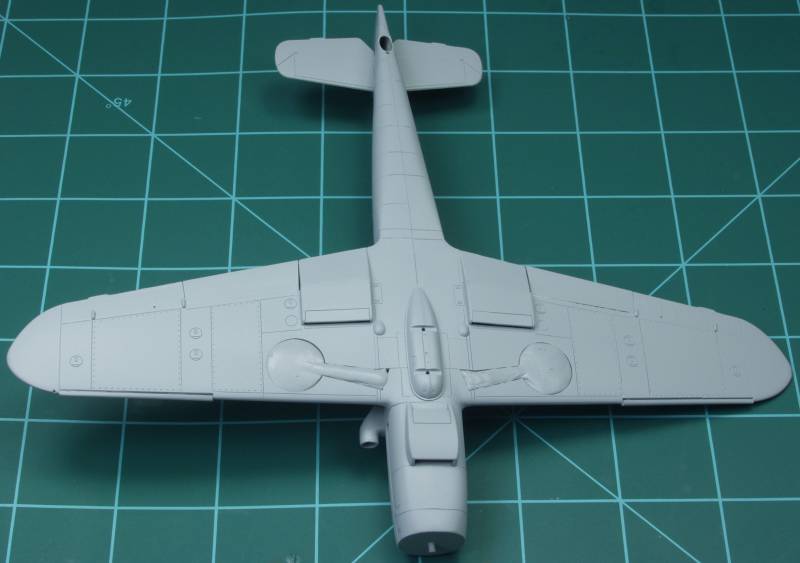
One of the things that held things up was the need to paint the mottling on the fuselage sides. For this one needs just the right combination of paint thinness and air pressure along with the correct alignment of the moon and other astrological  bodies. while not perfect the result I obtained on this one was one of my better efforts. Although it may look overdone in some areas it was that way on the actual aircraft.

From that point on I didn't take any more in progress photos and we jump right to the finished model photos. Photos I found of the actual aircraft show it heavily spattered with mud but i felt that if I actually tried to achieve this look it would look over done so decided to go with how it might have looked on a cleaner day.


The fit of the kit was first rate and I ended up using the Illiad decals for everything except the fox motif, these all worked well except for the 1 on the starboard side which wrinkled up when I used some Microset on it and in spite of using several stronger solutions I could not get it to completely flatten out.

Back to the Misc German page

Updated 7/1/15